


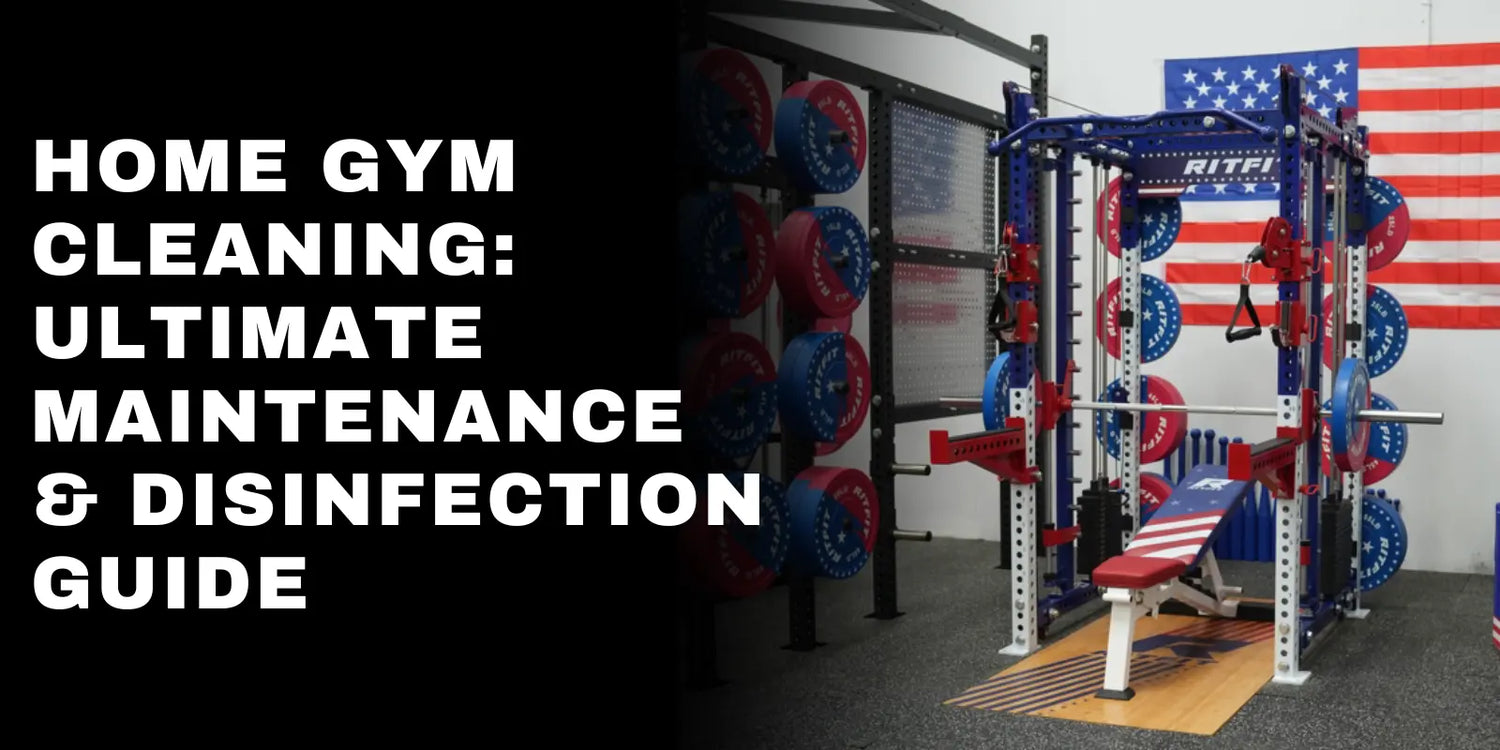
A clean home gym protects your equipment, improves traction, reduces odor, and makes training safer in garages, basements, and spare rooms. Use this guide to build a simple routine for benches, barbells, racks, mats, cable machines, and cardio gear without turning cleaning into a full weekend project.
Key Takeaways
- Clean often, not randomly: Short, consistent cleaning sessions protect your gym better than occasional deep cleaning marathons. A quick routine after training prevents sweat, dust, chalk, and moisture from building up.
- Match the cleaner to the material: Metal, rubber, upholstery, and electronics do not all tolerate the same products. Using the wrong cleaner can damage coatings, dry out pads, or leave slippery residue.
- Drying matters as much as wiping: Moisture left on barbells, plates, guide rods, or floor seams can lead to rust, odor, and material breakdown. Always finish with a dry cloth or adequate airflow.
- Inspection is part of cleaning: Cleaning time is the easiest time to catch loose bolts, frayed cables, worn pads, curling mats, and strange machine noises. Small issues are cheaper and safer to fix early.
- Ventilation changes everything: Fresh air, fans, and humidity control reduce gym smell, surface condensation, and long term wear. This matters even more in enclosed garage gyms and basement gyms.
Before You Start: Supplies You Need
The right supplies make home gym cleaning faster, safer, and more consistent. Keep them in one labeled bin so a five minute reset actually stays a five minute reset.
- Microfiber cloths: Use soft microfiber cloths for metal, plastic, vinyl, and screens. They lift sweat and dust well without scratching most finished surfaces.
- Spray bottles: Keep one bottle for your routine cleaner and one for your disinfectant if you use both. Clear labeling helps prevent product mix ups.
- EPA registered disinfectant or disinfecting wipes: Use these for hard, non porous touch points such as handles, pull up bars, adjustment knobs, and screen surrounds. Follow label contact time and surface compatibility instructions before regular use.
- Mild all purpose cleaner or diluted dish soap: Use a gentle cleaner for routine dirt, chalk, and sweat removal on most non electronic surfaces. This is usually the safest starting point for everyday cleaning.
- Vacuum with attachments: Use a vacuum to remove dust, chalk, and debris from corners, under racks, along baseboards, and around machine feet. Crevice tools help in tight areas around plates, pulleys, and storage pegs.
- Mop and bucket: Use a mop for rubber flooring, sealed concrete, vinyl, or other gym safe floor surfaces. Clean water and a dry finish reduce residue and slip risk.
- Paper towels or cleaning rags: Use these for dirty jobs, quick spills, and drying after a damp wipe. Drying is essential on metal parts and around flooring seams.
- Soft bristle brush or old toothbrush: Use a soft brush for barbell knurling, logo grooves, adjustment tracks, and tight hardware joints. This removes chalk and dust without scraping protective finishes.
- Trash bags: Keep extra bags nearby so used wipes, wrappers, and paper towels do not sit in the room. Overflowing trash is one of the fastest ways to create odor.
- Optional protection: Disposable gloves and a simple mask help if you are sensitive to dust, chalk, or cleaning fumes. A fan or open window also improves comfort and ventilation during cleaning.
How To Clean Your Home Gym: Step by Step Checklists
A home gym stays clean when cleaning is built into training, not saved for rare deep clean days. Use the frequency guide below to control odor, dust, sweat residue, rust risk, and wear before they turn into bigger problems.
Home Gym Cleaning Frequency Cheat Sheet
- After every workout: Wipe sweat heavy contact points and air out the room. Re rack plates, dumbbells, bars, and accessories before you leave.
- Every training day: Sweep or vacuum the floor, spot clean debris, and empty the trash if needed. A tidy floor improves traction and keeps dust off your equipment.
- Once per week: Inspect racks, benches, mats, and machines for moisture, loose hardware, or obvious wear. A weekly check catches problems before they become safety issues.
- Once per month to once per quarter: Deep clean floors, frames, pads, mirrors, walls, storage areas, and accessories. The more often you train or the more humid your space is, the more often you should deep clean.
- Every 3 to 6 months: Perform a structured maintenance check on bolts, cables, pulleys, belts, and guide rods according to each manual. Lubricate only where the manufacturer specifically recommends it.
Immediately After Each Workout
This is the highest return cleaning window because sweat, chalk, and humidity are fresh and easy to remove. Most sessions only need a focused two to five minute reset.
- Wipe contact surfaces: Wipe handles, seats, back pads, barbell shafts, dumbbell handles, pull up bars, and adjustment points after use. Spray the cloth rather than the electronics or the surface if overspray could reach screens, bearings, or cable openings.
- Focus on sweat heavy zones: Clean benches, hip thrust pads, ab mats, yoga mats, grips, and any handle you held during the session. Sweat left behind increases odor, surface grime, and long term material wear.
- Air out the room: Open a window or run a fan for at least 10 to 15 minutes after training when possible. In garages and basements, airflow helps reduce condensation, stale air, and the metal dampness that leads to rust.
- Do a 60 second reset: Re rack plates, return dumbbells, hang bands, and put smaller accessories back in their storage spot. A clear floor is safer and makes the next workout easier to start.
Daily Cleaning and Maintenance Tasks
Daily cleaning keeps your gym from feeling dusty, cramped, and neglected. It also reduces the amount of time deep cleaning will take later.
- Clean the gym floor: Sweep or vacuum chalk, hair, dust, and grit, then mop when needed with a floor safe cleaner. Use a neutral cleaner for rubber mats and avoid soaking floor seams, edges, or the base of equipment.
- Tidy equipment and storage: Return dumbbells, stack bumper plates neatly, store collars, and coil bands or ropes. Clear storage improves safety and helps prevent accidental surface damage.
- Empty the trash: Remove used wipes, paper towels, and food wrappers before odor builds. Small enclosed gyms can start smelling stale quickly when waste sits overnight.
- Do a visual scan: Check for sweat puddles, chalk piles, damp corners, and condensation on cold metal. Wiping these areas early helps prevent slippery surfaces and surface rust.
Quarterly Deep Cleaning Tasks
Deep cleaning removes the dust, residue, and hidden moisture that daily wipe downs miss. This is the routine that keeps your home gym feeling fresh and looking cared for over the long term.
- Deep clean the floor: Move lighter equipment, roll back smaller mats, vacuum thoroughly, and mop the full space. Let the floor dry fully before heavy lifting so you do not create a slip hazard.
- Clean walls, mirrors, and doors: Wipe chalk dust, fingerprints, and sweat mist from mirrors, wall sections near racks, and nearby doors. Cleaner reflective surfaces also make the room feel brighter and more open.
- Wipe full equipment frames: Clean the front, sides, back, crossmembers, plate storage pegs, and lower contact points on racks, Smith machines, benches, and cable towers. Dust and moisture tend to collect where people do not look often.
- Wash accessories and soft goods: Clean resistance bands, straps, wrist wraps, lifting belts, gloves, and floor mats according to their care instructions. This is also a good time to retire torn, cracked, or badly worn accessories.
- Check ventilation equipment: Dust fan blades, vents, heater grills, and dehumidifier or air purifier intakes. Good airflow matters for odor control, humidity management, and long term equipment preservation.
Maintenance Checks and Tasks
Cleaning and maintenance should work together because a clean machine is easier to inspect and a maintained machine stays cleaner longer. Use the same session to look for wear, looseness, and performance changes.
- Inspect cables and pulleys: Look for fraying, kinks, flattened spots, cracked coating, or grinding pulleys. Stop using the affected cable path immediately if anything looks damaged.
- Check bolts, screws, and anchor points: Walk your rack and machines from top to bottom and confirm that visible hardware is snug and stable. Tighten obvious looseness without over tightening threads or deforming washers.
- Inspect cardio machines: Listen for unusual treadmill, bike, or elliptical noises during normal use. Belt drift, knocking, grinding, or slipping usually means it is time for a manual check or service review.
- Check barbells and dumbbells: Inspect shafts, sleeves, end caps, and handle coatings for rust, bends, looseness, or chipping. A bar that no longer spins smoothly or feels rougher than normal needs attention before heavy training.
- Lubricate only when required: Use the lubricant type and schedule specified by the manufacturer for treadmills, guide rods, or other approved components. Unplug powered equipment first and keep lubricant off pads, grips, and floors.
- Keep a simple record: Log deep cleaning dates and equipment checks in your phone or on a whiteboard. This makes it easier to stay consistent if more than one person uses the gym.
Material Specific Cleaning Guide: Barbells, Racks, Benches, and Flooring
Different materials need different care because a product that is fine for one surface can damage another. When a label, product page, or owner manual conflicts with a general tip, always follow the manufacturer guidance for that specific item.
- Barbells and weight plates: Brush chalk out of knurling and logos with a dry nylon brush, then wipe metal with a lightly damp microfiber cloth. Keep liquid away from sleeve internals, and dry bare steel bars fully before storing.
- Rubber and urethane coated equipment: Clean bumper plates, rubber hex dumbbells, and urethane surfaces with mild soap and water on a cloth. Dry them before stacking so moisture does not get trapped between surfaces.
- Powder coated racks and machine frames: Dust first, then wipe with a soft cloth and a mild cleaner. Avoid abrasive pads, steel wool, and aggressive scrubbing that can scratch the finish and invite rust.
- Upholstery and pads: Clean bench pads, seat pads, roller pads, and support cushions with a gentle cleaner that is safe for vinyl or synthetic leather. Strong bleach and harsh solvents can dry, fade, or weaken these materials over time.
- Cables, pulleys, and guide rods: Wipe cable sheaths and exposed guide rods with a lightly damp cloth, then dry them completely. Do not flood pulley housings or cable entry points with liquid.
- Floors and mats: Vacuum first, then mop rubber flooring with a neutral cleaner and minimal water. For wood, laminate, or sealed surfaces, use a floor specific cleaner and keep moisture out of seams and edges.
- Screens and electronics: Wipe touchscreens, consoles, and buttons with a soft cloth and electronics safe cleaner if approved by the manufacturer. Never spray liquid directly onto screens, ports, or control panels.
Cleaning Mistakes to Avoid
The biggest cleaning mistakes are over wetting equipment, using the wrong chemical, and assuming every surface needs heavy disinfection. Safe cleaning protects your health and your equipment at the same time.
- Do not soak metal, pads, or flooring seams: Excess moisture can cause rust, swelling, odor, or adhesive failure. Damp cleaning followed by drying is usually enough for routine care.
- Do not use one cleaner for every material: A product that works on sealed metal may be too harsh for rubber, upholstery, or screens. Surface compatibility matters more than cleaning speed.
- Do not mix cleaning chemicals: Combining products can damage materials and create harmful fumes. Stick to one product at a time and follow the label directions.
- Do not ignore residue: A surface can look clean but still feel slick if cleaner is left behind. Always wipe excess product off handles, bars, and floor areas before training.
- Do not treat noise as only a cleaning issue: A squeak, grind, or slip may signal wear, misalignment, or damage rather than dirt alone. Stop and inspect the equipment instead of masking the problem with more spray.
FAQ
- How should you clean a home gym in winter?: Clean more often in winter because tracked in water, mud, and road grit increase odor, slip risk, and surface wear. If your gym is in a garage, remove melted snow quickly and use ventilation or a dehumidifier to control condensation on metal.
- Which gym equipment usually needs the least maintenance?: Simpler equipment such as power racks, pull up bars, barbells, and dumbbells usually needs less maintenance than cable machines or cardio units. They still need regular cleaning, dry storage, and occasional inspection for rust, looseness, or finish wear.
- What is the safest homemade cleaner for routine use?: The safest homemade option for many routine wipe downs is a small amount of mild dish soap mixed with water on a cloth, followed by a dry wipe. Avoid acidic or harsh do it yourself mixtures unless the manufacturer clearly says the material is compatible.
- Do you need to disinfect a home gym like a commercial gym?: Most home gyms do not need commercial level disinfection because fewer people use the equipment each day. Regular disinfection of shared touch points is still smart if family members, guests, or training partners use the space.
Conclusion
A clean home gym lasts longer, smells better, and feels safer every time you train. If you pair quick post workout wipe downs with regular floor care, periodic deep cleaning, and basic equipment checks, you will protect both your space and your progress for years.
