


Table of Contents
- What is the Hip Thrust?
- Ideal Smith Machine Hip Thrust Form
- How to Program Smith Machine Hip Thrusts
- Warm-Up and Safety Tips
- Smith Machine Hip Thrust Benefits
- Common Smith Machine Hip Thrust Mistakes (and Fixes)
- The Smith Machine Hip Thrust…the Ultimate Glute Development Exercise?
- Smith Machine Hip Thrust FAQs
Need to grow your glutes? It’s time to perfect your Smith machine hip thrust form!
There are a lot of gym exercises that look a little…interesting, and the hip thrust is definitely one of them. But if you care about strong, round glutes and better lower-body performance, this “funny-looking” move quickly becomes a must-have.
Rather than simply pressing a barbell away, squatting down with a bar balanced on the shoulders, or jumping up onto a plyometric box, the hip thrust has you sitting near the floor with a bar across your hips and driving your hips up with serious power.Research indicates that hip thrusts elicit significantly higher peak activation of the gluteus maximus compared to the back squat, making them essential for targeted glute growth[1].
If you’re of the mind that the hip thrust just looks a little too strange for your tastes, the joke’s on you; when done correctly, it is one heck of a lower-body muscle-building exercise that can carry over to squats, deadlifts, running, and even everyday activities like climbing stairs.
Today, we not only want to “sell” you on all of the benefits of this gem of an exercise but also to help you maximize your Smith machine hip thrust form, avoid common mistakes, and plug it into a simple, effective glute-focused routine. Let’s get started!
What is the Hip Thrust?
 We may have gotten a little ahead of ourselves in the last section, but who could blame us? In recent years, the hip thrust has become one of the most popular exercises among the gym-going population.
Mainly targeting the gluteus maximus (“glutes”) the hip thrust is generally performed by stabilizing a barbell across the hips and using these large muscles to push the bar away. Because these muscles are generally quite strong and the exercise so straight forward, even novice lifters are able to use a significant amount of weight for high-rep sets.
Although hip thrusts are traditionally performed with a barbell, it is also possible to use heavy dumbbells, bands, or a Smith machine. These alternative approaches can be more stable and easier to set up, especially in a home gym.
The Smith machine version guides the bar along a fixed path, so you can focus on pushing through your glutes instead of worrying about balancing a free bar. This makes it a great choice for beginners, home lifters, and anyone who trains alone.
Primary muscles worked:
- Gluteus maximus (main driver of the movement)
- Hamstrings and adductors (assist with hip extension)
- Core and spinal erectors (stabilize your trunk on the bench)
In short, the hip thrust is a powerful hip-extension exercise. The Smith machine simply gives you a more controlled environment to perform it in.
Ideal Smith Machine Hip Thrust Form
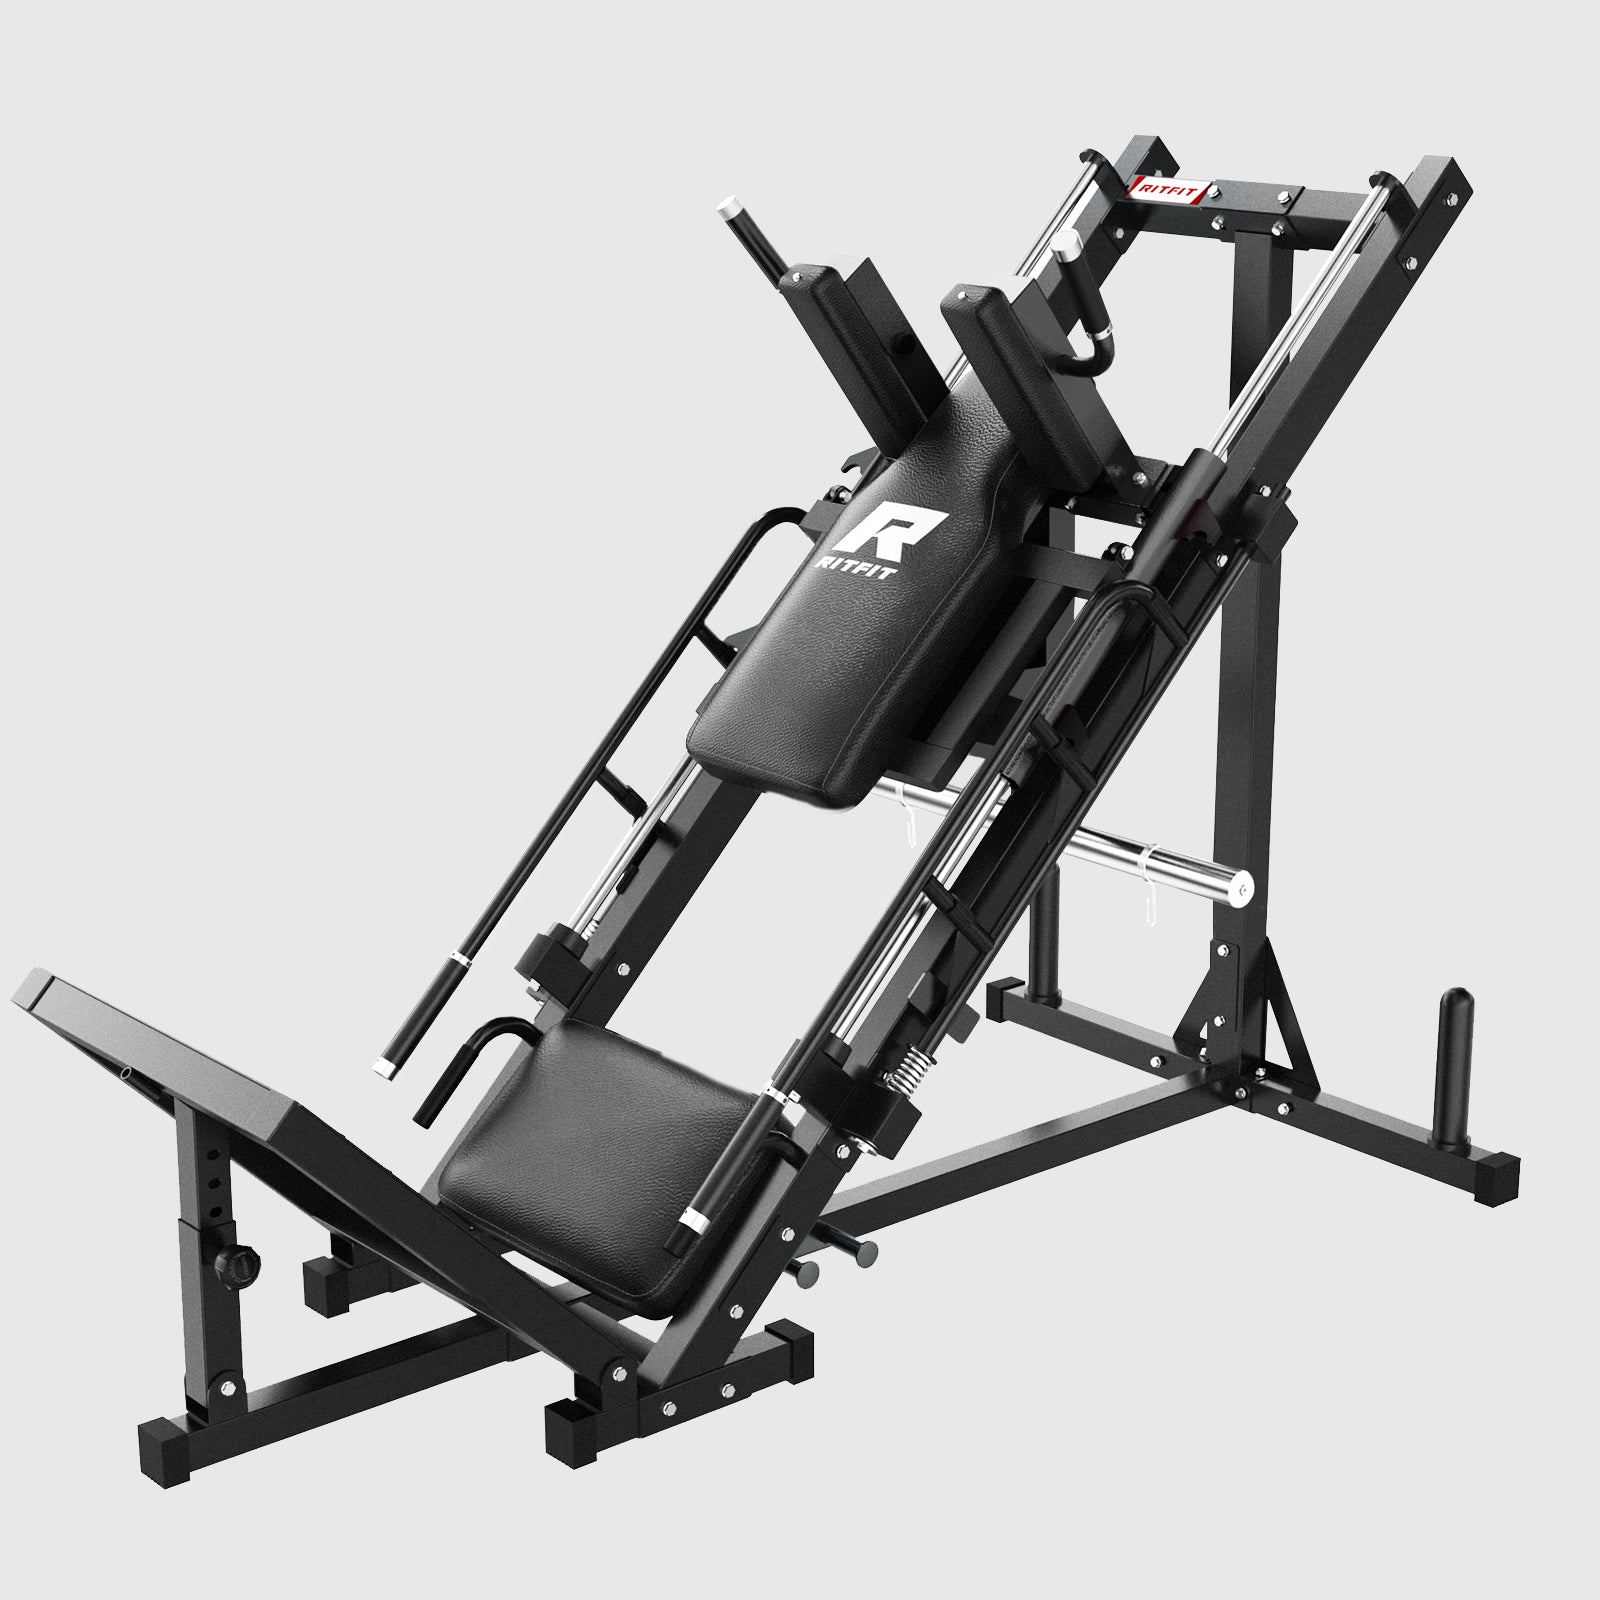
Smith machine hip thrusts aren’t complicated exercises to perform with the set-up process being arguably the “hardest” part. A Smith machine like the RitFit M1 is obviously required and the bar should be set to one of its lowest settings. Any setting higher than this will be too high for you to reach without excessively exaggerating your movement to reach it. You will also need a bench set to its flat position to lay back onto.
Optional, but encouraged items are Olympic weight plates for additional resistance and some type of mat or pad to drape across your waist, hips, and upper legs to slightly buffer the Smith bar against your body.
Follow this step-by-step guide to dial in your setup and technique:
1. Position the bench and bar
- Slide the Smith bar to one of the lowest settings, roughly at mid-thigh height when you are seated on the floor.
- Position your bench horizontally (so you have the full length of the bench to spread your shoulders across without worrying about “spilling over”).
- The bench should be close enough to the Smith machine to allow you to comfortably rest your upper back and shoulders on it while the Smith bar rests across your hip bones.
2. Get into the starting position
- Sit on the floor with your back against the bench, knees bent, and feet flat about hip-width apart.
- Roll the Smith bar over your legs until it sits in the crease of your hips, centered and cushioned by the pad or mat.
-
Lean back so the edge of the bench is roughly under your shoulder blades. Your head and neck stay free to move, with your gaze forward or slightly down.
With your hands evenly spaced on the bar for extra stability and your upper legs and lower back “floating”, brace your core and lightly tuck your pelvis (as if pointing your belt buckle toward your ribs), then extend your hips up and slightly outwards while slightly rotating your wrists forward to release the bar from its racked position.
Maintain your wrists in this position as you slowly lower the bar by loosening your glute muscles. Control the descent for about 2–3 seconds until your hips are just above the floor and your knees reach roughly a 90-degree angle (shins close to vertical). This is your true starting position for each rep.
From this starting position, squeeze your glute muscles as you extend your hips directly upward against the Smith bar. Once your hips are fully extended (do not try to exaggerate this movement or to push beyond full extension), pause briefly while keeping your glute muscles tightened and engaged.Studies confirm that hip extension performed with bent knees minimizes hamstring contribution through active insufficiency, isolating the glutes more effectively[2].
Release this tension and allow your hips to lower back to the starting position in a controlled manner to finish the rep. At this point, you can either repeat this process for your next rep(s) or rerack the Smith bar to finish your set.
Key form cues to remember:
-
“Ribs down, tailbone slightly tucked” to avoid over-arching your lower back.
- “Push through your heels and mid-foot” so the work stays in your glutes, not just your quads.
- “Knees track over your toes” instead of caving inward.
Depending on your intended stimulus, you can use less weight and perform higher-rep sets (for hypertrophy and definition) or you can opt for heavier weight and lower-rep sets (overall strength and muscle growth). You can also experiment with the placement of the bench to not only maximize personal comfort throughout the duration of the exercise, but also to adjust the angle at which your hips engage the bar.
Finally, over time, you might find that you don’t need a mat or as thick of a mat to buffer the weight against your hips/body. At the same time, as you begin to use heavier and heavier loads, you may find that you need a thicker mat more than ever! Remember, this mat is a completely optional addition to the exercise and you are encouraged to use whatever level of thickness makes you the most comfortable when you are hip thrusting.
If you ever feel sharp pain (not just muscle burn) in your knees, hips, or lower back, stop the set, lighten the load, and re-check your form. Persistent joint pain is a sign to consult a qualified professional before pushing heavier.
How to Program Smith Machine Hip Thrusts
Good form is step one. Step two is using the hip thrust in a smart, repeatable way so your glutes actually grow stronger over time.
For glute hypertrophy (muscle and shape):
- 3–4 sets of 8–12 reps
- Rest 60–90 seconds between sets
For strength focus:
- 4–5 sets of 5–8 reps
- Rest 2–3 minutes between sets
For a high-rep “glute pump” finisher:
- 2–3 sets of 15–20 reps
- Rest 45–60 seconds between sets
Simple glute-focused lower-body workout idea:
- Squat or leg press – 3–4 sets of 6–10 reps
- Smith machine hip thrust – 3–4 sets of 8–12 reps
- Romanian deadlift – 3 sets of 8–10 reps
- Single-leg work (Bulgarian split squat or step-up) – 2–3 sets of 8–12 reps per leg
- Glute isolation (band walks or cable kickbacks) – 2–3 sets of 15–20 reps
Train this kind of session 1–2 times per week, leaving at least one full rest or light day between hard lower-body workouts.
Warm-Up and Safety Tips
A short warm-up and a few simple rules will make your Smith machine hip thrusts safer and more effective.
Quick warm-up:
- 3–5 minutes of light cardio, such as brisk walking or easy cycling
- Dynamic lower-body moves like bodyweight squats and leg swings
- 1–2 light sets of bodyweight bridges or very light Smith hip thrusts before your working sets
Safety reminders:
- Stop immediately if you feel sharp or pinching pain in your back, hips, or knees. Muscle burn is fine; joint pain is not.
- Avoid training to absolute failure on heavy sets. Leave 1–2 clean reps “in the tank,” especially when you’re still learning the movement.
- If you have a history of back, hip, or knee problems, check with a healthcare professional or qualified coach before pushing heavy loads.
Smith Machine Hip Thrust Benefits
Smith Machine Hip Thrust Benefits
It seems like almost everybody is doing Smith machine hip thrusts these days. Let’s look at what we’re all looking to gain by knocking them out:
Glute gains galore
Despite being excellent at developing the hamstrings and adductor muscles, the hip thrust is second-to-none when it comes to glute development. Simply put, if you want to develop your glutes, do hip thrusts.
The Smith machine version makes it easier to keep your setup identical every session, which helps you progressively add weight or reps and track your glute gains over time.
Easy to execute
Proper Smith machine hip thrust form isn’t difficult to learn, and it can be perfected during your first session.
The fixed bar path reduces the balance demands of a free barbell, which is especially helpful for beginners and home gym lifters training without a spotter.
Feel free to load on the weight
The glutes are deceptively strong muscles. Combined with a relatively short exercise range of motion in a controlled machine, it's not hard to use a lot of weight when hip thrusting.
Many lifters will eventually hip thrust more total weight than they can squat. Just remember: control and form matter more than the number of plates on the bar.
Common Smith Machine Hip Thrust Mistakes (and Fixes)
Even when the setup is right, a few small errors can steal tension from your glutes or irritate your joints. Here are the most common mistakes and how to correct them:
Feet too far forward or too close
If your feet are too far away, you’ll feel the movement mostly in your hamstrings and lower back.
If your feet are too close, your knees travel too far forward and your quads take over.
Fix: In the top position, your shins should be nearly vertical. Adjust your feet until you hit that alignment.
Over-arching the lower back
Driving your hips “as high as possible” by cranking into your lower back doesn’t build more glute muscle, but it can irritate your spine.
Fix: Stop when your torso and thighs form a straight line. Think about tucking your tailbone slightly and squeezing your glutes under you.
Knees caving inward
Letting your knees collapse toward each other reduces glute activation and can stress the knees.
Fix: Gently push your knees outward so they track over your toes, and imagine spreading the floor apart with your feet.
Dropping too fast on the way down
Letting the bar crash down wastes tension and can bruise your hips, even with a pad.
Fix: Lower in 2–3 controlled seconds, keeping your core braced and your glutes “catching” the weight at the bottom.
Piling on too much weight too soon
Loading more plates at the expense of control is a fast track to sloppy reps and potential injury.
Fix: Choose a weight that lets you move smoothly, keep your form tight, and still feel a strong burn in the last few reps of each set.
The Smith Machine Hip Thrust…the Ultimate Glute Development Exercise?
As we’ve discussed today, the hip thrust is one of the least complicated Smith Machine exercises to perform yet is arguably one of the most effective movements for developing large and strong glute muscles.A study published in the Journal of Strength and Conditioning Research demonstrated that hip thrust training improves power of agitation more effectively than squat training due to horizontal force production[3].
With the movement growing in popularity and even gym newbies having little trouble executing picture-perfect hip thrusts, it is pretty easy to ask: “what’s the catch?”
…to be honest, there isn’ a catch; if, for some reason, you’re currently not performing hip thrusts during your workouts, you should consider adding them to your routine…immediately!
The bottom line: learn the setup once, keep your technique clean, and steadily progress your sets, reps, or load. Your glutes will thank you every time you stand up, sprint, jump, or simply look in the mirror and see the results of all that smart, consistent work.
Final Words
The Smith machine hip thrust gives you a simple, repeatable way to train your glutes hard without beating up your back or knees. Master the setup, focus on smooth, powerful reps, and let progressive overload do the quiet work in the background.
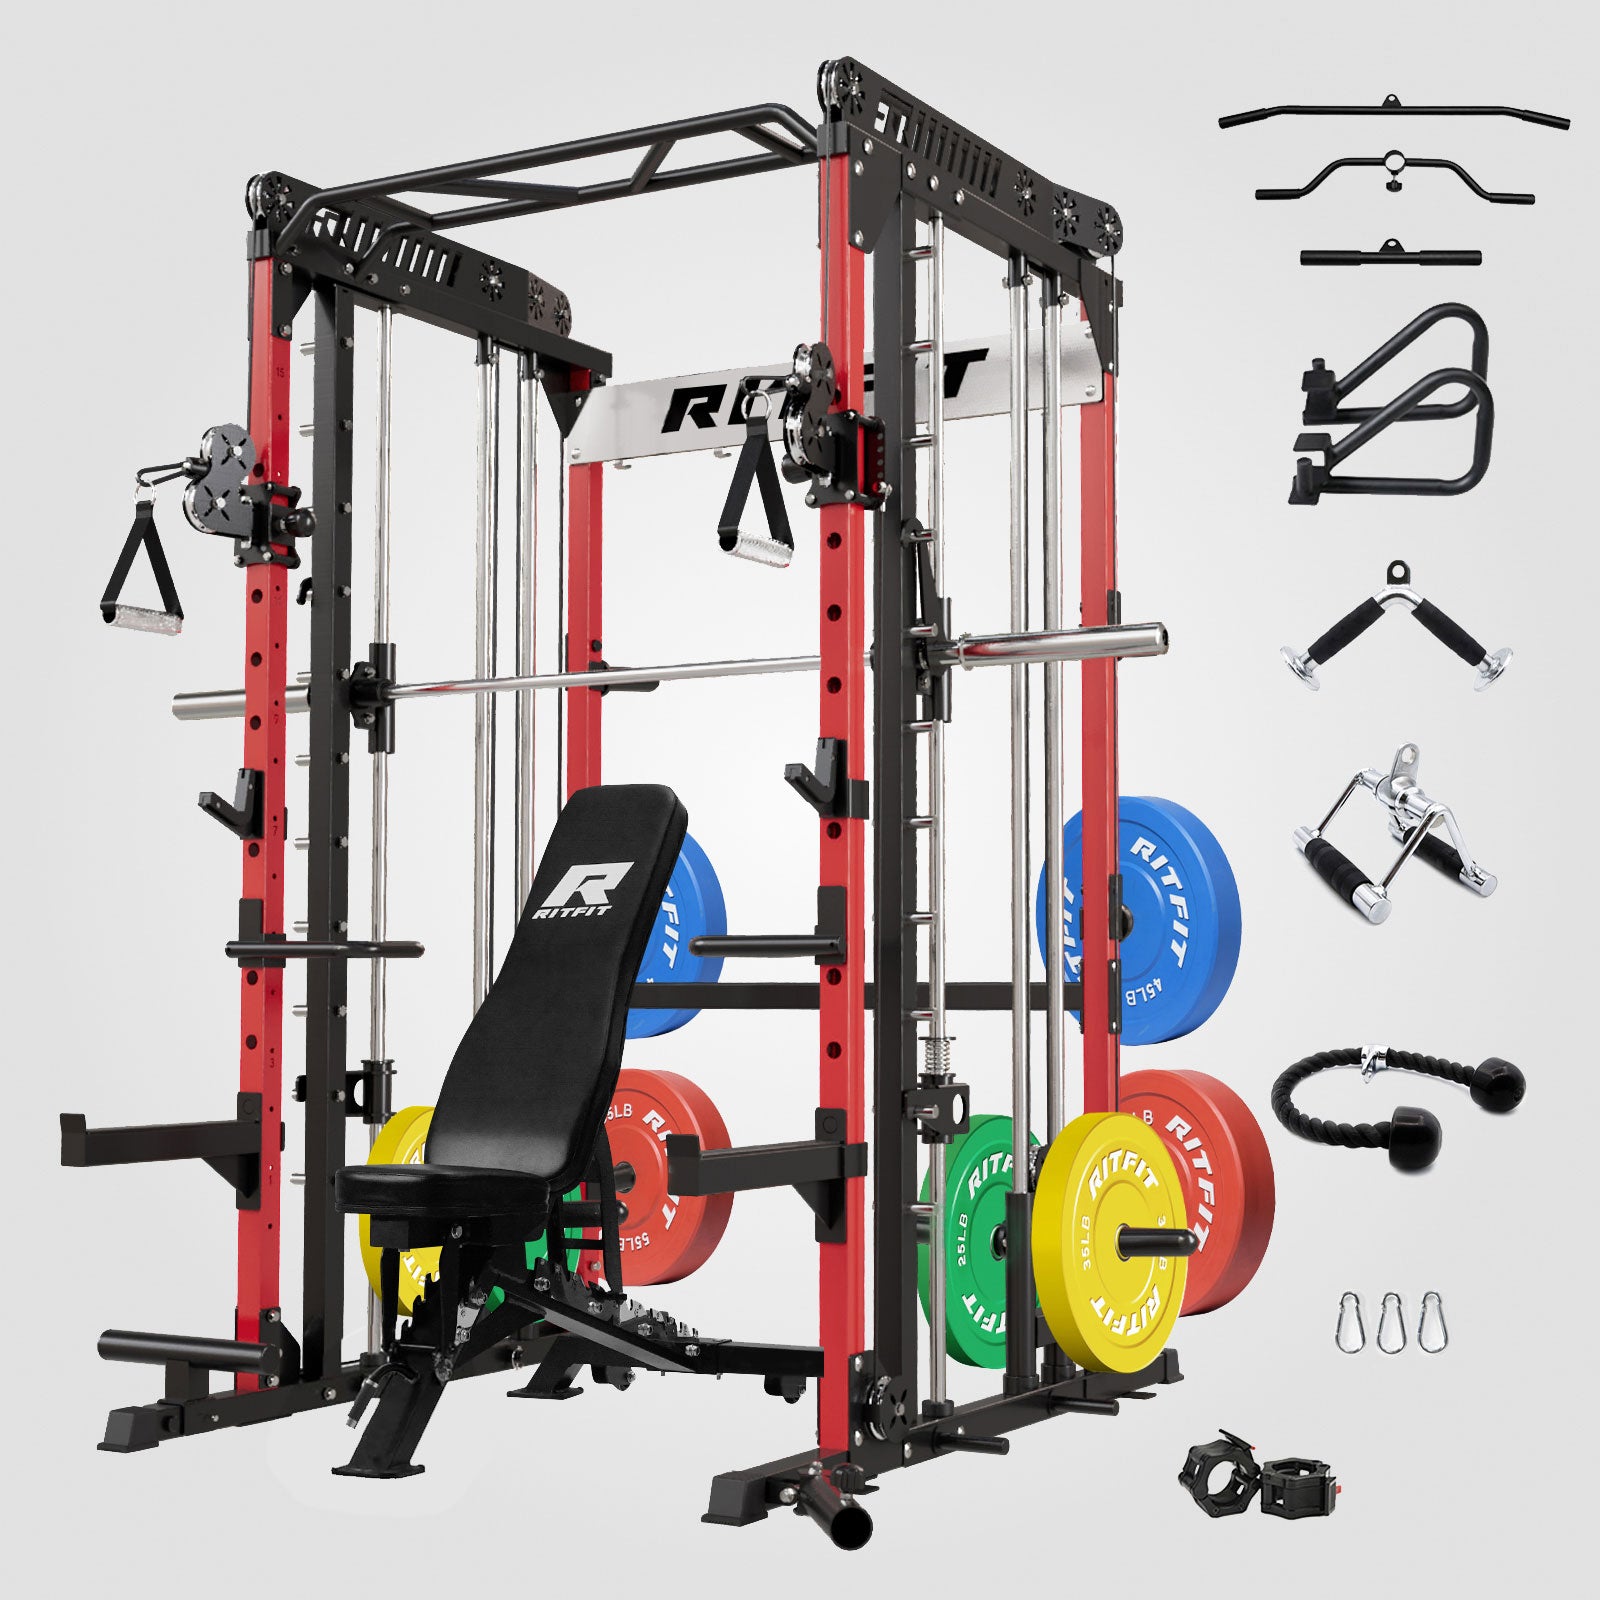
If you already own a RitFit Smith machine, plug this movement into your next leg day and start tracking your numbers. Still building your home gym? Explore RitFit Smith machines and accessories today, and turn every hip thrust session into real, measurable glute gains.
References
- Contreras B, Vigotsky AD, Schoenfeld BJ, Beardsley C, Cronin J. A Comparison of Gluteus Maximus, Biceps Femoris, and Vastus Lateralis Electromyographic Activity in the Back Squat and Barbell Hip Thrust Exercises. J Appl Biomech. 2015;31(6):452-458. doi:10.1123/jab.2014-0301
- Neto WK, Vieira TL, Gama EF. Barbell Hip Thrust, Muscular Activation and Performance: A Systematic Review. J Sports Sci Med. 2019;18(2):198-206. Published 2019 Jun 1.
- González-García J, Morencos E, Balsalobre-Fernández C, Cuéllar-Rayo Á, Romero-Moraleda B. Effects of 7-Week Hip Thrust Versus Back Squat Resistance Training on Performance in Adolescent Female Soccer Players. Sports (Basel). 2019;7(4):80. Published 2019 Apr 3. doi:10.3390/sports7040080
Smith Machine Hip Thrust FAQs
1. Is the Smith machine hip thrust good for beginners?
Yes. The Smith machine version is very easy for beginners to use because it has a guided bar path and a stable setup. Start with just the bar and a pad. Move slowly, and only add weight when you can keep your form perfect.
2. Where should I feel the Smith machine hip thrust?
You should feel the movement mostly in your glutes, with some help from your hamstrings. If your knees or lower back hurt a lot, move your feet around a little and make sure you're not over-arching.
3. How often should I do Smith machine hip thrusts?
Most people who lift weights do well with one or two sessions a week, each with three to five working sets. For balanced lower-body development, do these exercises along with squats, hinges, and single-leg exercises.
4. Is a Smith machine hip thrust better than a barbell hip thrust?
Neither is universally "better." The Smith machine's hip thrust form allows for greater freedom of movement, whilst the Smith version provides more stability and ease of setup. Choose the one that allows you to perform safely, consistently, and confidently.
5. What if hip thrusts hurt my lower back or knees?
First, lighten the load and review your setup: shins nearly vertical at the top, ribs down, tailbone slightly tucked, and knees tracking over your toes. If pain persists even with light weight and careful form, stop and talk to a healthcare professional before continuing.
