Mastering how to hip thrust the right way builds posterior chain power and targets glute hypertrophy more effectively than traditional squats. This comprehensive guide covers step-by-step setup, programming strategies, and critical form cues.
Whether you train with free weights or specialized gym equipment, avoiding common execution errors ensures continuous progress while protecting your spine.
Quick Answer: To perform a hip thrust correctly, sit on the floor with your upper back against a stable bench and brace resistance across your hips. Drive forcefully through your heels until reaching full hip extension, squeezing your glutes at the top before lowering under control.
Key Takeaways
- Glute Activation: Hip thrusts generate significantly higher gluteus maximus recruitment at peak contraction compared to standard squats.
- Pivot Height: Setting your bench or back pad at roughly 16 inches ensures a safe range of motion.
- Spine Alignment: Maintaining a tucked chin and neutral pelvis prevents lumbar hyperextension during heavy loading.
- Progression Path: Lifters can progress seamlessly from bodyweight glute bridges to loaded barbells and dedicated machines.
- Rep Ranges: Hypertrophy goals thrive on 8 to 12 reps with moderate weight and controlled tempo.
What Is a Hip Thrust and Why Is It Effective?
A hip thrust is a horizontal posterior-chain exercise that isolates the gluteal muscles against constant tension throughout hip extension. Electromyographic research shows it generates greater upper and lower glute activation than standard barbell back squats.
Elevating your shoulders onto a bench creates a larger range of motion than floor-based movements. This mechanical advantage places maximum tension on the glutes at full contraction, making it ideal for anyone learning how to build leg muscle.
Athletes and general fitness enthusiasts rely on this lift to improve sprinting speed, jumping mechanics, and pelvic stability. Consistent practice strengthens the hips while mitigating lower back strain caused by sedentary postures.
How Do You Use a Hip Thrust Machine Correctly?
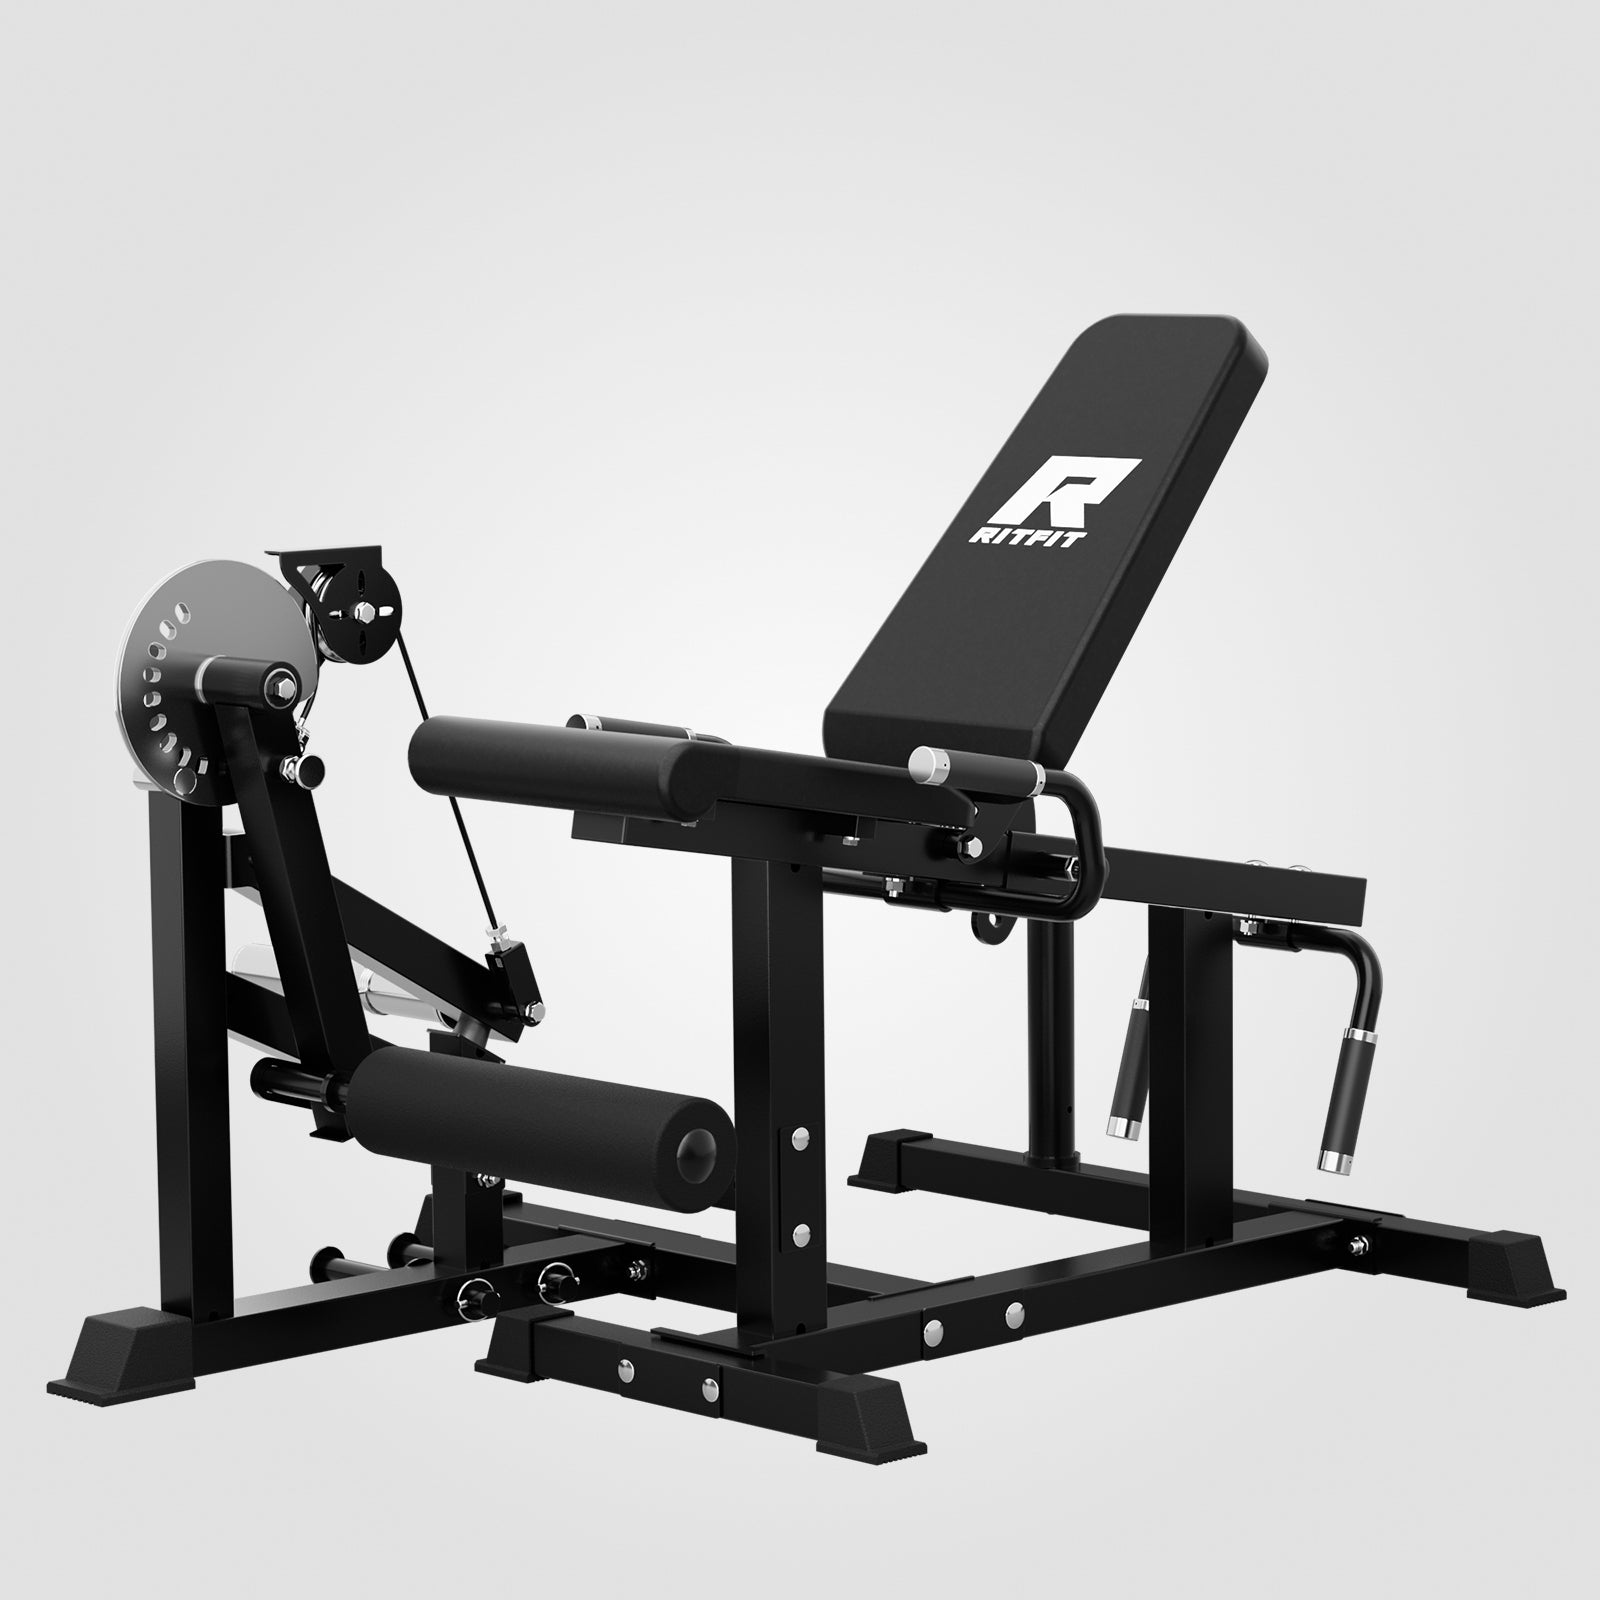
Using a hip thrust machine requires adjusting the padded backrest to your mid-back and securing the lap belt or padded arm across your pelvic crease. This dedicated equipment stabilizes your torso and provides a fixed axis of rotation for safer loading.
Dedicated machines eliminate the awkward setup of rolling loaded barbells over your legs. For home gyms, using the best plate loaded hip thrust machine provides commercial-grade stability in a compact footprint.
- Frame Setup: Position the machine on a level, non-slip floor surface before loading weight plates.
- Backrest Height: Align the pivot pad just below your shoulder blades to ensure seamless torso rotation.
- Belt Placement: Fasten the padded restraint securely over your hips to distribute pressure evenly during the lift.
- Trial Repetition: Perform an unweighted warmup rep to confirm smooth hinge mechanics and footplate grip.

How Do You Perform a Barbell Hip Thrust with Proper Form?
Proper barbell hip thrust form requires positioning your upper back across a sturdy bench with a padded bar resting centered over your hip crease. Executing the movement with vertical shins at lockout ensures direct load transfer to your gluteal muscles.
Mastering the standard barbell hip thrust technique provides the foundational strength needed for heavy lower body progression.
- Step 1 (Bench Setup): Sit on the floor with your mid-back resting against the bench edge and roll a padded barbell over your legs.
- Step 2 (Foot Stance): Plant your feet flat on the floor shoulder-width apart, ensuring your knees bend to 90 degrees at the top of the rep.
- Step 3 (The Drive): Brace your abdominal wall, tuck your chin toward your chest, and push forcefully through your heels to extend your hips.
- Step 4 (Lockout Squeeze): Pause for a full second at the top of the movement with your torso and thighs parallel to the ground.
- Step 5 (Controlled Descent): Lower your hips toward the floor under control, maintaining torso rigidity throughout the negative phase.

What Are the Optimal Sets and Reps for Hip Thrusts?
The optimal sets and reps for hip thrusts depend on your specific training target, ranging from heavy low-rep strength work to high-rep metabolic conditioning. Matching your training volume to your goal ensures steady progress without excessive muscular fatigue.
Adjust your rest intervals based on the load intensity to allow complete neurological and muscular recovery between work sets.
| Training Goal | Sets | Reps | Rest Period | Intensity Level |
|---|---|---|---|---|
| Strength & Power | 3-5 | 3-5 | 2-3 minutes | 85-90% 1RM (Heavy) |
| Hypertrophy (Growth) | 3-4 | 8-12 | 60-90 seconds | 70-80% 1RM (Moderate) |
| Muscular Endurance | 3-4 | 12-20 | 45-60 seconds | 50-65% 1RM (Light to Moderate) |
Source: Standard hypertrophy and strength guidelines adapted for posterior chain programming.
What Are the Best Hip Thrust Variations for Glute Growth?
The best hip thrust variations include glute bridges, single-leg thrusts, dumbbell variations, and banded setups that cater to different equipment access and experience levels. Rotating these movements provides unique resistance curves and prevents training plateaus.
Starting with a basic floor glute bridge teaches pelvic control before adding external resistance.

Unilateral training with a single leg hip thrust corrects side-to-side muscular imbalances while recruiting deeper pelvic stabilizers. Keep your active heel firmly grounded and your non-working knee bent or extended.

If you train at home with limited equipment, a dumbbell hip thrust offers an accessible setup that is simple to adjust. Rest a dumbbell across your pelvic bone and maintain a firm upper back position on your bench.
Adding resistance bands with a banded hip thrust increases tension exponentially toward the lockout point. You can also explore a smith machine hip thrust for a guided path of motion.

What Primary and Secondary Muscles Does the Hip Thrust Work?
The hip thrust primarily targets the gluteus maximus, hamstrings, and adductor magnus while engaging the core and quadriceps as supporting stabilizers. This muscle recruitment pattern makes it an exceptional exercise to strengthen your hips and protect against spinal loading.
- Gluteus Maximus (Primary): Drives hip extension and produces maximum force at the top lockout position.
- Hamstrings (Primary): Assists in hip extension while stabilizing knee angle during the drive phase.
- Adductor Magnus (Primary): Contributes to hip extension and stabilizes the femur during heavy thrusting.
- Quadriceps (Secondary): Maintains 90-degree knee flexion against horizontal shear forces.
- Erector Spinae & Core (Secondary): Keeps the spine rigid and prevents anterior pelvic tilt under load.
What Common Hip Thrust Mistakes Should You Avoid?
The most common hip thrust mistakes include improper foot distance, overarching the lumbar spine, hyperextending the hips past neutral, and letting the knees cave inward. Correcting these execution faults protects your spine and channels tension directly into the glutes.
- Incorrect Foot Placement: Placing feet too close causes quad dominance, while placing them too far shifts load to the hamstrings. Aim for vertical shins at top extension.
- Hyperextending the Lower Back: Tilting the head back causes lumbar arching. Keep your chin tucked and your gaze fixed forward throughout every repetition.
- Over-Thrusting at the Top: Pushing your pelvis beyond parallel compresses lumbar vertebrae without increasing glute activation. Lock out in a straight line from knees to shoulders.
- Knee Valgus (Caving In): Allowing knees to collapse inward reduces glute medius tension. Place a light loop band above the knees to cue active hip abduction.
What Are the Best Hip Thrust Alternatives for Lower Body Strength?
The best hip thrust alternatives include barbell deadlifts, back squats, walking lunges, and weighted step-ups that challenge the lower body through compound movement patterns. These exercises ensure comprehensive leg development when bench space or hip thrusters are unavailable.
Conventional and Romanian deadlifts load the posterior chain through a deep hip hinge, building tremendous pulling power and glute strength.

Barbell squats recruit the quads and glutes through knee and hip flexion. For lifters with home gym racks, combining squats with hip thrusts provides balanced muscular development.

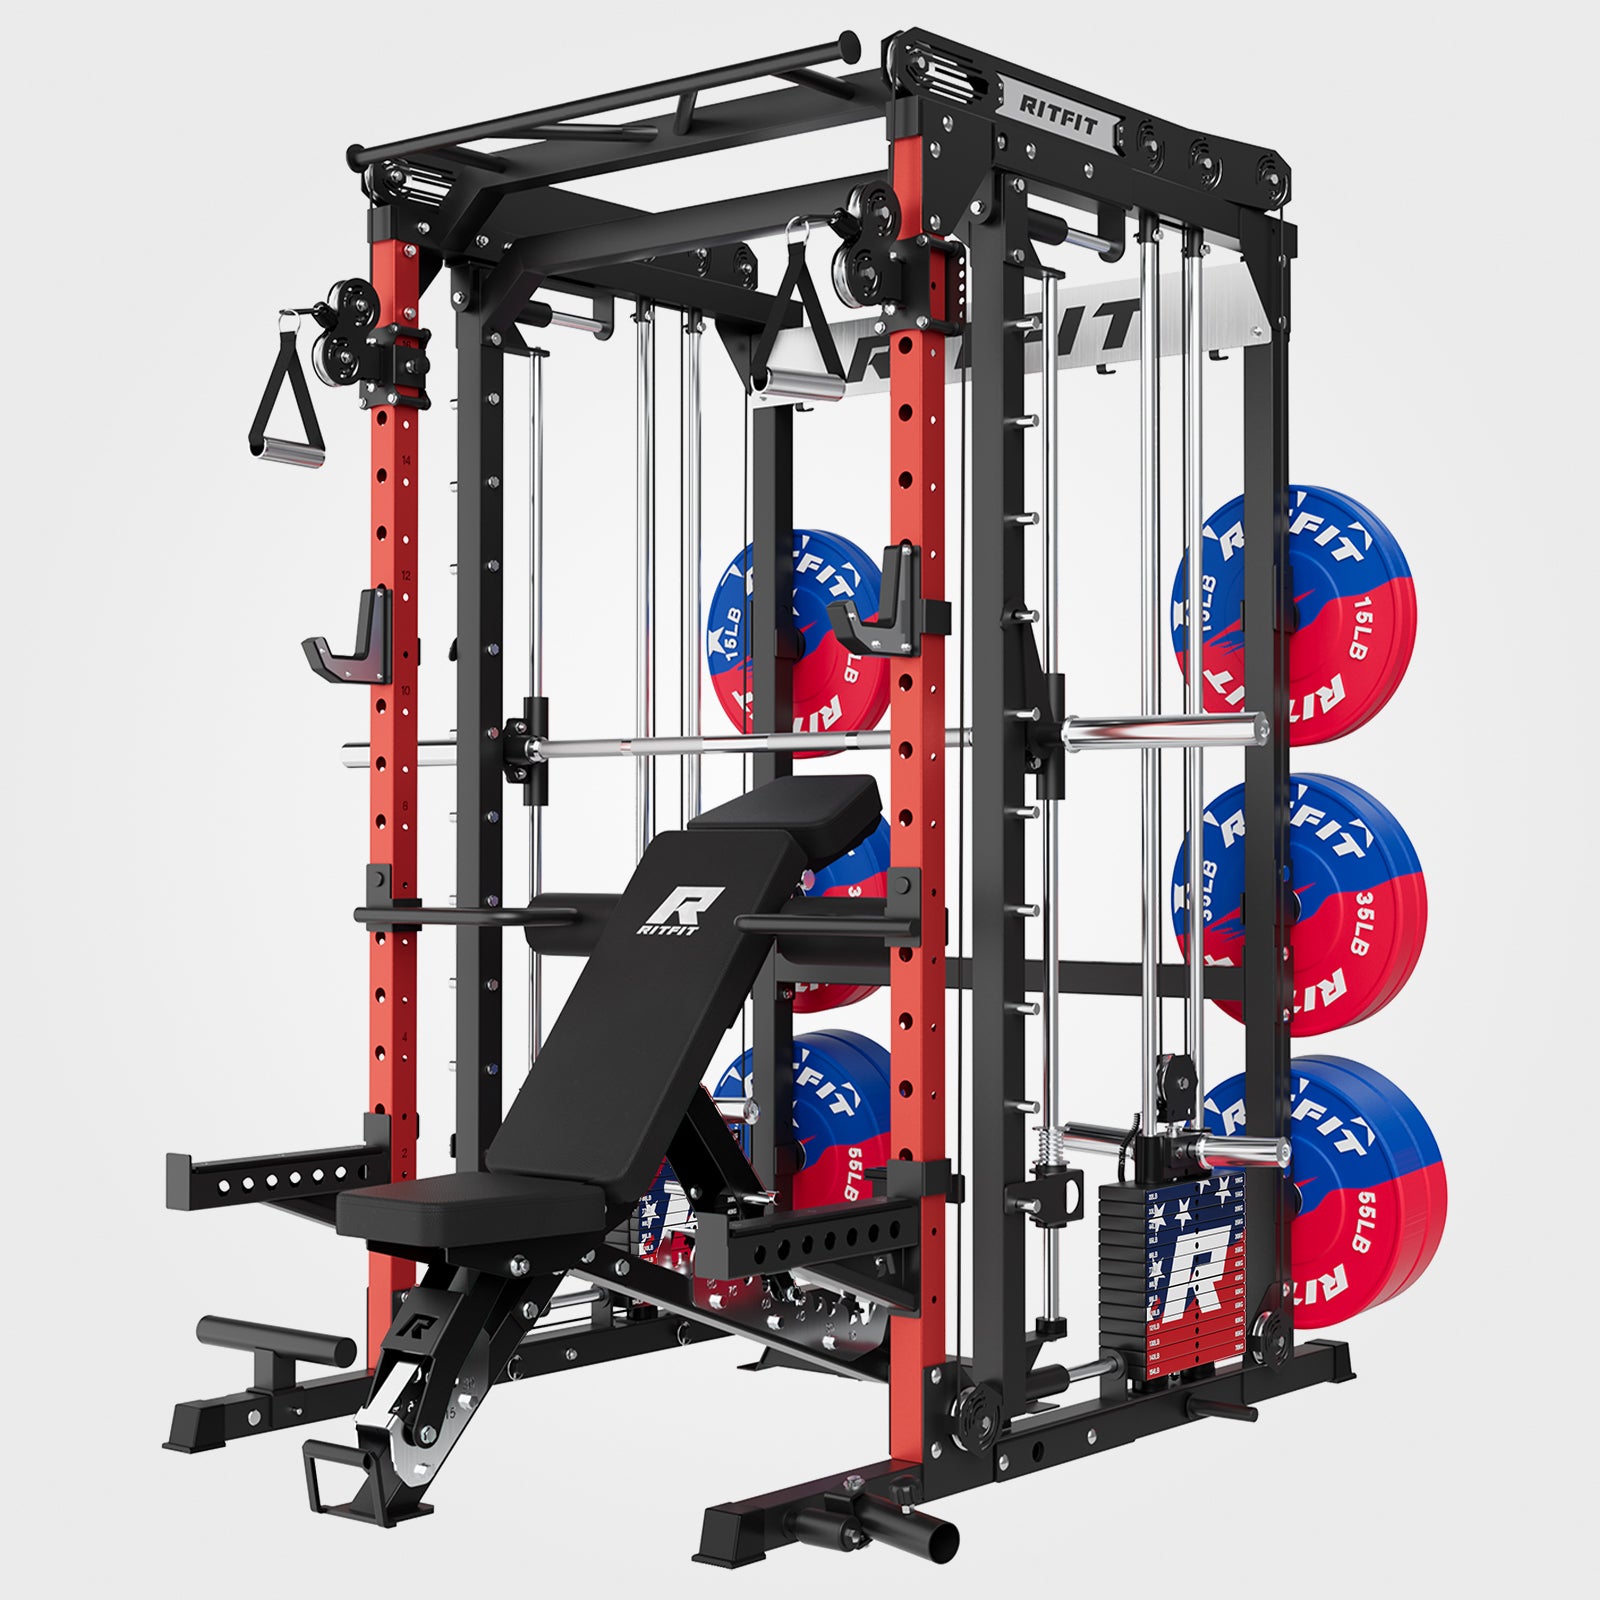
You can also use a dedicated hip abduction machine or the 2 in 1 hip thrust attachment with our power cage collections to expand your lower body workout variety.
FAQs About Hip Thrusts
Who should do the hip thrust?
Hip thrusts can be performed by people of all fitness levels, including beginners, general gym-goers, and elite athletes. They are especially beneficial for individuals looking to build lower body strength, improve athletic sprinting speed, rehabilitate glute amnesia, and stabilize their pelvis against chronic lower back stiffness.
What weight should I start hip thrust?
You should choose a starting weight according to your current strength level, beginning with unweighted bodyweight glute bridges to learn proper pelvic mechanics. Once you master locking out with a tucked chin, progress gradually to a light barbell or dumbbell weighing 20 to 45 pounds before adding heavy resistance.
Can I do the hip thrust and deadlift in the same workout?
Yes, you can perform hip thrusts and deadlifts in the same workout session provided you manage overall training volume and maintain strict form. Doing heavy deadlifts first for posterior chain strength followed by moderate-rep hip thrusts creates an effective combination for maximizing glute hypertrophy and hip extension power.
Do hip thrusts make your hips bigger?
Hip thrusts are specifically designed to strengthen and hypertrophy your gluteus maximus, which increases the muscle fullness and firmness of your backside. However, they will not widen your skeletal pelvic bone structure, because your bone dimensions and overall body composition are primarily determined by genetics and body fat levels.
How often should you hip thrust per week?
Most lifters achieve optimal glute development by performing hip thrusts two to three times per week with at least 48 hours of recovery between sessions. This frequency allows you to stimulate muscle protein synthesis consistently while giving your posterior chain adequate time to repair and adapt.
Conclusion
Mastering how to hip thrust the right way delivers unmatched glute activation, improves posture, and builds lower body power. By maintaining vertical shins, tucking your chin, and avoiding spinal hyperextension, you maximize glute hypertrophy while keeping your lower back safe.
Upgrade your training setup by exploring the RitFit discount guide to find the best deals on power cages, hip thrust attachments, and home gym essentials.
Disclaimer
The training and fitness information in this article is intended strictly for educational purposes and does not replace medical advice. Always consult a certified physician or personal trainer before starting any new heavy lifting routine.