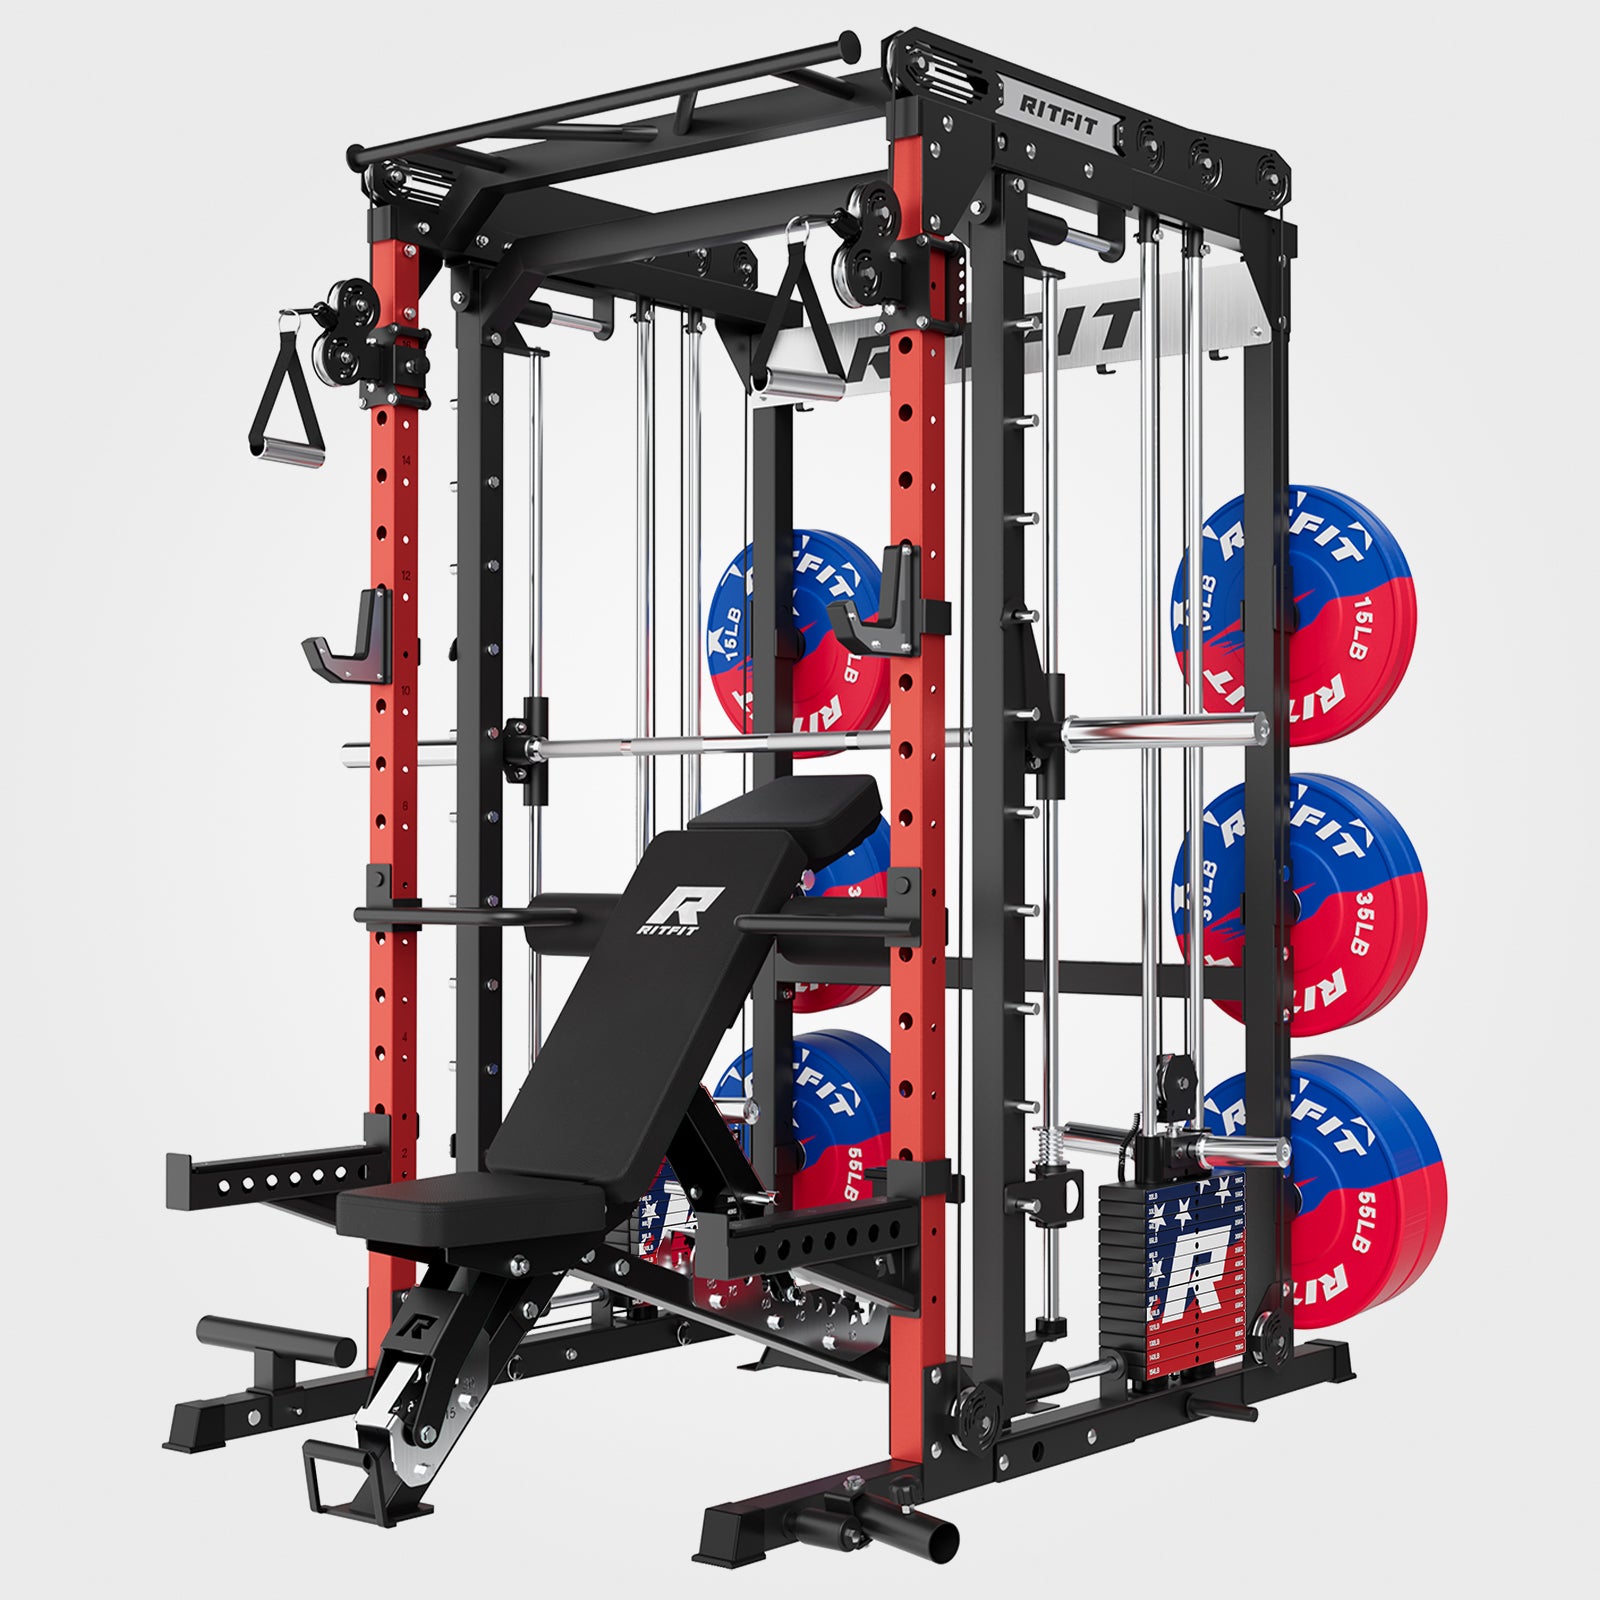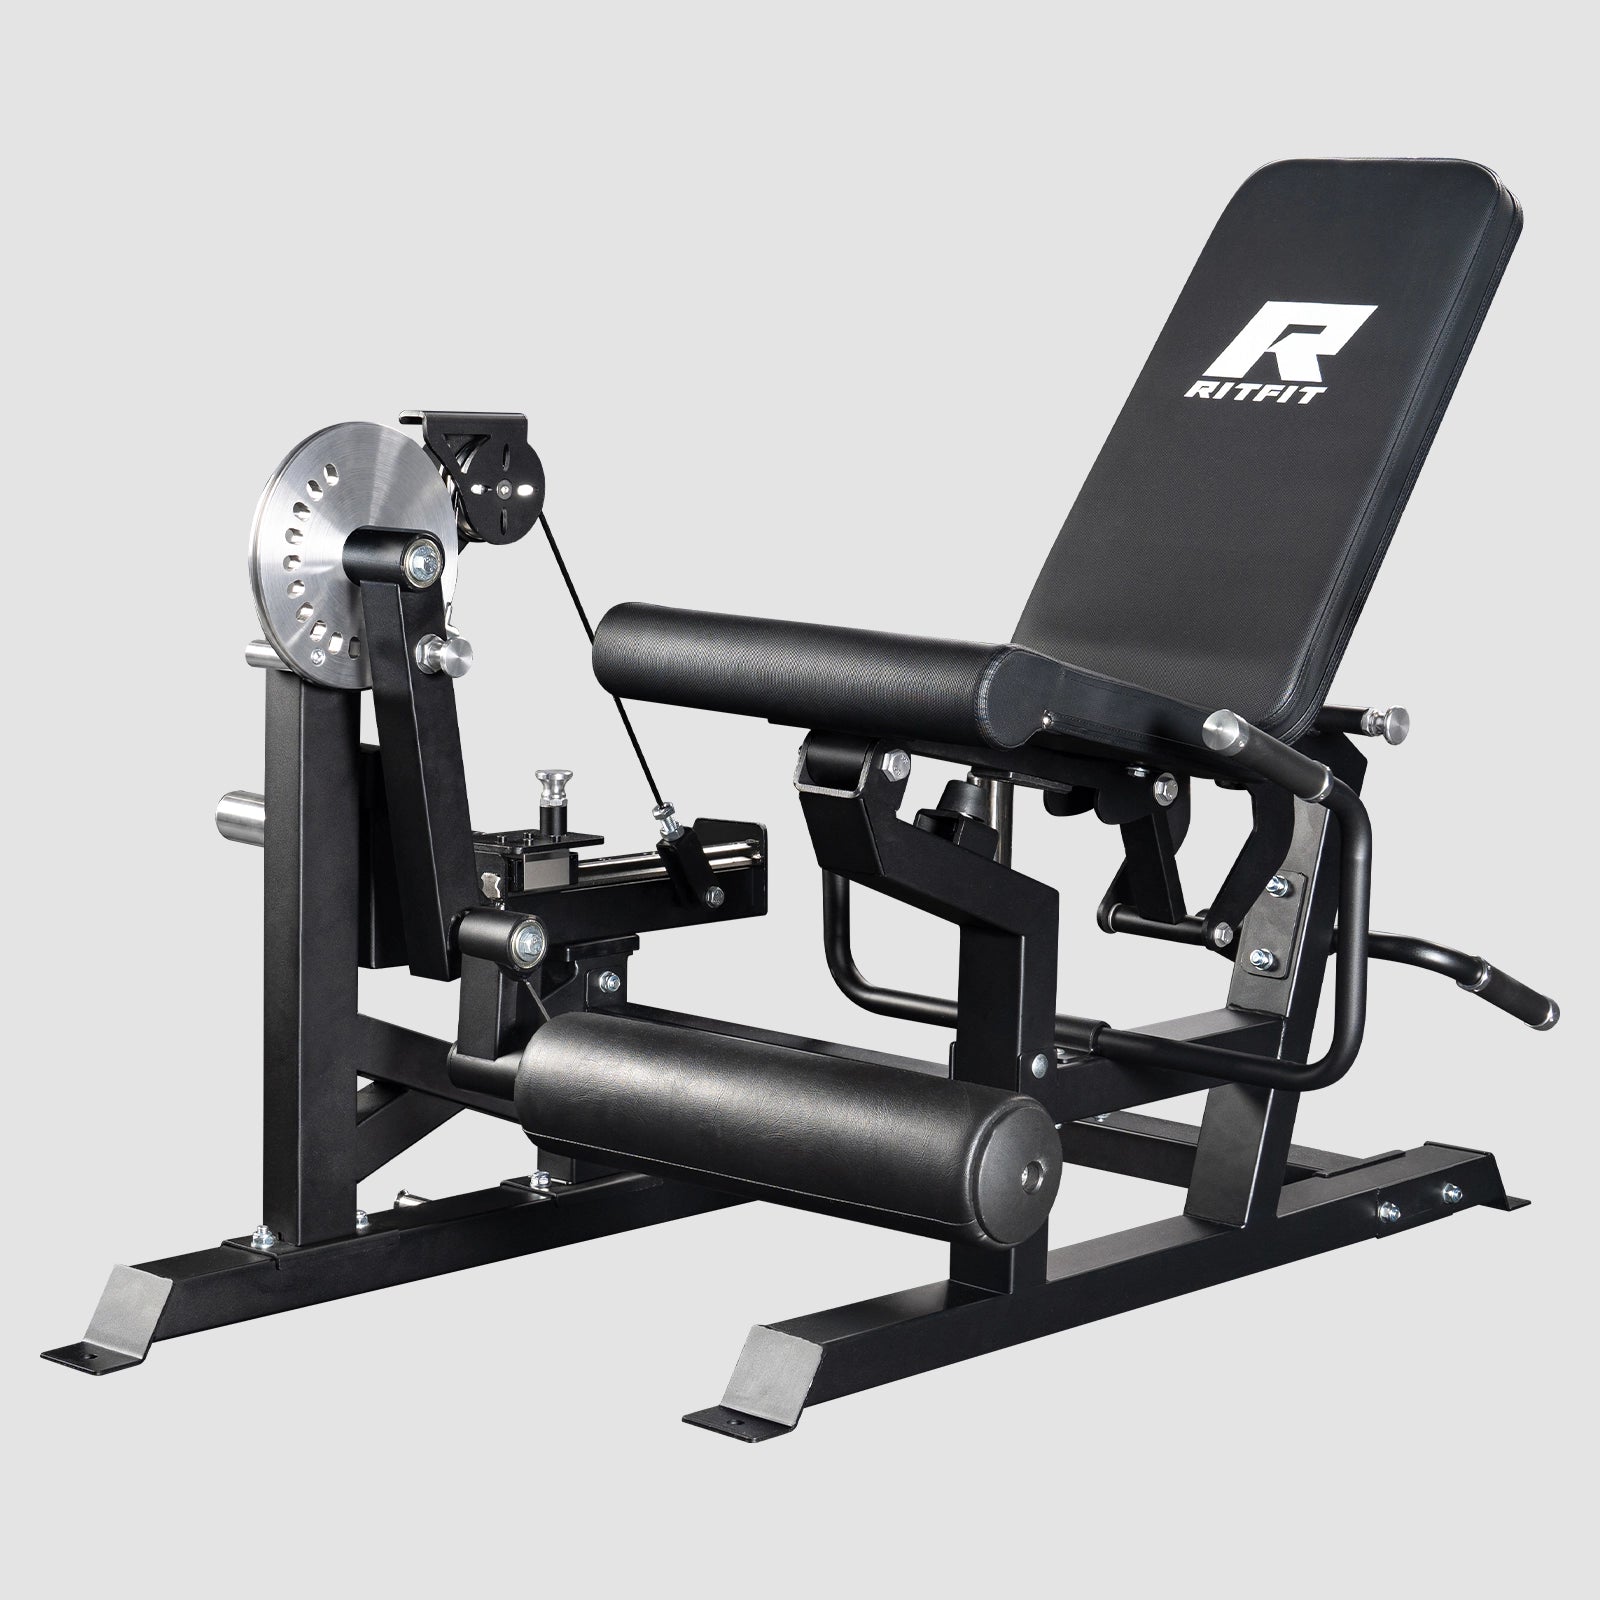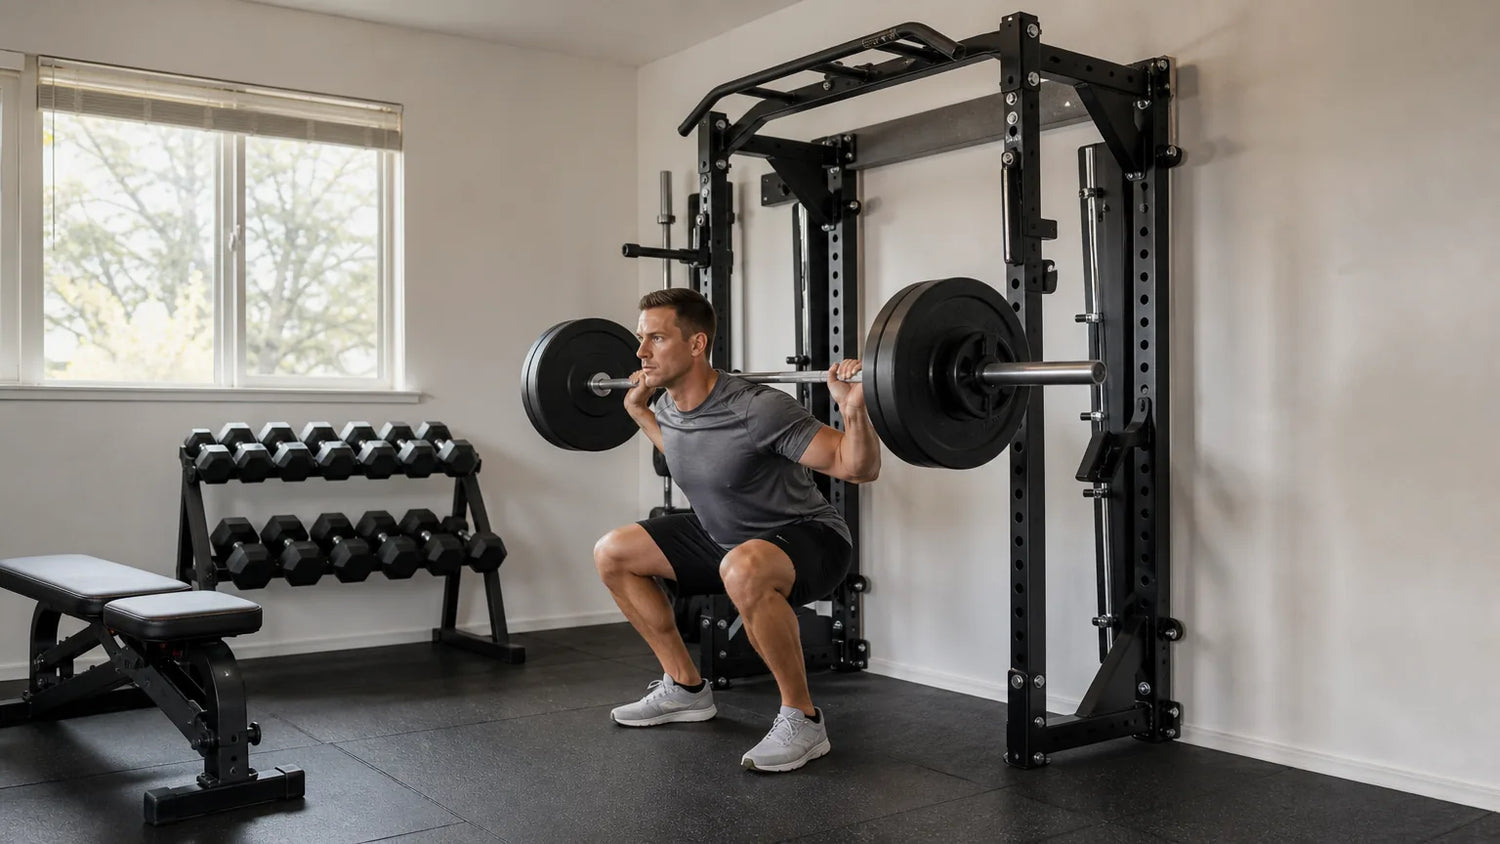
Finding the best budget squat rack for a small space home gym under $600 is one of the most practical decisions a beginner lifter can make. A barbell rack is the equipment that unlocks safe, productive lower body and pressing work at home, and the current market offers genuine options built from commercial-grade steel at this price point.
This guide walks through three rack types that work in tight spaces, compares the RitFit PWM02 wall-mounted folding rack and the RitFit PPC03 power cage by footprint, safety, and budget, and gives you the setup knowledge to train heavy alone with confidence.
Quick Answer: The best budget squat rack for a small space home gym under $600 is a folding wall-mounted rack for rooms under 50 square feet, or a compact power cage for dedicated training spaces where built-in safety arms are the priority for solo barbell work. Both options are available with 3x3 inch 11-gauge steel uprights at this price point.
Key Takeaways
- Space first: A folding wall-mounted rack folds to approximately 5 inches from the wall and requires as little as 25-35 square feet of active workout space, making it the only viable option for rooms under 50 square feet.
- Safety for solo training: A compact power cage with adjustable safety arms is the safer long-term choice for solo heavy squats and bench press, because you can bail without a spotter.
- Steel standard under $600: Look for 3x3 inch 11-gauge steel uprights at this price range, as they offer better rigidity, heavier load tolerance, and wider accessory compatibility than 2x2 inch alternatives.
- Wall mounting requirements: Folding wall-mounted racks must be anchored into wall studs or concrete, not drywall alone, to achieve their rated weight capacity of 800-1,000 pounds.
- Budget is sufficient for real progress: Entry-level racks under $600 support 800-1,100 pounds, which far exceeds the loading needs of most intermediate home gym athletes training with progressive overload.
Why Do Small-Space Home Gym Owners Need a Different Rack Strategy?
Small-space home gym owners need a rack strategy built around footprint and fold-away function, not just price, because a standard full-size power rack can occupy 36-40 square feet of active floor space, which is incompatible with a garage corner or spare bedroom setup. A study published in the Journal of Human Kinetics found that both squat and deadlift training produced significant lower body strength gains over 6 weeks, confirming that a barbell rack is the foundational tool for progressive lower body development at home.[1]
- Standard rack footprint problem: Full-size power racks (typically 48-60 inches deep) require at least 8-10 feet of clear depth, which leaves no room to step back with a loaded bar in most spare bedrooms or single-car garage corners.
- Fold-away advantage: Wall-mounted folding racks reclaim nearly all floor space when folded, turning a home gym room back into a usable living area within seconds.
- Safety is non-negotiable for solo training: Home gym build guides consistently rank a power cage or squat rack as the second most essential purchase after a barbell and plates, because it enables safe solo training on squats and bench press without a spotter.
- Budget alignment: The $400-$600 range now includes genuine commercial-grade options with 3x3 inch 11-gauge steel, not just budget-quality 2x2 inch alternatives that limit accessories and long-term durability.
"If you have the free space and means to buy a bar, a rack, and a bunch of iron, home gyms are great."
Greg Nuckols, MA, Strength Researcher and Coach, Stronger By Science
Decision Matrix: Which Rack Fits Your Space and Budget?
The right rack type depends on three variables, your available floor area, whether you train alone, and whether your walls can accept anchor bolts. The table below maps each rack type to the scenario it serves best, using RitFit product specs as the decision anchor.
| Rack Type | Style | Active Footprint | Uprights | Budget Tier | Solo Training Safety | Best For |
|---|---|---|---|---|---|---|
| RitFit PWM02 Wall-Mounted Folding Rack | Wall-mounted folding | Folds to approx. 5 in. from wall | 3x3 uprights | Under $600 | Requires safeties (included) | Under 50 sq ft, rented garage |
| RitFit PPC03 Power Cage | Freestanding full cage | Approx. 25-30 sq ft footprint | 3x3 uprights | Under $600 | Safety arms included | Dedicated gym space, solo training |
| Squat Stand (2-upright) | Freestanding open | Approx. 15-20 sq ft footprint | Varies | Under $300 | No built-in safeties | Experienced lifters with a spotter |
Footprint figures are approximate active training areas including recommended barbell clearance. Fold-away dimensions apply to the PWM02 when folded against the wall.
How Much Space Do You Actually Need for Each Rack Type?
A folding wall-mounted rack requires the least permanent floor space, as the PWM02 folds to roughly 5 inches from the wall when not in use, leaving your room fully functional for other purposes.
- Folding wall-mounted rack (RitFit PWM02): Folded depth approx. 5 inches. Active training footprint approx. 25-35 sq ft including barbell swing clearance. Ceiling height requirement: leave at least 12 inches between the top of your loaded barbell and the ceiling to allow safe unracking.
- Compact power cage (RitFit PPC03): Permanent footprint approx. 25-30 sq ft. Requires a dedicated corner or room, but delivers full four-upright cage security and integrated safety arms.
- Squat stand (two uprights): Smallest permanent footprint at 15-20 sq ft, but lacks the enclosed bar path of a cage, requiring the lifter to bail sideways on a failed rep rather than lower the bar to safeties.
- Barbell clearance rule: Always add 2-3 feet of clear space on each side of the bar beyond the rack frame to allow safe unracking, stepping, and bailing without obstruction.
Is a Squat Stand or a Power Cage Better for a Small Home Gym?
A compact power cage is the better long-term investment for most small home gym owners training alone, because adjustable safety arms eliminate the need for a spotter on heavy squats and bench press.
- Squat stand advantage: Two-upright designs are the most portable and offer the absolute smallest active footprint, which suits experienced lifters who have a training partner present or who are comfortable bailing sideways from failed lifts.
- Power cage advantage: Four-upright cage structure with adjustable safety arms is the difference between a safe solo training session and a genuine medical emergency on a failed heavy squat.
- The solo training calculus: If you train alone at least some of the time, the additional safety margin of a cage more than justifies the slightly larger footprint compared to a squat stand.
What Should You Look for in Any Budget Squat Rack Under $600?
Any budget squat rack worth buying at this price point should meet three non-negotiable standards: 11-gauge steel uprights of at least 2x3 or 3x3 inches, a rated weight capacity above 800 pounds, and included safety arms with adjustable height. A study found that both lighter and heavier loads produced comparable squat strength gains when total volume was matched, meaning a budget rack with modest plate capacity is sufficient for meaningful progress at the majority of home gym training loads.[2]
Why Do Steel Gauge and Upright Size Matter Under $600?
Steel gauge and upright cross-section are the two numbers that determine how much your rack flexes under load and which accessories are compatible with it long term.
- 11-gauge steel: The industry standard for racks above $400, with a wall thickness of approximately 0.120 inches, producing minimal flex under heavy loading. Thinner gauges (14-gauge or higher number) feel noticeably wobbly at loads above 300 pounds.
- 3x3 inch uprights: The current standard for mid-range to commercial racks, providing a wider attachment surface for J-hooks, dip bars, spotter arms, and landmine attachments than 2x2 inch uprights.
- 2x3 inch uprights: An acceptable compromise at the lower end of the $400-$600 range, still offering better rigidity than 2x2 inch but with more limited accessory compatibility.
- Why upright size matters for accessories: J-hooks, dip handles, band pegs, and landmine attachments are typically designed for a specific upright width. Choosing 3x3 inch now avoids forced accessory replacement if you upgrade your training later.
What Weight Capacity and Safety Features Should a Budget Rack Include?
A budget rack at $400-$600 should carry a static weight capacity of at least 800 pounds, and it should include adjustable safety arms or spotter pins as a standard feature, not an optional add-on.
- Weight capacity reality check: Most intermediate home gym athletes never load more than 300-400 pounds total, making an 800-1,100 pound rated cage far more than adequate for years of progressive training.
- Safety arms vs. safeties: Safety arms (horizontal bars that span the inside of a cage) are preferable to pin-pipe safeties for most users, as they catch a failed bar across a wider contact surface and require less precise positioning.
- J-hook quality: Cheap J-hooks scratch and mar the bar knurling with every rep. Look for racks with UHMW plastic-lined J-hooks, which protect the bar and reduce noise significantly.
How Does Hole Spacing Affect Your Training Options?
Hole spacing determines how precisely you can position the bar height for squats, bench press, and safety arms, with Westside (1-inch) spacing in the bench zone offering the most adjustability for mixed-height training.
- Standard 2-inch hole spacing: Found on most entry-level racks, adequate for squats and overhead press but occasionally imprecise for bench press bar height.
- Westside 1-inch hole spacing: Tighter spacing in the middle section of the uprights allows you to fine-tune both the bar and safety arm position to match your exact squat depth or bench press starting position.
- Practical impact: Westside spacing is most valuable for taller or shorter lifters whose proportions place the ideal rack height between standard 2-inch increments.
Bar placement on the rack affects squat mechanics and muscle activation, so proper J-hook height adjustment is a functionally important setup step, not merely a convenience.[3] Pair your new rack with a quality best squat rack for small space guide to confirm the right height for your build before loading heavy.
Watch the RitFit PPC03 power cage in action to see how its safety arm system and cable crossover attachment work in a real home gym setup:
Is a Wall-Mounted Folding Rack Right for Your Space?
A wall-mounted folding rack is right for your space if your gym room doubles as a living area, your floor space is under 50 square feet, and your walls are attached to wood studs or concrete that can support the mounting load. Home gym review sources confirm that quality folding racks start under $400, with 3x3 11-gauge steel options available under $600, making this format genuinely accessible at the budget tier.
What Wall Requirements Does a Folding Squat Rack Need?
A folding squat rack must be anchored directly into wall studs or a concrete wall to achieve its rated weight capacity, which is typically 800-1,000 pounds when properly mounted.
- Stud mounting (wood-frame walls): Locate studs with a stud finder, use lag bolts of at least 3 inches in length, and space mounting points across two or more studs for load distribution. Studs are typically 16 inches apart in North American residential construction.
- Concrete wall mounting: Use concrete anchors rated for the weight capacity of your rack plus the maximum load you intend to lift. Expansion or wedge anchors rated at 500+ pounds each are standard.
- Drywall alone is not safe: Mounting into drywall without reaching studs will not hold under load and creates a serious safety hazard. A failed mount under a loaded barbell is a medical emergency.
- Rented spaces: Discuss with your landlord before mounting. Some renters use a freestanding wood wall frame anchored to the floor instead of drilling into the building wall, which also creates a removable mount point for a folding rack.
How Does the Folded Profile Compare to the Active Training Footprint?
The folded profile of a wall-mounted rack like the PWM02 is approximately 5 inches of depth from the wall, compared to its active training depth of roughly 21-24 inches when swung out for use.
- Folded state: The rack sits nearly flush against the wall, allowing the room to be used for yoga, stretching, or as a spare bedroom with no obstruction.
- Active state: When deployed, you need approximately 25-35 square feet of clear floor space in front of the rack to move freely with a loaded barbell, including 2-3 feet of side clearance per end of the bar.
- Ceiling clearance: Measure floor-to-ceiling height before buying any rack. Leave at least 12 inches of overhead clearance above the highest J-hook position to allow safe overhead pressing and barbell unracking without collision risk.
For a deeper look at the PWM02 setup and mounting process, read the full wall-mounted folding squat rack guide covering installation, load testing, and accessory options.
Is a Budget Squat Rack Under $600 Worth the Long-Term Investment?
A budget squat rack under $600 is worth the long-term investment for most home gym athletes, because the annual cost of ownership is far lower than a commercial gym membership and the rack supports years of progressive strength training without needing replacement. Home gym review sources confirm that quality folding racks with 3x3 11-gauge steel construction are available under $600, representing a genuine value tier for serious lifters.
How Does the Cost Compare to a Commercial Gym Membership Over Two Years?
A $500 squat rack spread over two years of daily access costs roughly $20 per month before accounting for any resale value, compared to commercial gym memberships that typically run $30-$80 per month.
- Break-even point: At $40 per month for a mid-range gym membership, a $500 rack pays for itself in just over 12 months, after which every training session is effectively free.
- No commute, no wait times: Home gym training eliminates travel time and equipment wait periods, which many athletes find increases training consistency and total session volume over time.
- Resale value: Quality steel racks hold resale value well, particularly 3x3 11-gauge models. If you move or upgrade, the rack rarely sells for less than 50-60% of its original price.
- Complementary equipment savings: A rack enables barbell training that would otherwise require a fully equipped commercial gym. Adding a best budget dumbbell set for home gym and rubber flooring completes a functional home setup for under $1,500 total.
What Is the Upgrade Path After Buying a Budget Rack?
The natural upgrade path from a sub-$600 rack starts with accessories, moves to a better barbell, and eventually to a heavier-duty mid-range rack if your strength exceeds the entry-level weight limits.
- Immediate accessories (within the first year): Quality J-hooks, a pull-up bar (if not included), and rubber flooring are the highest-value additions to any compact rack setup.
- Barbell upgrade: Most budget racks come without a barbell. Invest in a barbell rated for at least 1,200-1,500 pounds, with a quality knurl, as this is the single item you will hold in your hands every session.
- Mid-range rack upgrade: When your squat exceeds 400-500 pounds or you want heavier cable attachments and specialty bar hooks, a mid-range power rack in the $800-$1,000 range becomes worth exploring. The power rack for home gym under $1,000 guide covers the next step up from the PPC03.
- Cable and multi-function upgrade: The RitFit M1 Smith Machine with squat rack combines cable crossover functionality with barbell training in a space-efficient unit, which suits small gyms that outgrow a basic rack.
- Full gym build: Read how to build a home gym under $1,000 for a complete equipment list that works alongside your rack purchase.
How Do You Set Up a Small Home Gym Rack Safely?
Setting up a small home gym rack safely requires correct safety bar placement for your squat depth, proper flooring under and around the rack, and a practiced bail-out rehearsal before loading heavy. Strength coaches recommend setting safety bars 1-2 inches below your lowest squat depth for any solo heavy training session, ensuring the bar contacts the safeties before your body is pinned if a rep fails.
How Should You Set Safety Bar Height for Solo Squat Training?
Safety bars should be set 1-2 inches below the lowest point of your squat depth, which you identify by performing a bodyweight squat to your normal bottom position and noting where the barbell would be at that moment.
- Step 1 - Find your depth: Perform a bodyweight squat to your normal depth and have a training partner or video confirm the bar position. Mark the corresponding upright hole.
- Step 2 - Set safeties one hole below: Position safety arms 1-2 inches (one hole on most racks) below that mark. This gives the bar a landing point on a failed rep without catching before you reach full depth on a good rep.
- Step 3 - Test with an empty bar: Load the bar with just the collars and perform a controlled descent to the bottom, allowing the bar to contact the safeties at the bottom. Confirm there is no contact during the descent and that the catch feels solid.
- Step 4 - Rehearse the bail: Practice stepping out from under a failed bar with the empty barbell on the safeties at least 3-5 times before your first heavy training session. Familiarity with the bail removes hesitation when it matters.
What Flooring Should You Use for a Small Home Gym Rack?
Rubber flooring or horse stall mats at least 3/4 inch thick are the minimum standard for any home gym with a barbell rack, providing vibration dampening, floor protection, and a stable non-slip surface under the rack feet.
- Horse stall mats (4x6 ft, 3/4 in): The most cost-effective option at roughly $40-$50 per mat. Two mats cover a standard compact rack footprint and deadlift zone. Cut with a utility knife for a precise fit.
- Interlocking rubber tiles: More expensive per square foot but easier to configure around wall-mounted rack anchor points and in non-rectangular rooms.
- Concrete floors: Require full rubber coverage under the entire training zone to protect the floor and dampen noise for any below-floor residents or neighbors.
- Hardwood or laminate: Must be protected with rubber mats. Never place rack feet directly on unprotected hardwood, as point load from rack feet can dent or crack the flooring under heavy use.
For a complete list of small home gym equipment essentials that complement your rack, including flooring, barbells, and storage solutions, see our dedicated guide.
Compact dumbbell storage beside your rack is handled by the RitFit dumbbell rack for home gym, and the RitFit Gazelle leg press and hack squat machine adds lower body variety in a space-efficient footprint.
FAQs About Best Budget Squat Rack for Small Space Home Gym
What is the minimum floor space needed for a compact squat rack in a home gym?
Most compact squat stands and folding wall-mounted racks require as little as 25-35 square feet of active workout space, and a folding wall-mounted rack folds to 4-6 inches from the wall when not in use. Always add 2-3 feet of clearance on each side of the barbell for safe movement and bailing room.
Is a 3x3 inch 11-gauge steel squat rack worth the extra cost under $600?
Yes, 3x3 inch 11-gauge steel uprights offer significantly better rigidity and attachment compatibility than 2x2 inch alternatives, and they are attainable under $600 in the current market. The extra gauge reduces rack wobble and lets you add dip stations, spotter arms, and landmine attachments as your training advances.
Can I mount a folding squat rack on drywall without studs?
No, folding wall-mounted squat racks must be anchored into wall studs or a concrete wall to achieve their rated weight capacity of 800-1,000 pounds. Mounting into drywall alone is unsafe and will not hold under load. Always locate studs, use lag bolts of at least 3 inches, and consult the installation guide before mounting.
What is the difference between a squat stand and a power cage for a small home gym?
A squat stand uses two independent uprights with the smallest floor footprint but lacks safety bars for solo training, while a power cage encloses the bar path with four uprights and adjustable safety arms. For most home gym users training alone, a compact power cage is the better long-term investment for safe solo squats and bench press.
How do I set safety bars correctly for solo squat training at home?
Set safety bars 1-2 inches below the lowest point of your squat depth by performing a bodyweight squat to your normal depth and noting bar position. Set safeties just below that point, then rehearse the bail with an empty bar to confirm clearance before loading heavy.
Is a budget squat rack under $600 strong enough for serious strength training?
Yes, entry-level racks under $600 typically support 800-1,100 pounds, far exceeding the loading needs of intermediate lifters. A study found that consistent squat training with progressive overload produces significant strength gains whether loads are light or heavy when volume is matched, confirming a budget rack supports real long-term progress.
What accessories should I prioritize with a budget squat rack for a small home gym?
Prioritize these in order: a set of quality J-hooks and safety arms, rubber flooring or horse stall mats at least 3/4-inch thick, a barbell rated for Olympic lifting loads, and a weight bench if you plan to bench press. A pull-up bar is a high-value add-on included with many compact racks.
Conclusion
The best budget squat rack for a small space home gym under $600 depends on your floor area. Choose a folding wall-mounted rack for rooms under 50 square feet or a compact power cage with safety arms for dedicated training spaces where solo barbell safety is the priority.
Start with correct safety bar placement, rubber flooring, and a practiced bail rehearsal before loading heavy. Browse the RitFit gym rack collection to compare current specs and pricing, or read the best home gym equipment under $500 guide to build out your complete setup.
Disclaimer
The information in this article is for general educational purposes only and does not constitute professional fitness, medical, or structural engineering advice. Consult a qualified fitness professional or licensed contractor before installing wall-mounted equipment or beginning a new strength training program.
Save on your next RitFit order
Tap the button to copy your code, then paste it at checkout.
References
1. Nigro F, Bartolomei S. A Comparison Between the Squat and the Deadlift for Lower Body Strength and Power Training. J Hum Kinet. 2020;73:145-152. doi:10.2478/hukin-2020-0021
2. Valenzuela-Barrero C, Alegre LM, Mora-Custodio R, Dominguez R, Requena B, Pareja-Blanco F. Effects of light- vs. heavy-load squat training on velocity, strength, power, and total mechanical work in recreationally trained men and women. Biol Sport. 2024;41(2):3-11. doi:10.5114/biolsport.2024.130786
3. Kristiansen E, Larsen S, Haugen ME, Helms E, van den Tillaar R. A Biomechanical Comparison of the Safety-Bar, High-Bar and Low-Bar Squat around the Sticking Region among Recreationally Resistance-Trained Men and Women. Int J Environ Res Public Health. 2021;18(16):8351. doi:10.3390/ijerph18168351