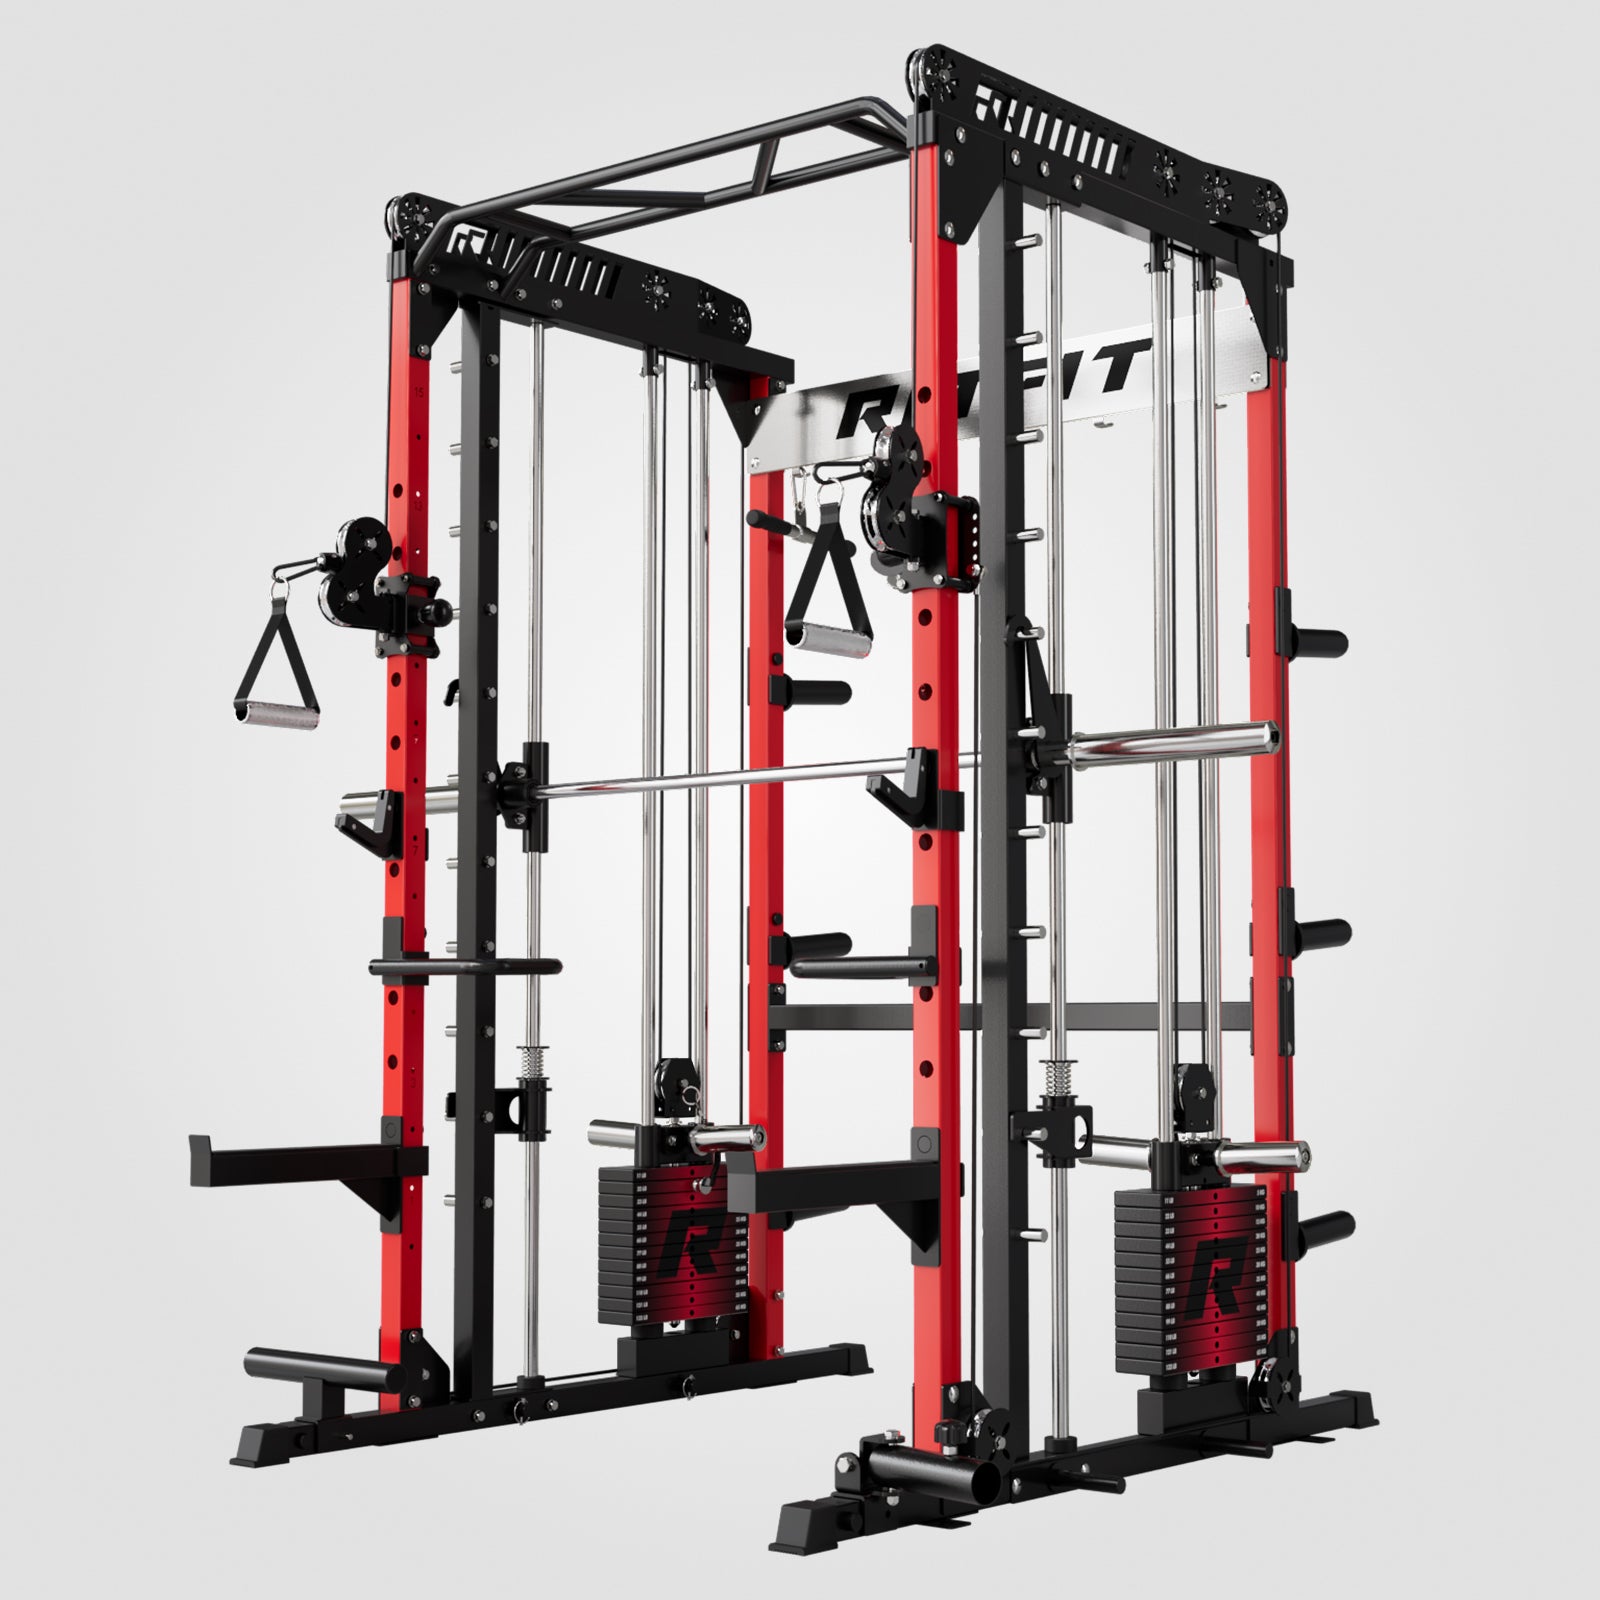
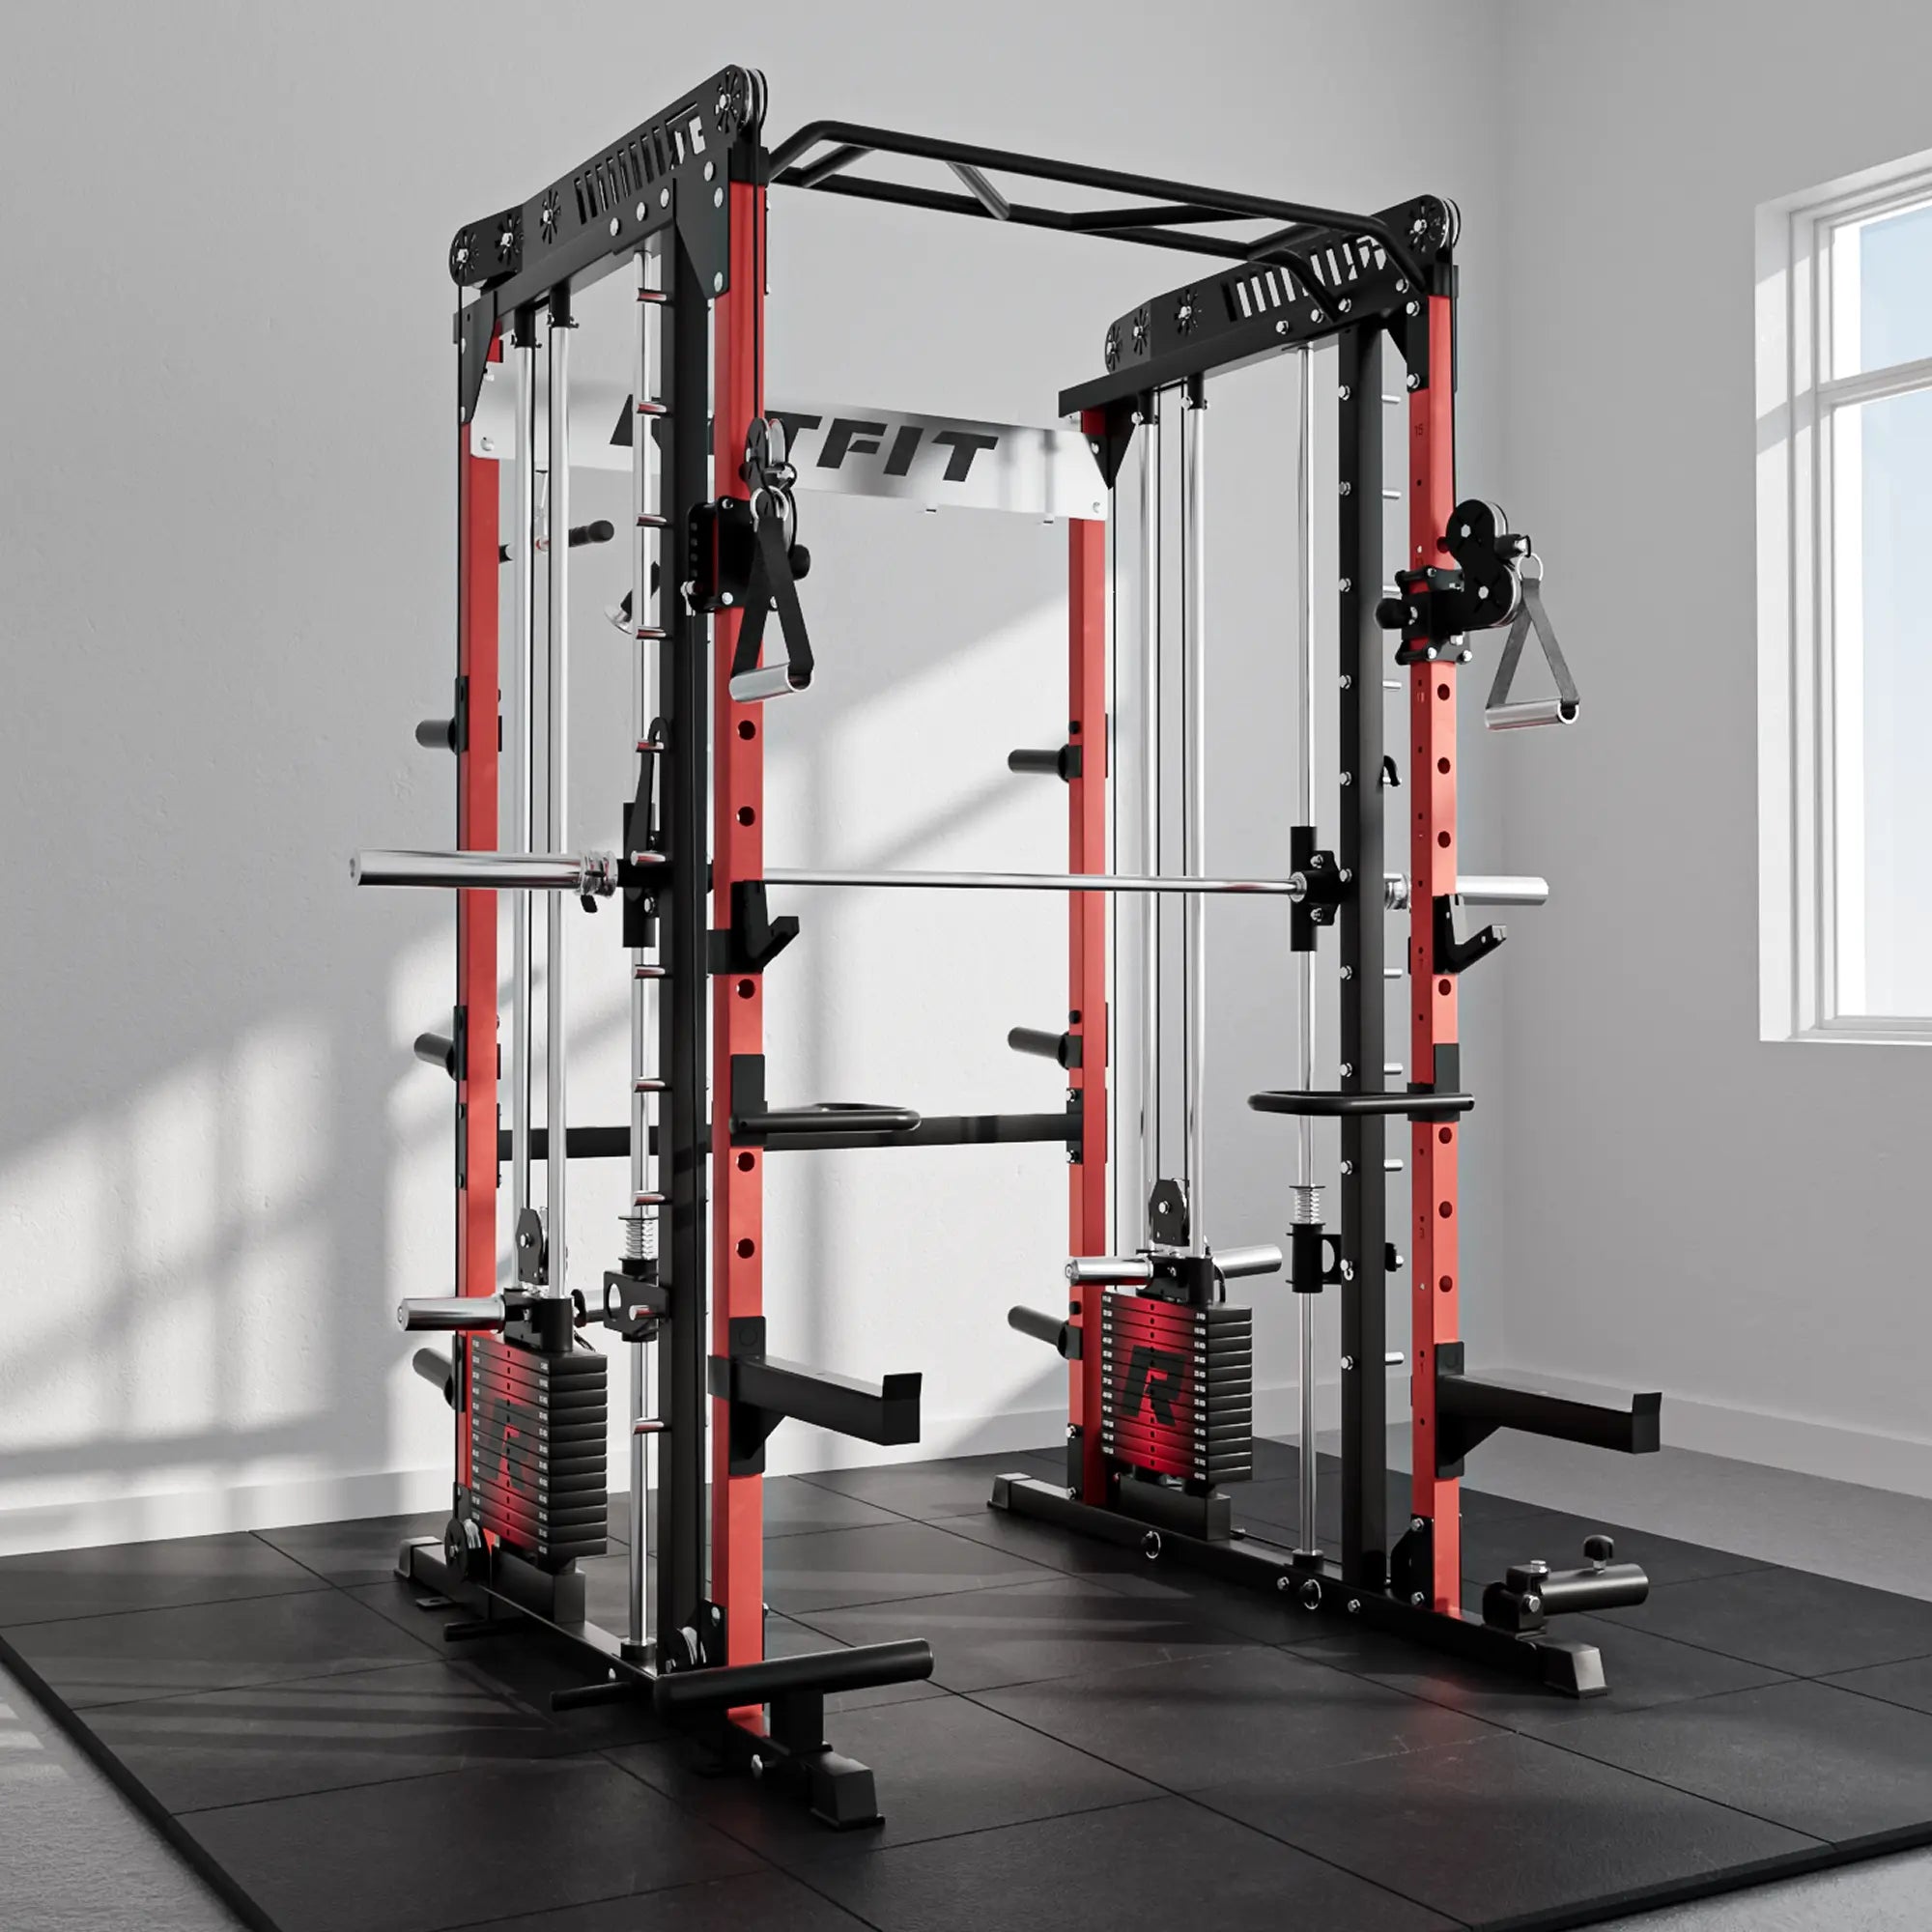

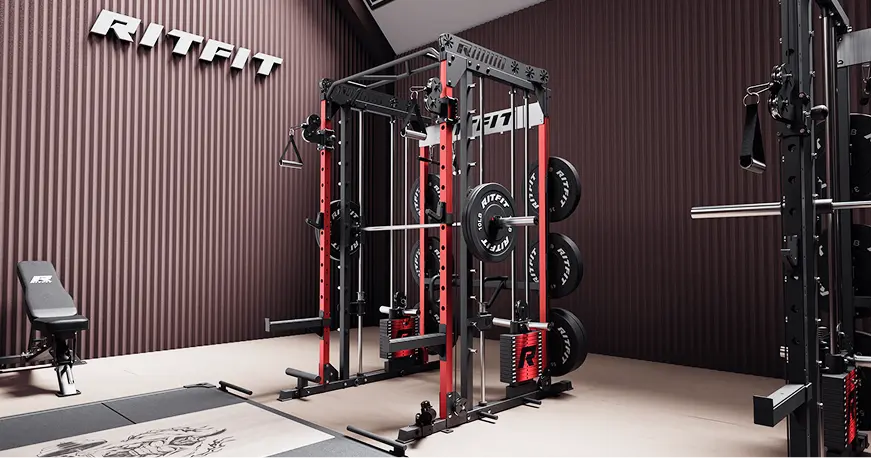
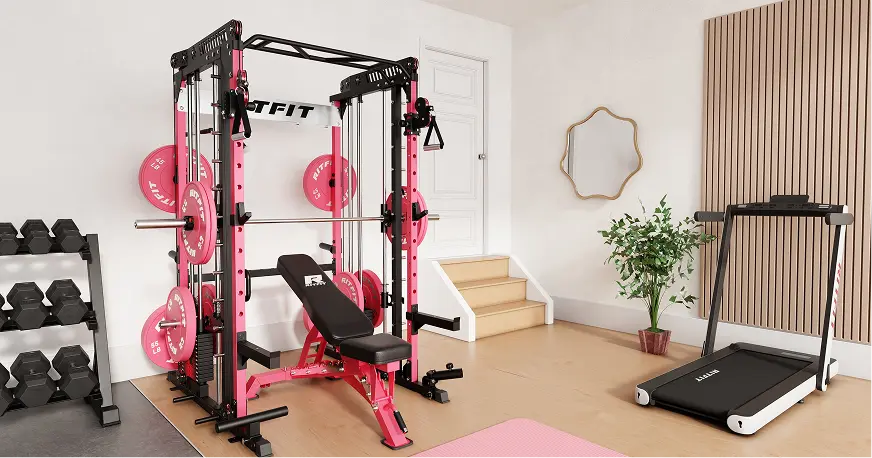
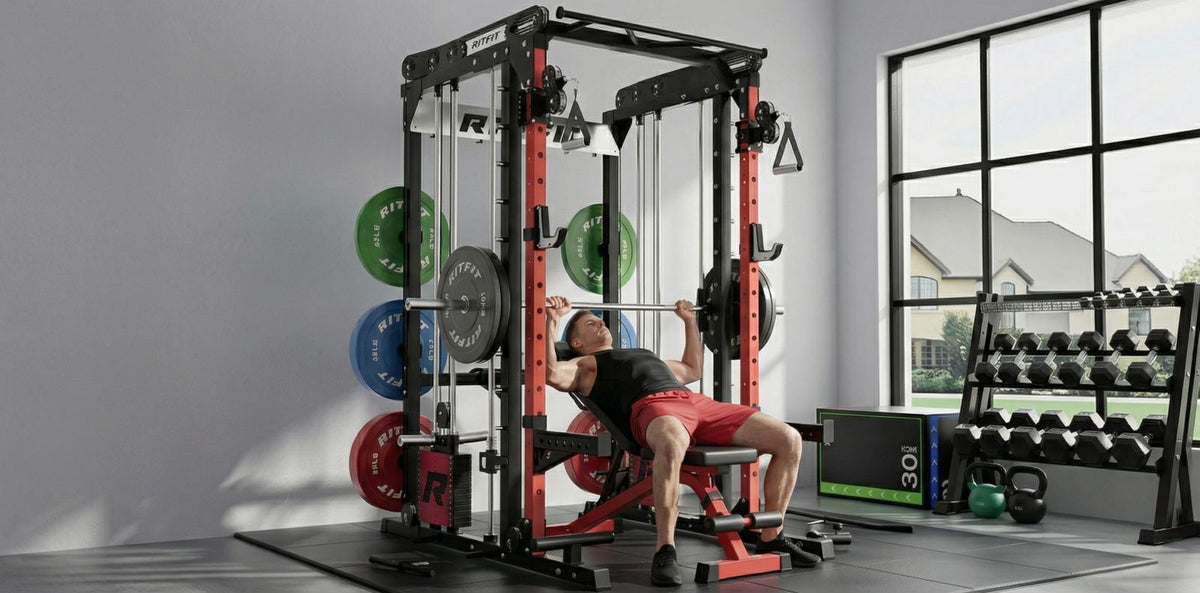
A home bench press machine should fit your room, bench, and preferred Smith bar path, with catches you can set for your lifting position. The RitFit M2 family offers plate-loaded M2 3D and stack-loaded M2 Pro or M2 Pro 3D configurations.
This guide compares those options, covers bench clearance and catch setup, and explains how to choose. Confirm the selected model and current specifications before ordering.
Quick Answer: A home bench press Smith machine is a good fit when its bar path, adjustable catches, bench clearance, and footprint suit your room. The RitFit M2 Pro 3D combines dual selectorized cable stacks with a 3D Smith bar, while the M2 Pro has a fixed Smith path and the plate-loaded M2 3D has a 3D bar; set the catches before each solo set.
Key Takeaways
- Safer solo pressing: A Smith style setup gives home lifters more control when training without a spotter.
- More natural path: The M2 3D concept is built for users who want a less rigid feel than a straight only fixed track.
- Better home gym value: The machine is more practical when it supports pressing, lower body work, and cable based training in one station.
- Setup matters: Bench position, bar alignment, and safety stop height matter more than the machine name alone.
- Buy for your use case: The best choice is the one that fits your room, training style, and long term progression.
What Makes a Smith Machine a Strong Choice for Home Bench Press?
A home bench press machine should match your preferred bar path, provide adjustable catches, and leave enough room for your bench and access around the station. A guided bar can support repeatable setup, but it does not guarantee a safe lift or replace correctly positioned catches and sound load selection.
- Solo safety: Home lifters often train alone, so a guided bar and adjustable catches can reduce the fear of missed reps.
- Consistent bar path: A controlled track can help newer lifters learn setup, elbow position, and pressing rhythm with less wobble.
- Space efficiency: A strong all in one setup should let you do more than bench press so the room works harder for you.
- Progressive overload: A stable pressing environment makes it easier to add reps, tempo work, and load over time.
- Better fit for home users: Many buyers want a practical solution, not a commercial gym style setup that demands extra space and a full spotter setup.
What Is the RitFit M2 3D Pro?
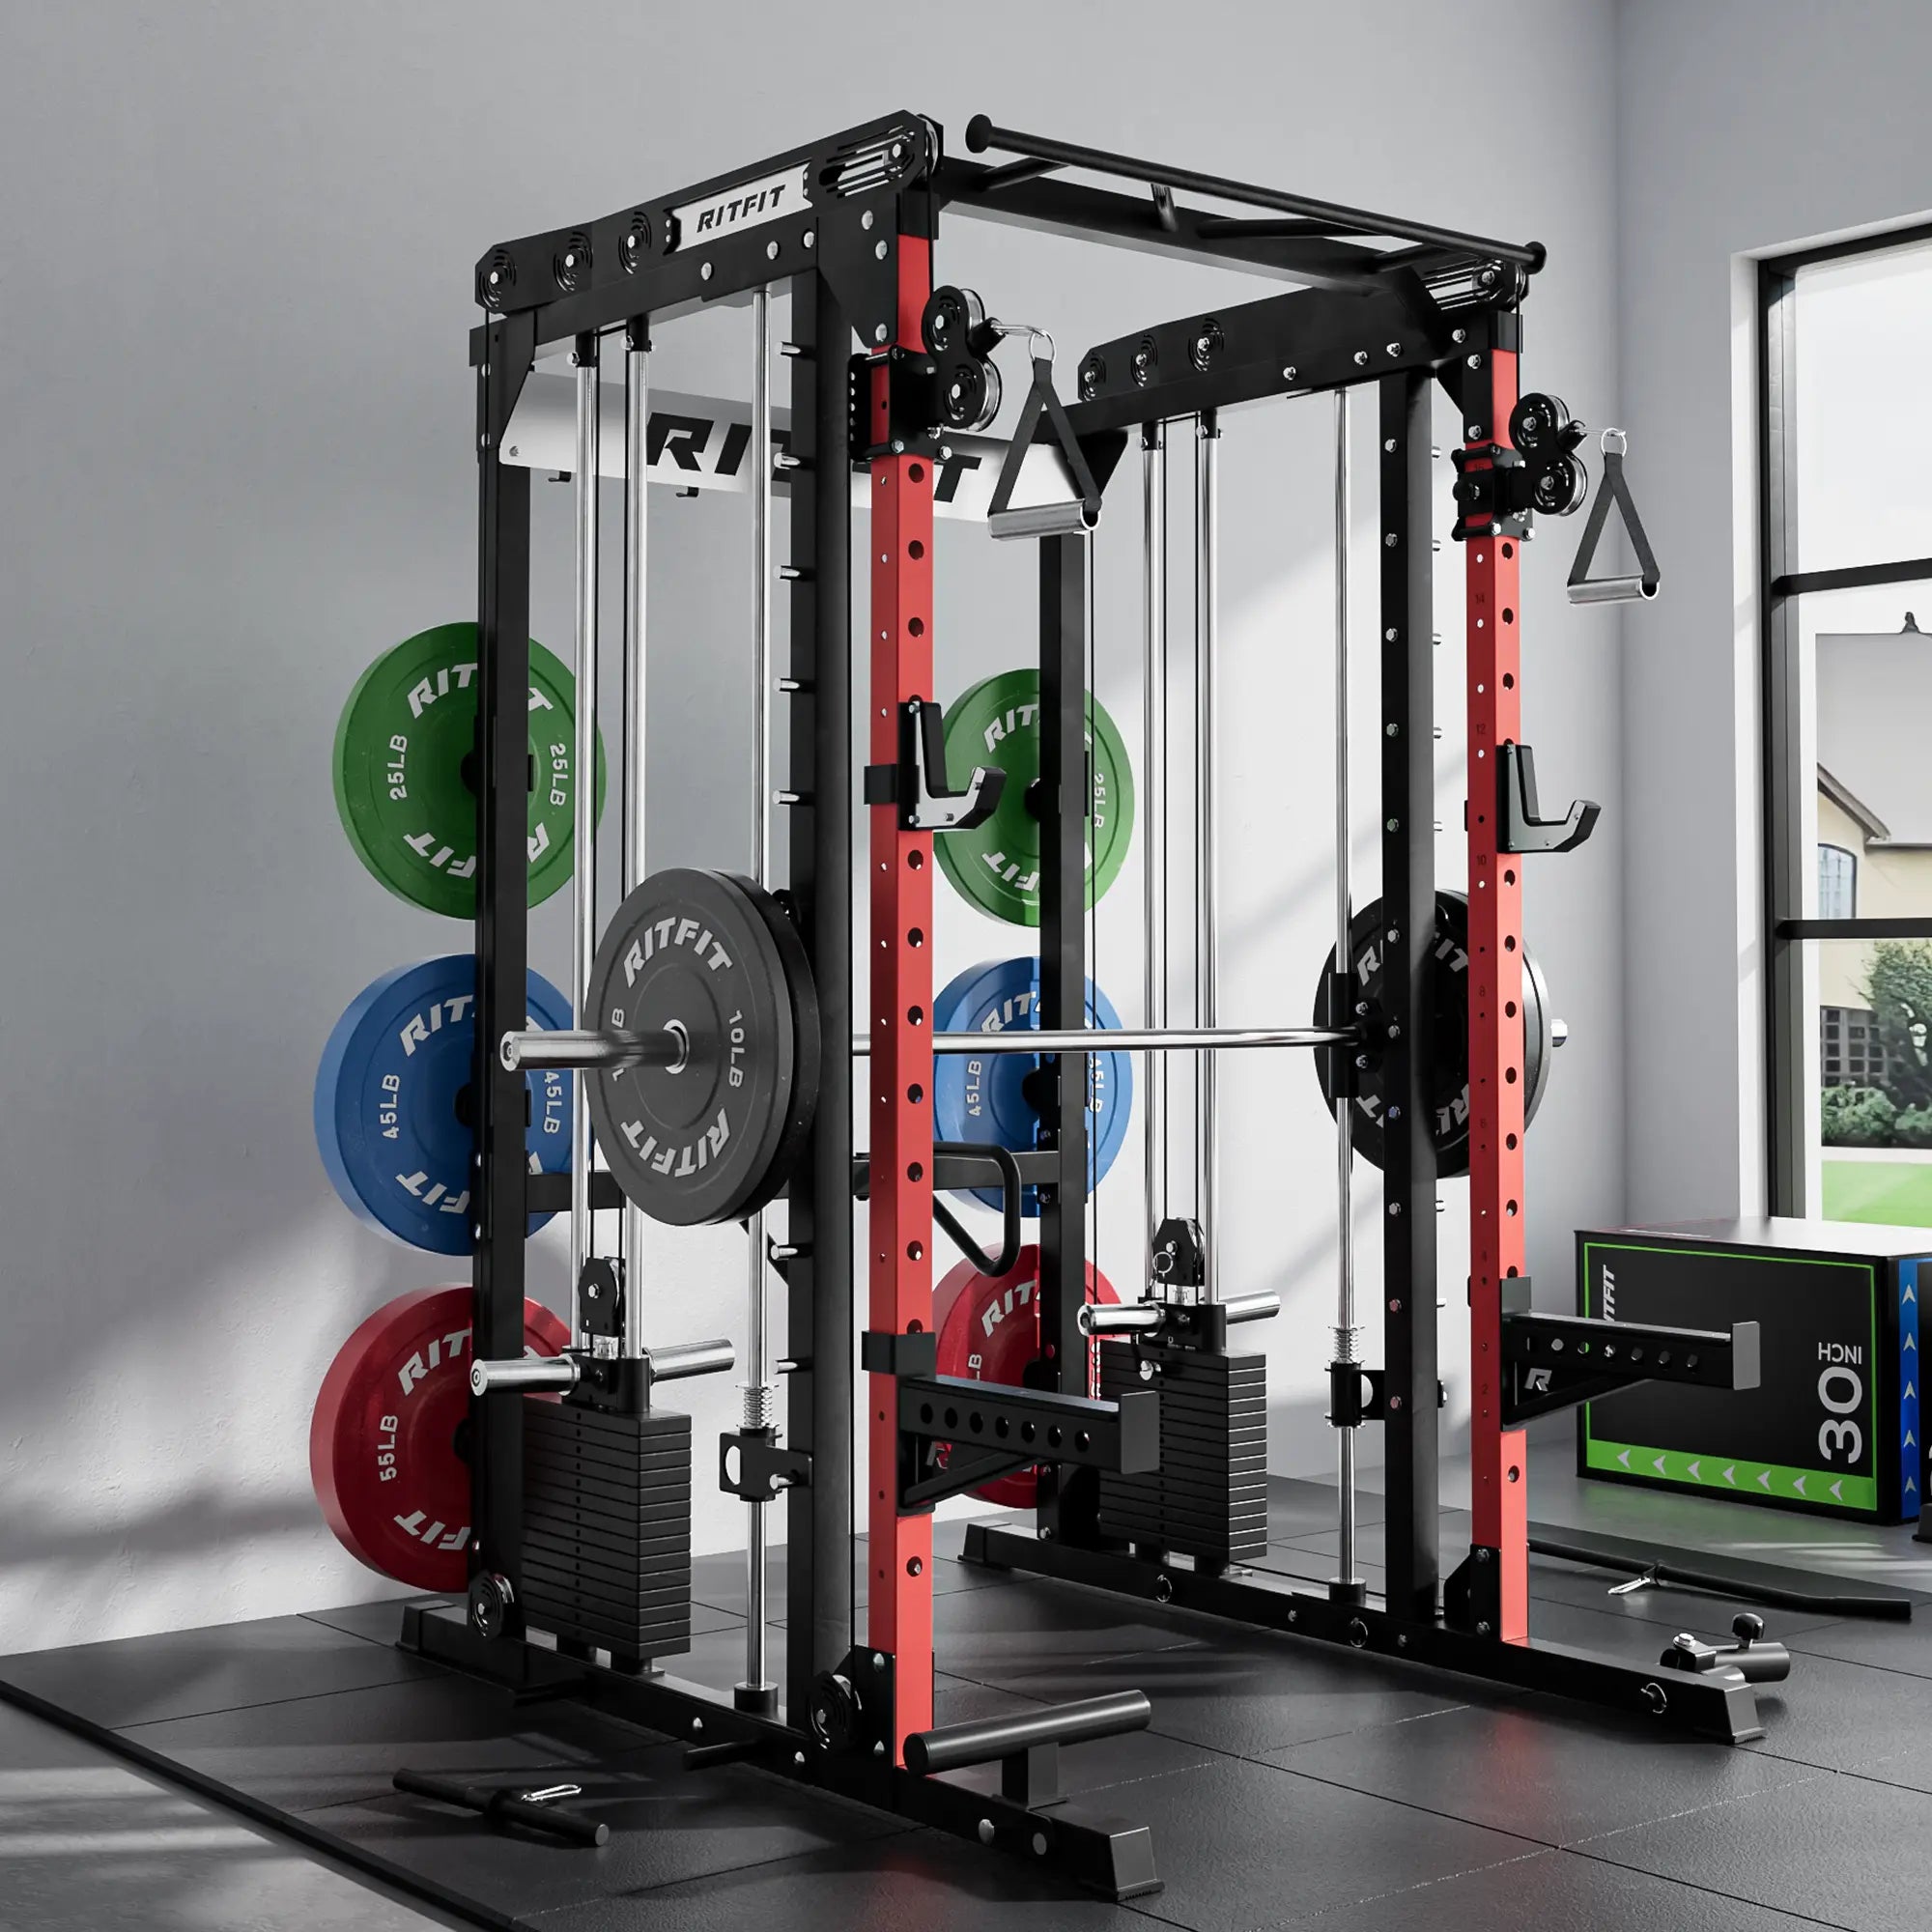
The RitFit M2 3D Pro combines dual selectorized cable stacks with a 3D Smith bar, while the M2 Pro pairs stack-based cable resistance with a fixed Smith bar and the plate-loaded M2 3D uses a 3D Smith bar. The listed family dimensions are 78.7 inches long including the Smith bar, 68.75 inches wide, and 86.14 inches high, with a listed footprint of 22.8 sq ft; verify the selected option's current listing because configurations can vary.
- Home gym focus: It is designed for users who want one main strength station instead of several single use pieces.
- Modular direction: The M2 platform is built around configuration flexibility, which matters for users who plan to expand over time.
- Bench press relevance: Its appeal for pressing comes from the promise of more guided control with a less locked in movement feel.
- Broader utility: Buyers comparing options can also browse the RitFit Smith Machines collection to see where the M2 family fits in the wider lineup.
For current configurations and package details, see the RitFit M2 Series product page.
Why Does the RitFit M2 3D Pro Work Well for Bench Press at Home?
The M2 Pro 3D may suit a home bench setup when you want both selectorized cable work and a 3D Smith bar in one station. Its listed Smith bar weight is 33 lb and the family listing gives a 2,000 lb maximum weight and 660 lb static load for the safety arms; these figures describe listed product limits, not a guarantee of safe use or a target bench load.
- Safer pressing environment: A guided setup can make flat and incline work feel more approachable when you train alone.
- Less rigid feel: The 3D idea is attractive because many users dislike the mechanical feel of a completely vertical only path.
- Body type flexibility: Bench placement and grip position are easier to fine tune when the machine gives you more setup freedom.
- Better long term use: The value improves when one machine supports chest work, cable work, and lower body training in the same station.
How Do You Set Up the RitFit M2 3D Pro for Bench Press?
Proper setup matters because even a strong machine will feel wrong if the bench, bar, and safety points do not line up. Before your first working set, make sure the room is clear, the bench is stable, and the pressing path feels smooth with an unloaded bar.
- Center the bench: Place the bench so the bar starts roughly above eye level when you lie down.
- Set the bench height and angle: Flat bench is the base setup, while incline should let the bar reach the upper chest without crowding your shoulders.
- Adjust the safety stops: Set the stops low enough for full range of motion but high enough to protect you if a rep stalls near the bottom.
- Test grip width first: Start with a grip just wider than shoulder width, then adjust based on wrist comfort and bar path.
- Pair it with the right bench: A stable adjustable bench matters as much as the machine, and the RitFit GATOR 1600LB Adjustable Weight Bench is a highly relevant companion page for users comparing bench options.
For more flat, incline, and decline options, browse the RitFit benches collection.
If you want leg supported decline work, the RitFit ASM2 leg hold-down attachment expands the M2 setup options.
If your M2 is still arriving in boxes, the official assembly walkthrough below covers the full build from unboxing to your first rep.
How Do You Bench Press on the RitFit M2 3D Pro?
Good bench press technique on a guided machine still depends on a stable upper back position, planted feet, controlled repetitions, and a load you can manage. A Smith rail does not remove the need to set the safety catches below your planned range of motion and confirm that they can stop the bar if you cannot complete a repetition.
- Start with a full setup: Pull your shoulder blades back, plant your feet, and keep your wrists stacked over your forearms before you unrack.
- Use a controlled descent: Lower the bar to the chest line you can repeat consistently, rather than chasing extra range that shifts your shoulders out of position.
- Press through a stable path: Drive the bar up with steady pressure and let the machine assist control, not sloppy form.
- Check incline and decline separately: Each angle changes chest emphasis and shoulder feel, so repeat the empty bar test whenever you change bench angle.
- Respect the learning curve: Even if the path feels more natural than a straight track, do not rush into heavy loading before the movement feels predictable.
"There's a little bit of confusion around what the best angle is for the bench on an incline bench press to hit the upper chest.
It's pretty conclusive.
30 degrees is a really good place for most of us!
"
Jeff Cavaliere, MSPT, CSCS, Physical Therapist and Strength Coach, former Head Physical Therapist for the NY Mets, ATHLEAN-X
What Do Complete Home Bench Press Workouts Look Like on the RitFit M2 3D Pro?
A solid home bench press workout is one you can recover from, repeat, and progress over time. Most home users do better with a clear main press, one variation, and one accessory finisher than with high volume chaos.
- Beginner routine: Use flat bench press for 3 sets of 8 to 10, then add a lighter incline variation for 2 to 3 sets of 10 to 12.
- Intermediate strength block: Use flat bench for 4 sets of 5, then follow with incline press for 3 sets of 6 to 8 and one slower tempo set for control.
- Chest focused hypertrophy day: Start with flat bench, move to incline bench, then finish with close grip pressing or cable chest work for higher rep fatigue.
If you want to see how these pressing patterns come together in one session, the official upper body workout below shows flat, incline, and accessory work on the M2 Pro 3D Smith Machine.
What Else Can You Train Beyond Bench Press on the RitFit M2 3D Pro?
A home gym centerpiece should earn its space by doing more than one job well. The M2 platform becomes more valuable when your pressing station also supports squats, rows, cable work, and accessory training.
To see the cable system in action, this official functional training session shows how the M2 3D Pro handles total body cable work alongside the smith press.
- Upper body variety: You can shift from bench work into shoulder pressing, close grip pressing, and cable based chest accessories in the same session.
- Lower body support: A multipurpose setup makes more sense for home buyers who also want squat and hinge based training in one footprint.
- Alternative training route: If you are also comparing rack first cable based training, the RitFit PPC03 Power Rack and Cable Crossover is a useful related page to review.
For lower body days on the same footprint, the official leg workout below shows how the M2 3D Pro covers squat and hinge patterns with the smith carriage.
What Are the Pros and Cons of the RitFit M2 3D Pro for Home Users?
The M2 3D Pro has real appeal for safety minded home lifters, but it is still a higher commitment purchase than a basic bench and bar setup. Buyers should weigh setup needs, room size, and training preference before treating any machine as an automatic best fit.
- Pro: It supports safer solo pressing than a completely free bar setup for many home users.
- Pro: It is more compelling than a single use bench station because it can support a wider training menu.
- Pro: It appeals to lifters who want a more natural feel than a strict straight track Smith machine.
- Con: It may be more machine than you need if your real goal is only light dumbbell pressing.
How Do You Decide if the RitFit M2 3D Pro Is Right for You?
Choose the M2 Pro 3D if you want selectorized cable stacks and a 3D Smith bar in one station, and choose the fixed-path M2 Pro if you prefer a straight guided track. The plate-loaded M2 3D is the family option to compare if you want a 3D bar with plate loading; check your bench clearance, available room, and exact selected configuration before deciding.
- Check your room first: Measure your floor area, side clearance, and training lane before shopping by image alone.
- Buy for your training style: This option makes more sense for users who bench often and also want a true home gym centerpiece.
- Compare the lineup: The RitFit PSR05 2.0 Smith Machine is a useful comparison page if you want a more traditional Smith machine direction.
- Match the accessories to your goals: Bench quality, attachment choice, and cable add ons shape the user experience more than headline claims alone.
- Think ecosystem, not one page: Buyers who compare the machine, the bench, and the wider RitFit accessories collection usually make a more durable purchase decision.
FAQs About the RitFit M2 3D Pro for Home Bench Press
Is the RitFit M2 3D Pro safe for bench pressing at home without a spotter?
A Smith machine with correctly set, tested catches can help manage a failed repetition during solo bench pressing. It does not guarantee safety or make training to failure risk-free, so use a manageable load and verify the catches engage from your bench position before each session.
What makes the RitFit M2 3D Pro different from a standard Smith machine?
It provides a less rigid feel than a traditional straight track. The innovative design sits between a completely vertical path and a free weight pressing station. This flexibility allows you to easily fine tune your bench placement and grip position for better workouts.
Does the RitFit M2 3D Pro support exercises other than the bench press?
Yes. It functions as a complete modular home gym station. The machine supports upper body shoulder pressing and cable based chest accessories. You can also perform heavy squats and hinge based lower body training within this exact same versatile equipment footprint.
How do I set up the RitFit M2 3D Pro for flat bench pressing?
You must center the bench so the bar starts roughly above your eye level. Set the safety stops low enough for full range of motion. Make sure these stops remain high enough to protect you if a heavy repetition stalls near the bottom.
Should beginners use the RitFit M2 3D Pro for chest workouts?
Yes. Beginners can use this machine to safely learn proper pressing technique. The controlled track helps newer lifters learn setup and elbow position with less wobble. You should always start with an empty bar to understand the movement before adding heavy loads.
Conclusion
The RitFit M2 3D Pro is a strong home bench press option for users who value solo safety, broader versatility, and a less rigid guided path feel. If that matches your training style, it can be a smarter long term fit than a simpler setup that solves only one part of your home gym plan.
Before you buy, confirm your room size and compare current deals on the RitFit sales page.
Disclaimer
This guide is for general education and buying guidance. Bench press safety depends on your setup, training history, technique quality, and the exact machine configuration you use, so it does not replace hands on coaching or medical advice.