Don't think bands are for you? Here's how an intermediate lifter can gain the powerful benefits of resistance bands without looking like the gym's resident geek.
If you've ever been to a hardcore powerlifting or bodybuilding gym, you've probably seen the mass monsters using chains on their bench presses. (As if, you know, 500 pounds wasn't enough.) Likewise, you may also have seen some total lightweight curling a resistance band as if Jane Fonda herself was directing his workout.
"Not for me!" you might have muttered with a roll of the eyes.
But why not you? Let's see if we can make the case for the average Joe lifter to use resistance bands, and how they might substantially elevate his intermediate-level workout. For the record, the focus here is resistance bands, because they're a heckuva lot more convenient to carry around than a couple hundred pounds of chains.on't think bands are for you? Here's how an intermediate lifter can gain the powerful benefits of resistance bands without looking like the gym's resident geek.
If you've ever been to a hardcore powerlifting or bodybuilding gym, you've probably seen the mass monsters using chains on their bench presses. (As if, you know, 500 pounds wasn't enough.) Likewise, you may also have seen some total lightweight curling a resistance band as if Jane Fonda herself was directing his workout.
"Not for me!" you might have muttered with a roll of the eyes.
But why not you? Let's see if we can make the case for the average Joe lifter to use resistance bands, and how they might substantially elevate his intermediate-level workout. For the record, the focus here is resistance bands, because they're a heckuva lot more convenient to carry around than a couple hundred pounds of chains.
The Case For Bands
Chains and bands are often used on exercises that have what's called an "ascending strength curve." Every exercise has a strength curve, which depicts how much force (strength) you can produce at various joint angles throughout a range of motion. Think top, middle, and bottom of the range of motion of each movement. There are three types of strength curves: ascending, descending, and bell-shaped.
An
ascending strength curve feels easier typically as you near full extension (lockout). The muscle tension required decreases over the course of the range of motion. Exercises such as the bench press and the squat are examples of exercises with ascending strength curves. These movements feel easier at the top, so your muscles aren't working as hard.
A
descending strength curve typically feels harder as you near full flexion. The muscle tension required increases throughout the range of motion. Exercises such as the row and the leg curl have descending strength curves. These exercises become more difficult toward the later portion of the lift.
A
bell-shaped strength curve feels easiest at the endpoints. The muscle tension required increases and then decreases. A good example of this type of strength curve is a biceps curl.
Now that you're an expert on strength curves, let's dive into some common ascending-strength-curve exercises. Remember that with typical barbell, dumbbell, and machine exercises, the load (resistance) is constant throughout the ROM. Because of biomechanics, the lower end or bottom of the ROM is the most difficult, while the upper end is the easiest. The proverbial "sticking point" is toward the lower third but not exactly at the bottom. This relates more to the power of stretch reflex than anything else.
Since the target musculature doesn't have to work as hard at the top as it does at the bottom, potential muscle growth is left unrealized. After all, you're not working as hard at the top as you could. The solution is to increase the overload over the top portion without affecting the already difficult lower portion.
Band-Aids
Unlike chains,
bands are incredibly versatile and can be used on almost any type of equipment. The exact placement of the bands will vary a little with different types and brands of equipment. With barbell moves especially, symmetry of placement (when using two bands) is crucial so one side doesn't become more loaded than the other. Which is why you should always use collars!
Bands come in varying lengths and thicknesses. The thicker the band, the more resistance it will provide. A typical band will add 20-150 pounds of additional resistance at the top end of the movement. Another way to get additional resistance out of a thinner band is by shortening or doubling it up. I recommend using bands that are shaped like a giant rubber band, which is essentially what all these are. Bands with handles don't provide much resistance. Plus, the handles and linear nature of the bands make them harder to hook around bars and other equipment.
Before starting any exercise requiring bands, don't forget to check the structural integrity of your bands. Look for fraying, tears, and brittleness in the rubber. While this may seem trivial, the last thing you want is for a band to break while under tension. If it does, one side of the bar will shoot up while the other gets violently pulled down. Best case, you'll be embarrassed or end up on a YouTube channel dedicated to gym fails. Worst case, you'll suffer a serious injury.
Pick the appropriate thickness of band for the exercise you'll be performing. Thicker bands are especially useful for lower-body exercises, because that's where most of us are substantially stronger. Thinner bands are more useful for upper-body movements.
When setting up your bands, make sure you have some tension at the bottom of the range of motion. If the bands get too slack at the bottom of the movement, you risk having them slide off the bar or weight machine depending on how you have them attached.
Keep in mind that for exercises in which the movement starts with the bands in the stretched position (bench press, squat, etc., because you lift the bar off a rack), there's going to be considerably more resistance than just the weight on the bar at the top of the movement. In addition to the weight on the bar, the band is pulling the bar to the ground, which decreases as you bar gets closer to the floor. (A side note: This will increase the overload on the negative rep, too, which offers additional avenues to pursue your training.)
I recommend doing a few sets with the just the band and no added weight, so you can assess how much tension it's adding, then adjust your working weight accordingly. Remember that the amount of extra weight can be substantial when the band is fully stretched.
Below are a few common exercises done with bands, and a few uncommon ones as well. I've even seen lifters use bands with preacher curls and sissy squats. Remember, bands require movements with an ascending strength curve.
1. Barbell Bench Press
The bottom of the bench press is the hardest portion of the lift, matching the ascending-strength-curve criteria. Bands allow the resistance to increase as the bar travels upward to fully locked arm extension.
I attach my bands around the bottom of the bench and then stretch each band up around one end of the bar. There's still sufficient tension at the bottom of the movement to keep the band secure on the bar.
2. Barbell Back Squat
Ideally, you have access to a squat rack that has band pegs, like the one I'm using. If not loop the band through the bottom of the squat rack. As with the bench press, the bottom of the squat is the hardest portion of the exercise, and you become mechanically stronger as you ascend. Bands are great when squatting, because you can go to full depth and power out of the hole but still have the resistance increase as you gain mechanical advantage standing up.
3. Rack Pulls Or Deadlifts
The setup is the same for doing banded rack pulls or deadlifts. Here, I'm using a power rack that has band pegs; oftentimes, a deadlift platform will have band pegs as well. If not, one option is to loop the band through a 100-pound weight plate. If I'm using thicker bands, I'll often add another plate on top to further anchor the bands. Banded pulls are great for developing that lockout strength for the deadlift.
4. Leg Press
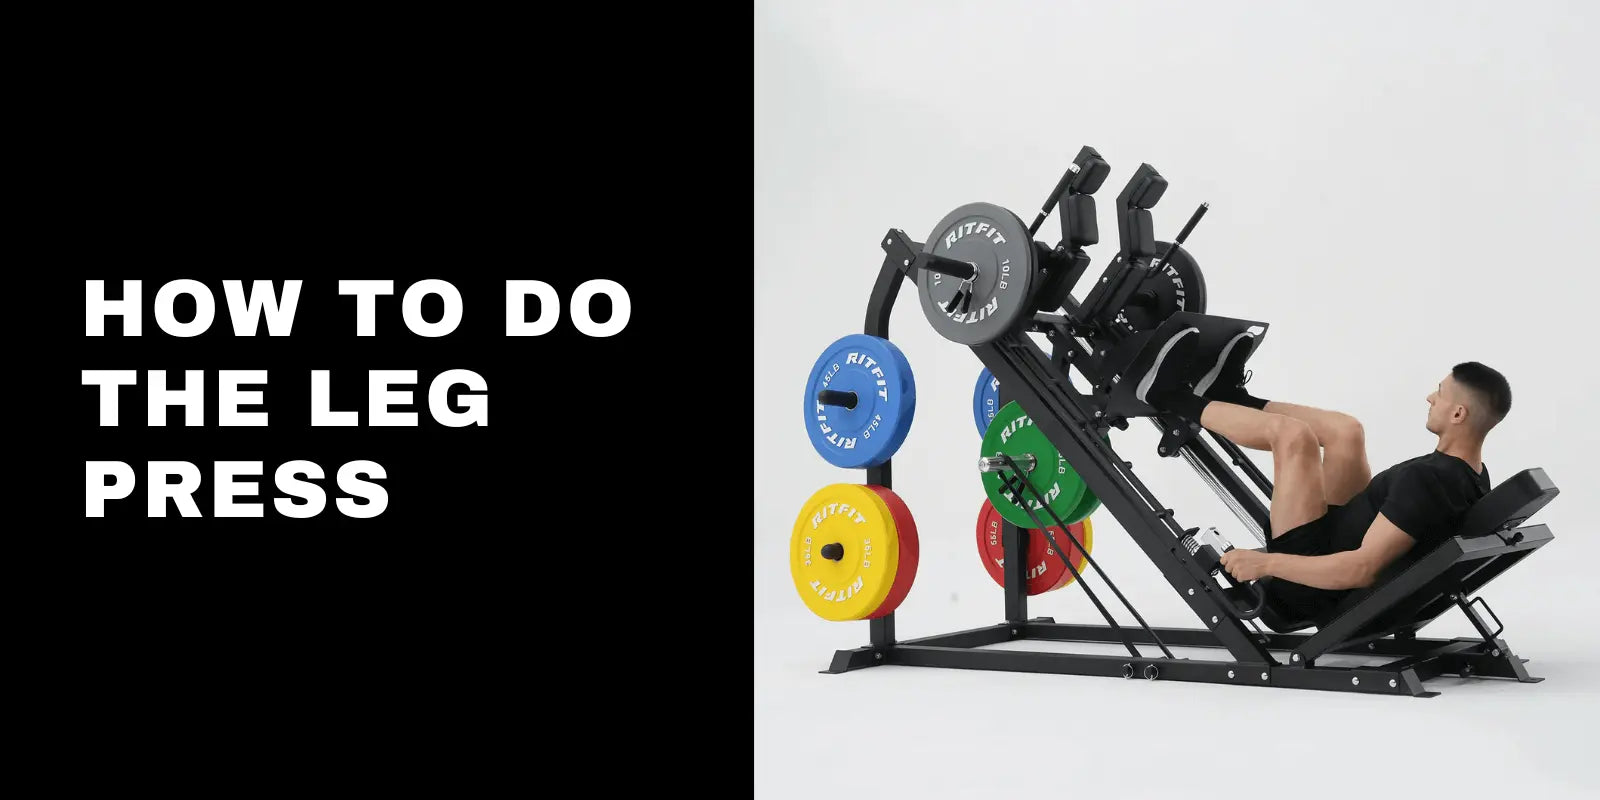
The basic setup for the leg press is to attach two bands together and run them under the seat of the press, and then attach one to each side of the sled. Notice here that I used the upper plate rack pegs because the lower ones don't produce enough tension. Avoid fully locking out your knees at the top of the movement to keep tension on the muscle instead of transferring it to the joint.
5. Plate-Loaded Machine Incline Press
You've got a few options with this exercise, depending on the machine itself and where the weight rack pegs are located. My band here wasn't super thick, so I attached it all the way on the lowest peg to give it more resistance. You may find you need to go higher or lower depending on which band you're using and the setup of the machine. Then attach the other end around the load bars and rep away!
