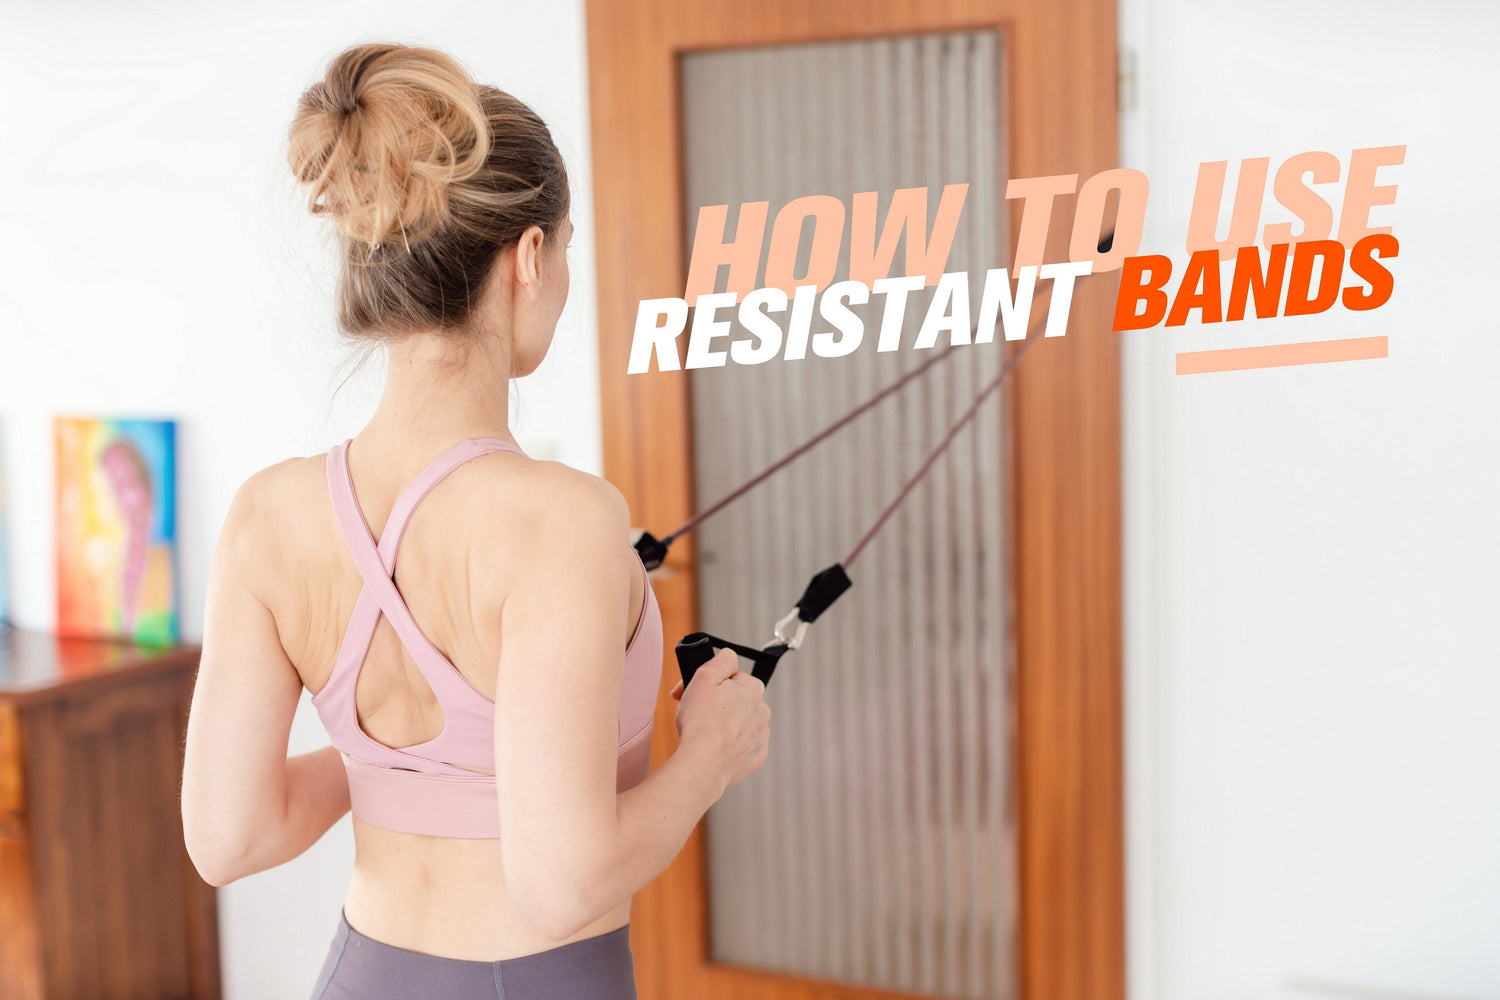
A resistance band is a portable elastic band that adds tension to strength movements, and you use it by anchoring, gripping, or wrapping it so your muscles work against the stretch. This guide covers band types, safety, exercises, and progression for home training.
Bands suit complete beginners, travelers, and anyone short on space. Inspect your band, move with control, and talk to a qualified clinician first if you have a heart condition, high blood pressure, are pregnant, or feel unwell.
Quick Answer: To use a resistance band, secure it firmly under your feet, around a stable anchor, or on your body, keep steady tension through each repetition, and move with control while you exhale on the effort. Choose resistance by your strength level and the exercise, not color alone, and inspect the band for wear before every session.
Key Takeaways
- Effective strength tool: Resistance bands build strength safely at home when you use controlled form, steady breathing, and the right resistance.
- Choose by effort, not color: Pick a band based on the exercise and your current strength, since color coding is not standardized across brands.
- Anchor and inspect: Anchor bands carefully and inspect them every session to reduce the risk of snapping or slipping.
- Get clearance when needed: Check with a qualified clinician first if you have a heart condition, high blood pressure, are pregnant, or are recovering from injury.
- Stop when warning signs appear: Stop immediately if you feel chest pressure, unusual shortness of breath, dizziness, or symptoms that worsen quickly.
What Is a Resistance Band?
A resistance band is an elastic band that provides tension for strength training. It comes in long loop bands, tube bands with handles, flat therapy bands, and smaller mini bands.
The core principle is simple.
The band stretches to create resistance, your muscles work against it, and you adjust the difficulty by changing the band or the length of the stretch.
This makes it easy to fit the load to your current fitness level.

What Are the Benefits of Using a Resistance Band?
Resistance bands offer strength training with low impact and high versatility. They build and tone muscle while being gentle on the joints, which makes them useful for warm-ups, mobility, and rehabilitation.
- Strength and toning: Build and tone muscles across your entire body.
- Joint-friendly and low-impact: Provide resistance without the impact of free weights, ideal for joint concerns or rehab.
- Warm-ups, mobility, and recovery: Prepare your body, improve range of motion, and support recovery.
- Flexibility gains: Support stretching and increased joint flexibility.
- Space-saving and portable: Lightweight and compact for small homes or travel, with no gym membership required.
- Balance and function: Regular use improves stability, which can reduce fall risk and make everyday tasks easier.
You can read more about what resistance bands help with and the training results you can expect in our guide on what resistance bands help with.

What Types of Resistance Bands Are There and How Do You Choose?
Understanding the types of bands helps you pick the best tools for your goals. The four common types cover most home training needs.
- Long loop bands: Continuous loops used for pull-up assistance, heavy lifting assistance, and full-body exercises.
- Tube bands with handles: Comfortable for rows, chest presses, and bicep curls.
- Flat therapy bands: Wide strips of latex used in rehabilitation, where you tie or wrap them.
- Mini loop bands: Small circular bands placed around the legs for glute and hip activation.
Bands come in resistance levels usually indicated by color, such as yellow for light, red for medium, and green for heavy.
Beginners should start lighter to master form, while heavier bands suit strength building.
If you have a heart condition or high blood pressure, check with your medical team before starting.
For a full lineup of options, browse the Resistance Bands collection and see which set matches your training goals.

What Safety Tips Should You Follow Before You Start?
Safety starts with a quick inspection and a stable setup. Check the band for cracks, tears, or wear before every use to prevent snapping.
- Inspect the band: Look for cracks, tears, or signs of wear each session.
- Anchor safely: Close the door fully when using a door anchor, verify furniture stability, or anchor the band with your own body.
- Maintain alignment: Keep a neutral spine, engage your core, and avoid locking your joints.
- Set foot placement and grip: Plant your feet firmly and grip handles or wrapped bands securely.
- Warm up: A few minutes of light cardio or dynamic stretches prepare your muscles.
These checks matter for everyone, and they matter even more if you are new to training. See the list of common resistance band mistakes so you can avoid the ones that lead to injury.

How to Use a Resistance Band: Basic Techniques
Mastering the basics ensures you get the most out of each band exercise. Start with how you hold, anchor, and manage tension, then add controlled breathing and tempo.
-
How to hold the band:
- With handles, grasp them firmly.
- Wrapped around your hands, wind the band one or more times to shorten it and increase tension.
- Under your feet or around your legs, position it securely.
-
Understand the tension:
- Shorten the band by wrapping it further around your hands or feet to increase resistance.
- Keep a slight tension in the band through the whole movement and avoid slack.
- Breathing technique: Exhale on exertion and inhale on release.
- Tempo and control: Move slowly and with control. Avoid jerky motions that can cause injury or lose tension.
For other ways to load and use bands across a workout, review how to use floss bands and the broader how to use floss bands guide.
Full Body Resistance Band Exercises With Step-by-Step Instructions
A full body resistance band workout follows a simple structure of upper, lower, and core exercises done in controlled sets. Perform 10-15 repetitions for 2-3 sets of each exercise, unless noted, and hold the wall or a chair if you feel wobbly.
Upper Body
- Banded Biceps Curls: Stand with feet hip-width apart on the band center and hold the ends with palms forward, or sit with the band under your feet. Keep elbows close to your sides, curl up toward your shoulders, squeeze, and lower with control.
- Triceps Extensions: Stand with one foot forward on the band, hold one end in each hand behind your head with elbows bent, or anchor to a door. Extend your forearms overhead, squeeze, and lower slowly.
- Shoulder Presses: Stand or sit with feet on the band and hold the ends at shoulder height with elbows bent at 90 degrees. Press overhead until your arms are straight, without locking your elbows, and lower slowly.
- Lateral Raises: Stand with feet on the band, arms at your sides, palms facing your thighs. Raise your arms out to shoulder height into a T shape with a slight elbow bend, then control the lowering.
- Rows: For seated rows, sit with legs extended and loop the band around your feet. For standing rows, anchor at chest height and pull the band toward your torso, squeezing your shoulder blades.
- Chest Press or Chest Fly: Anchor the band behind you, face away, and extend your arms straight forward against the resistance, then bring your hands back slowly.
Lower Body
- Squats With Band Under Feet: Stand with feet hip-width apart on the band center and hold the ends at shoulder height. Lower your hips as if sitting into a chair, keep your chest up, and push through your heels.
- Deadlifts With Band Under Feet: Stand on the band center with arms down in front, hinge at your hips with a straight back, feel the hamstring stretch, and squeeze your glutes as you return.
- Glute Bridges With Band Around Thighs: Lie on your back with a mini band just above your knees, press your knees outward, lift your hips until your body forms a straight line, and lower slowly.
- Lateral Band Walks: Place a mini band around your ankles or above your knees, take 10-15 sideways steps one direction, then switch.
- Standing Hip Abductions and Adductions: Place a mini band around your ankles for abductions, or anchor a tube band for adductions, and move the leg out or across with control.
Core
- Pallof Press: Anchor a tube band at chest height, stand perpendicular, press straight out without letting your torso rotate, and bring it back slowly on both sides.
- Standing Woodchoppers: Anchor a tube band high or low, then pull it diagonally across your body from high to low or low to high, engaging your core.
- Banded Dead Bug or Leg Lowers: Lie on your back with a mini band around your feet or knees, press your lower back into the floor, and extend one leg slowly while you reach the opposite arm overhead.
- Seated Band Rotations: Sit with legs extended, loop a band around your feet, and rotate your torso slowly to each side against the resistance.
If your goal is muscle gain specifically, our guide on whether resistance bands build muscle covers the evidence and how to structure progression.

What Sample Resistance Band Workouts Can You Follow?
Structured routines help you turn the exercises into a complete session. Pick the one that matches your level and available time.
- Beginner full-body routine: Do 10-12 repetitions for 2 sets with 30-60 seconds of rest, using biceps curls, squats, seated rows, glute bridges, shoulder presses, and Pallof presses. Focus on form before adding resistance.
- Intermediate strength and toning: Do 12-15 repetitions for 3 sets with 30-45 seconds of rest, using deadlifts, chest presses, lateral band walks, triceps extensions, lateral raises, and woodchoppers, with a dead bug finisher.
- Travel or at-home quick routine: Do 15 repetitions of squats, biceps curls, glute bridges, shoulder presses, and seated rotations for 2 rounds, moving with minimal rest.
For a larger library of moves you can do anywhere, browse these resistance band exercises you can do at home.
How to Progress for Better Results With a Resistance Band
To keep challenging yourself, apply progressive overload in small steps. Increase the resistance, the volume, or the complexity of the movement over time.
- Increase resistance: Move to a thicker band or shorten your current band by wrapping it more.
- Increase volume: Add more sets or repetitions to your workouts.
- Advance your exercises: Move to more challenging band movements once you master the basics.
- Track your progress: Keep a simple log of resistance level, sets, and reps so you can see improvement.
Progressive loading works at any age, and it is a key principle for older adults too. See how resistance training for older adults supports muscle retention.
"I want people doing progressive resistance training two to three times per week with weights, machines or bands, because strong muscles create strong bones."
Susan Bukata, MD, Chair, Department of Orthopedic Surgery, The Stair Habit Doctors Say Could Help Prevent Bone Loss
What Common Mistakes Should You Avoid?
Most band injuries and stalled results come from a few repeatable errors. Fix these before you add more weight or reps.
- Letting the band snap back: Always control the lowering phase of the movement.
- Poor posture: Avoid rounding your back, flaring your ribs, or locking your joints.
- Resistance that is too heavy or too light: If you cannot keep form, the band is too heavy. If you feel no challenge, it is too light.
- Inconsistent tension: Keep some tension in the band from start to finish.
How to Care, Maintain, and Store a Resistance Band
Simple care extends the life of your bands and keeps training safe. Clean them gently and store them away from heat and light.
- How to clean bands: Wipe them with a damp cloth when needed. Avoid sharp edges, excess sun, and extreme heat.
- Safe storage: Store bands in a cool, dry place away from direct sunlight. Do not store them overstretched or in tight knots.
- When to replace a band: Look for small tears, nicks, or loss of elasticity, and replace the band promptly to prevent injury.
FAQs About How to Use a Resistance Band
How often can I train with resistance bands?
Aim for 2-3 times per week, allowing a day of rest in between for muscle recovery.
Can resistance bands build muscle?
Yes, absolutely! They provide progressive resistance that effectively stimulates muscle growth and strength.
Are bands enough for a full workout?
Yes, with the right selection of exercises and proper progression, resistance bands can provide a comprehensive full-body workout.
What if I'm a complete beginner, older, or in rehabilitation?
Resistance bands are excellent for all levels. Start with lighter bands, focus on controlled movements, and if you have specific health concerns, consult with your healthcare team. Many exercises can be adapted to be seated for increased stability.
How do you use a resistance band for pull-ups?
Loop a long band over the pull-up bar and place one foot inside the band. The band supports part of your body weight so you can complete controlled reps and gradually build up unassisted pull-up strength.
Conclusion
Learning how to use a resistance band gives you an accessible way to build strength at home with little space and cost. Start with the basics, keep good form, inspect your band, and progress gradually.
Begin with a beginner routine, then add resistance and volume as you improve. Pair your bands with a RitFit discount guide to save on your next upgrade.
Disclaimer
This article is for general information only and is not a substitute for professional medical advice. Always consult a qualified healthcare provider before starting an exercise program, especially if you have a medical condition, are pregnant, or are recovering from injury.