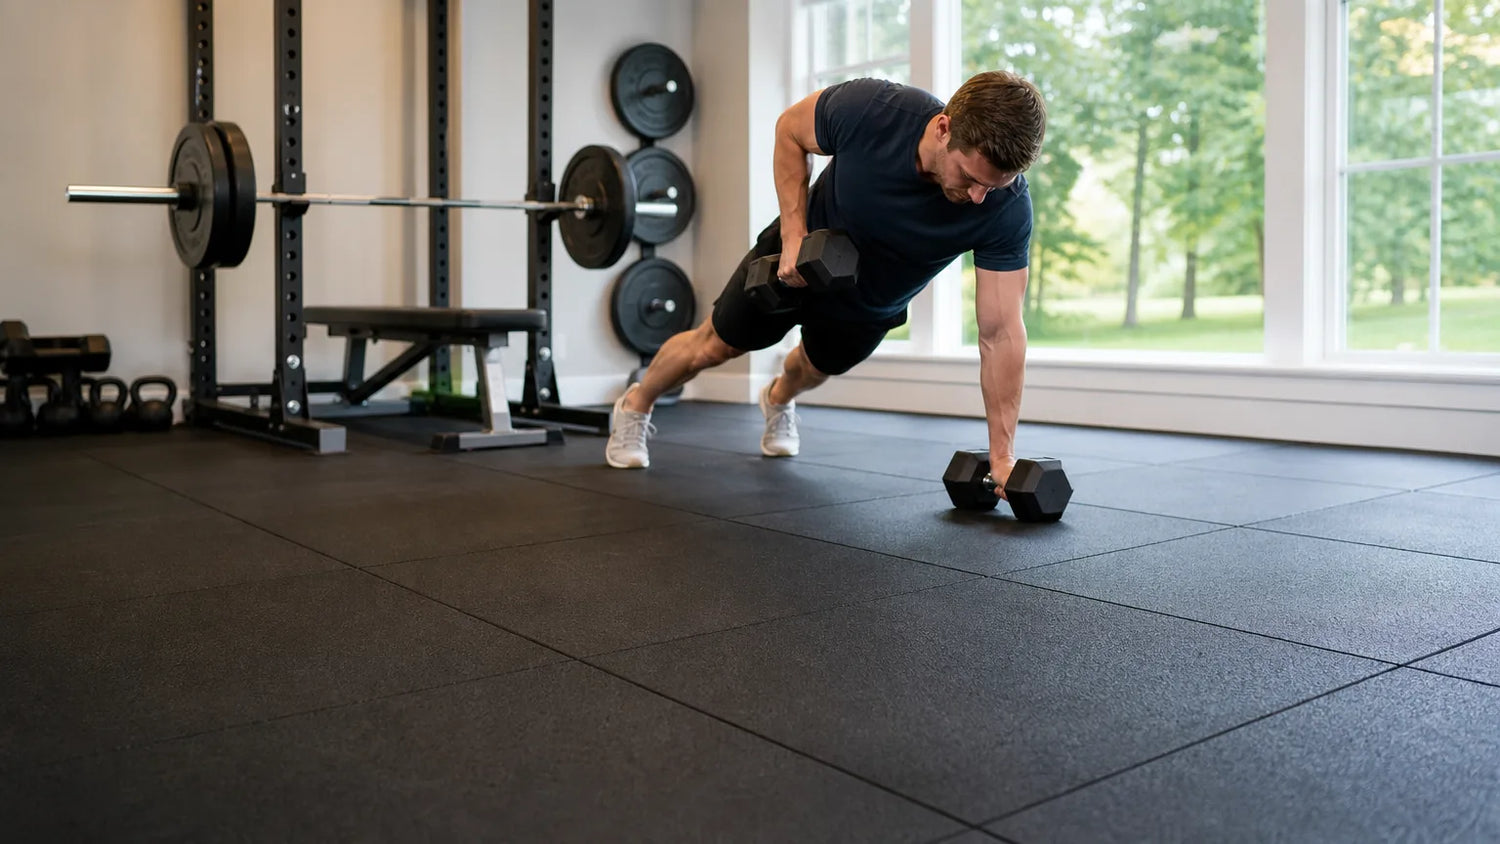
Choosing the right rubber mats for your gym starts with one question: how hard will you be hitting the floor? Whether you're setting up a garage gym for heavy deadlifts or a basement cardio space, the thickness and format of your rubber flooring determines how well it protects your subfloor, dampens noise, and holds up under daily use.
This guide focuses specifically on home gym builders selecting rubber mats by thickness, format, and training style, so you can skip the guesswork and pick the right option the first time.
Quick Answer: Rubber mats for a home gym should be at least 3/8 inch thick for general training and 3/4 inch thick for dropping barbells or Olympic lifts. Interlocking rubber tiles work best for most garage and basement gyms. Match mat thickness to your heaviest exercise to protect your concrete subfloor and equipment.
Key Takeaways
- Thickness drives protection: Use 3/8 inch for general training, 1/2 inch for free weights up to 75 lbs, and 3/4 inch minimum for Olympic lifts or barbell drops.
- Format matters for your space: Interlocking rubber tiles are easiest to install and customize in irregular garage and basement layouts.
- Measure before you buy: Calculate total square footage and add 5-10% for cuts around walls, doorways, and equipment bases.
- Prep your subfloor first: Check concrete for moisture and cracks wider than 1/4 inch before laying any rubber flooring.
- Off-gassing is normal: New rubber mats need 24-72 hours of ventilation before installation to reduce the initial odor from recycled rubber materials.
Why Does Your Home Gym Floor Matter?
Rubber gym flooring protects your concrete subfloor, reduces noise, and keeps equipment stable during every rep. Peer-reviewed research on sports surfaces confirms that rubber flooring in weight rooms provides multi-layer durability and excellent shock absorption, making it one of the most functional flooring materials for strength training environments.[1]
- Subfloor protection: A dropped barbell without rubber flooring can crack concrete or dent wood floors within a single training session.
- Equipment stability: Rubber's high-friction surface prevents racks, benches, and machines from shifting during heavy lifts.
- Noise and vibration dampening: Rubber absorbs impact energy that would otherwise travel through joists into living spaces below.
- Joint comfort: Even a 3/8-inch rubber surface reduces fatigue during long floor-based sessions compared to bare concrete.
- Moisture barrier: Dense rubber resists the condensation that concrete slabs commonly generate, protecting both equipment and the floor surface beneath it.
Before investing in racks, barbells, or machines, laying the right RitFit gym mats and flooring collection is the single highest-leverage first purchase in any home gym build.
What Are the 3 Main Types of Rubber Gym Mats?
The three main types of rubber gym mats are interlocking tiles, rubber rolls, and horse stall mats, each suited to different room shapes, budgets, and training styles. Interlocking tiles are the most versatile choice for home gym builders who need custom layouts or plan to expand over time.
Interlocking Rubber Tiles
Interlocking rubber tiles connect via tab-and-slot edges, allowing you to cover any room shape without full-room rolls or adhesive. Each tile can be replaced individually if it wears out, and the modular system lets you expand your gym floor one section at a time.
- Best for: Garage and basement gyms with irregular shapes, doorways, or equipment bases that require precise cuts.
- Thickness range: Available from 3/8 inch up to 3/4 inch, covering cardio-only setups through heavy lifting zones.
- Installation: No adhesive required for most home applications. The interlocking tabs hold sections together, and border pieces create clean edges.
- Maintenance: Individual tiles can be lifted and cleaned under equipment without disrupting the entire floor.
- Color options: Available in solid black and multi-color fleck patterns that hide dust and footprints better than plain black.
The RitFit High Density Interlocking Gym Flooring Mats Tiles are specifically designed for home strength training environments, offering dense recycled rubber construction at a practical tile format.
Rubber rolls cover large open spaces with minimal seams, creating a seamless surface that reduces trip hazards at tile edges. They work best in rectangular rooms without complex obstacles.
- Best for: Large rectangular gym spaces, commercial-style open training floors, and long cardio machine rows.
- Drawback: Rolls can weigh 100-200 lbs per piece and are harder to handle and cut in tight residential spaces.
- Seaming: Double-sided tape secures seams and prevents edge curling, particularly near doorways and high-traffic zones.
Horse Stall Mats
Horse stall mats are 4x6-foot sections of dense 3/4-inch vulcanized rubber, originally designed for livestock stalls and widely adopted by garage gym builders for their low cost per square foot and exceptional durability.
- Best for: Budget-conscious builders who need full 3/4-inch coverage without the cost of commercial rubber tiles.
- Odor: Horse stall mats have a stronger initial rubber smell that may take 1-2 weeks to dissipate fully.
- Weight: Each 4x6 section weighs approximately 100 lbs, requiring two people for installation and repositioning.
Watch this side-by-side comparison of rubber roll installation versus interlocking tiles to see both formats in a real home gym environment:
How Thick Should Your Rubber Gym Mat Be?
Rubber mat thickness should match the heaviest impact your floor will experience during training. Industry guidelines identify five practical thickness tiers, each suited to a specific load range and training intensity.
| Thickness | Best For | Equipment Load |
|---|---|---|
| 1/4 inch (6mm) | Cardio machines, light bodyweight | Equipment under 300 lbs |
| 3/8 inch (9.5mm) | General fitness, moderate weights | Equipment under 500 lbs |
| 1/2 inch (12mm) | Free weights up to 75 lbs, HIIT | No practical limit |
| 3/4 inch (19mm) | Olympic lifting, deadlifts, heavy drops | No practical limit |
| 1 inch+ (25mm+) | Heavy Olympic lifting, platform areas | No practical limit |
Source: Industry flooring guidelines (D&G Floors, 2026). Thickness tiers reflect practitioner consensus, not clinical research.
3/8 Inch: The Minimum for Most Home Gyms
A 3/8-inch rubber mat supports treadmills, benches, dumbbells, and general training without feeling too hard or too soft under foot. Mat thickness directly affects how much force is transmitted to the subfloor, with thicker mats absorbing significantly more impact energy during dynamic loading.[2]
- Sufficient for: Cardio machines, adjustable dumbbells up to 50 lbs, functional trainers, and bodyweight exercises.
- Not sufficient for: Dropping loaded barbells, Olympic weightlifting movements, or any exercise where weight contacts the floor at speed.
- Pair with: The RitFit rubber hex dumbbells work well on 3/8-inch flooring since hex heads prevent rolling and reduce impact.
3/4 Inch: The Standard for Serious Lifting
A 3/4-inch rubber mat is the recommended minimum for any training that involves dropping weights from hip height or higher. Mat material properties at this density alter the biomechanical response to landing forces, reducing joint stress and protecting the structural surface beneath.[3]
- Required for: Olympic lifts, deadlifts with bumper plates, barbell drops, and high-impact CrossFit-style movements.
- DIY platform option: For very heavy lifters, one guide recommends a deadlift platform using 3/4-inch plywood under 3/4-inch rubber, creating a 1.5-inch combined thickness for maximum protection.
- Pair with: Place 3/4-inch mats directly under your RitFit home gym package to protect the concrete beneath heavy smith machine footprints.
"If you're planning on heavy lifting, or dropping weight from overhead, I'd recommend a half-inch-thick rubber mat, at the minimum. That said, I typically prefer 3/4-inch flooring. This should be thick enough to help prevent damage to your floors or equipment if you drop weight."
Caine Wilkes, OLY, CNC, USAW-L1, Olympian and former gym owner, Garage Gym Reviews
How Do You Measure and Plan Your Gym Floor Layout?
Measuring for rubber gym mats requires the room's length and width in feet, then multiplying to get total square footage and adding a 5-10% overage for cuts. Accurate measurement before purchase prevents costly shortfalls and eliminates the need for patchwork additions later.
Step-by-Step Measurement for Your Home Gym
Measuring your gym floor accurately takes about 10 minutes and prevents ordering errors that delay your setup.
- Step 1 - Measure the room: Use a tape measure to record length and width in feet. Measure at the widest points, including any alcoves or doorway recesses you plan to cover.
- Step 2 - Calculate base square footage: Multiply length by width. A standard one-car garage (12 by 20 feet) gives you 240 square feet as your base.
- Step 3 - Add overage: Multiply your base square footage by 1.05 to 1.10 (5-10% extra). This accounts for cuts around walls, equipment bases, and doorway transitions. For the 240 sq ft example, order approximately 252-265 square feet.
- Step 4 - Choose full-room or zone coverage: Some builders tile only the workout zone (under racks and free weight areas) and leave the garage perimeter uncovered. Measure only your intended coverage zone if going this route.
- Step 5 - Note obstacles: Mark the location of floor drains, column footings, and floor anchors on a sketch. These spots need precise tile cuts and affect your tile layout starting point.
For detailed guidance on sizing your entire training space, the best home gym size guide covers minimum clearances for every major equipment category.
Tiles vs. Rolls: Which Format Fits Your Room Shape?
Interlocking tiles are the better choice for rooms with multiple obstacles, while rubber rolls suit long rectangular spaces with minimal cutting.
- Irregular rooms (L-shaped, with columns, doorways): Tiles cut and snap around obstacles without wasting large roll sections.
- Large rectangular spaces (20+ feet long): Rolls deliver faster installation with fewer seams and a cleaner finished look.
- Tight budgets: Interlocking tiles let you start with the highest-traffic zones (under racks and free weights) and expand the floor gradually.
What Mistakes Should You Avoid When Buying Rubber Gym Mats?
The most common rubber gym mat mistakes are buying too thin for your actual training intensity and skipping proper subfloor preparation before installation. Avoiding these errors upfront saves money and prevents flooring failures within the first year of use.
- Buying too thin: Many first-time buyers choose 1/4-inch mats to save money, then discover they crack or compress within months under heavy equipment. Match thickness to your heaviest planned exercise, not your lightest.
- Skipping edge pieces: Installing tiles without border ramps creates a trip hazard at every edge and allows tiles to migrate over time. Always include ramped edge and corner pieces in your order.
- Not off-gassing first: Placing new rubber mats directly in a closed garage and beginning workouts the same day traps off-gassing fumes. Unroll or unpack mats in a ventilated space for 24-72 hours before installation.
- Ignoring subfloor moisture: Concrete slabs in garages and basements often have moisture vapor transmission that traps humidity under rubber mats, causing mold on equipment feet. Tape a plastic sheet to bare concrete overnight before installing. If condensation appears on the underside, apply a concrete sealer first.
- Ordering exact square footage: Cutting waste is real. Always add 5-10% to your measured square footage to account for cuts, irregular walls, and layout adjustments during installation.
- Skipping a layout plan: Starting tile installation from the wrong corner forces awkward partial-tile cuts at the most visible walls. Start from the center of the room or the most visible wall and work outward.
Before purchasing any flooring, review the rubber flooring gym mats technical specification page to confirm thickness and density ratings for your intended load.
How Do You Install Rubber Gym Mats Correctly?
Installing rubber gym mats correctly starts with a clean, dry, level subfloor and a dry-layout run before any permanent securing. Most home gym installations can be completed in a single afternoon without professional tools or adhesive.
Subfloor Preparation
A properly prepared concrete subfloor ensures your rubber mats lie flat, stay in place, and do not trap moisture beneath them.
- Clean the surface: Sweep and damp-mop the concrete to remove dust, oil, and debris. Allow it to dry completely before placing any rubber.
- Check for level: Rubber mats will conform to moderate floor variation, but any high spot greater than 1/4 inch over 10 feet should be ground down or filled with floor leveling compound.
- Seal cracks: Fill concrete cracks wider than 1/4 inch with polyurethane caulk and allow it to cure fully before covering with rubber.
- Test for moisture: Tape a 12x12-inch plastic sheet to the concrete for 24 hours. Condensation on the underside means vapor is present. Apply a concrete moisture barrier sealer before laying rubber.
Dry-Lay, Then Secure
A dry-layout run lets you identify problem areas before committing to a final installation position.
- Start from the center or main wall: Lay tiles outward from the center of the room or from the most prominent wall so that edge cuts are equal on both sides.
- Snap interlocking tiles together: Press tabs firmly into slots. Walk the tiles after laying to confirm no edges are lifting or tabs are misaligned.
- Secure high-traffic edges: Use double-sided carpet tape along seams that meet doorways, ramp edges, or areas where equipment feet will sit. This prevents tile migration during lateral sled pushes or heavy rack loading.
- Cut with a utility knife and T-square: Score the surface of the rubber mat firmly 3-4 times along your measured line, then flex the mat to complete the cut. Use a fresh blade for clean edges, and always wear cut-resistant gloves.
For full home gym layout inspiration and planning ideas, browse the home gym ideas and layouts page to see how other builders have covered their spaces.
Which RitFit Rubber Mat Is Right for Your Home Gym?
The RitFit High Density Interlocking Gym Flooring Mats Tiles are the right choice for most garage and basement gym builders who need durable rubber coverage that installs without adhesive and expands modularly as their gym grows.
- For cardio and light training (3/8 inch): Treadmills, ellipticals, adjustable dumbbells up to 50 lbs, and functional trainer setups benefit from the lighter-profile tile that still provides subfloor protection and equipment stability.
- For mixed-use gyms (1/2 inch): If your space includes both cardio equipment and free weights up to 75 lbs with occasional moderately loaded barbell work, a 1/2-inch tile gives you the right balance of cushion and firmness.
- For serious lifting (3/4 inch): Pair 3/4-inch tiles under your power rack, smith machine, or any barbell drop zone. Use the same tile system across the entire floor for a seamless look, with the heaviest-use zones covered first.
- Modular expansion: Because RitFit tiles use a consistent interlocking system, you can start with your free weight zone and add tiles to expand coverage as your gym grows, without replacing or recutting existing sections.
The how to choose the best home gym flooring guide covers additional flooring considerations for spaces with unique subfloor conditions or multi-zone training layouts. For a complete home gym build starting from scratch, the complete home gym setup guide walks through every equipment decision in sequence.
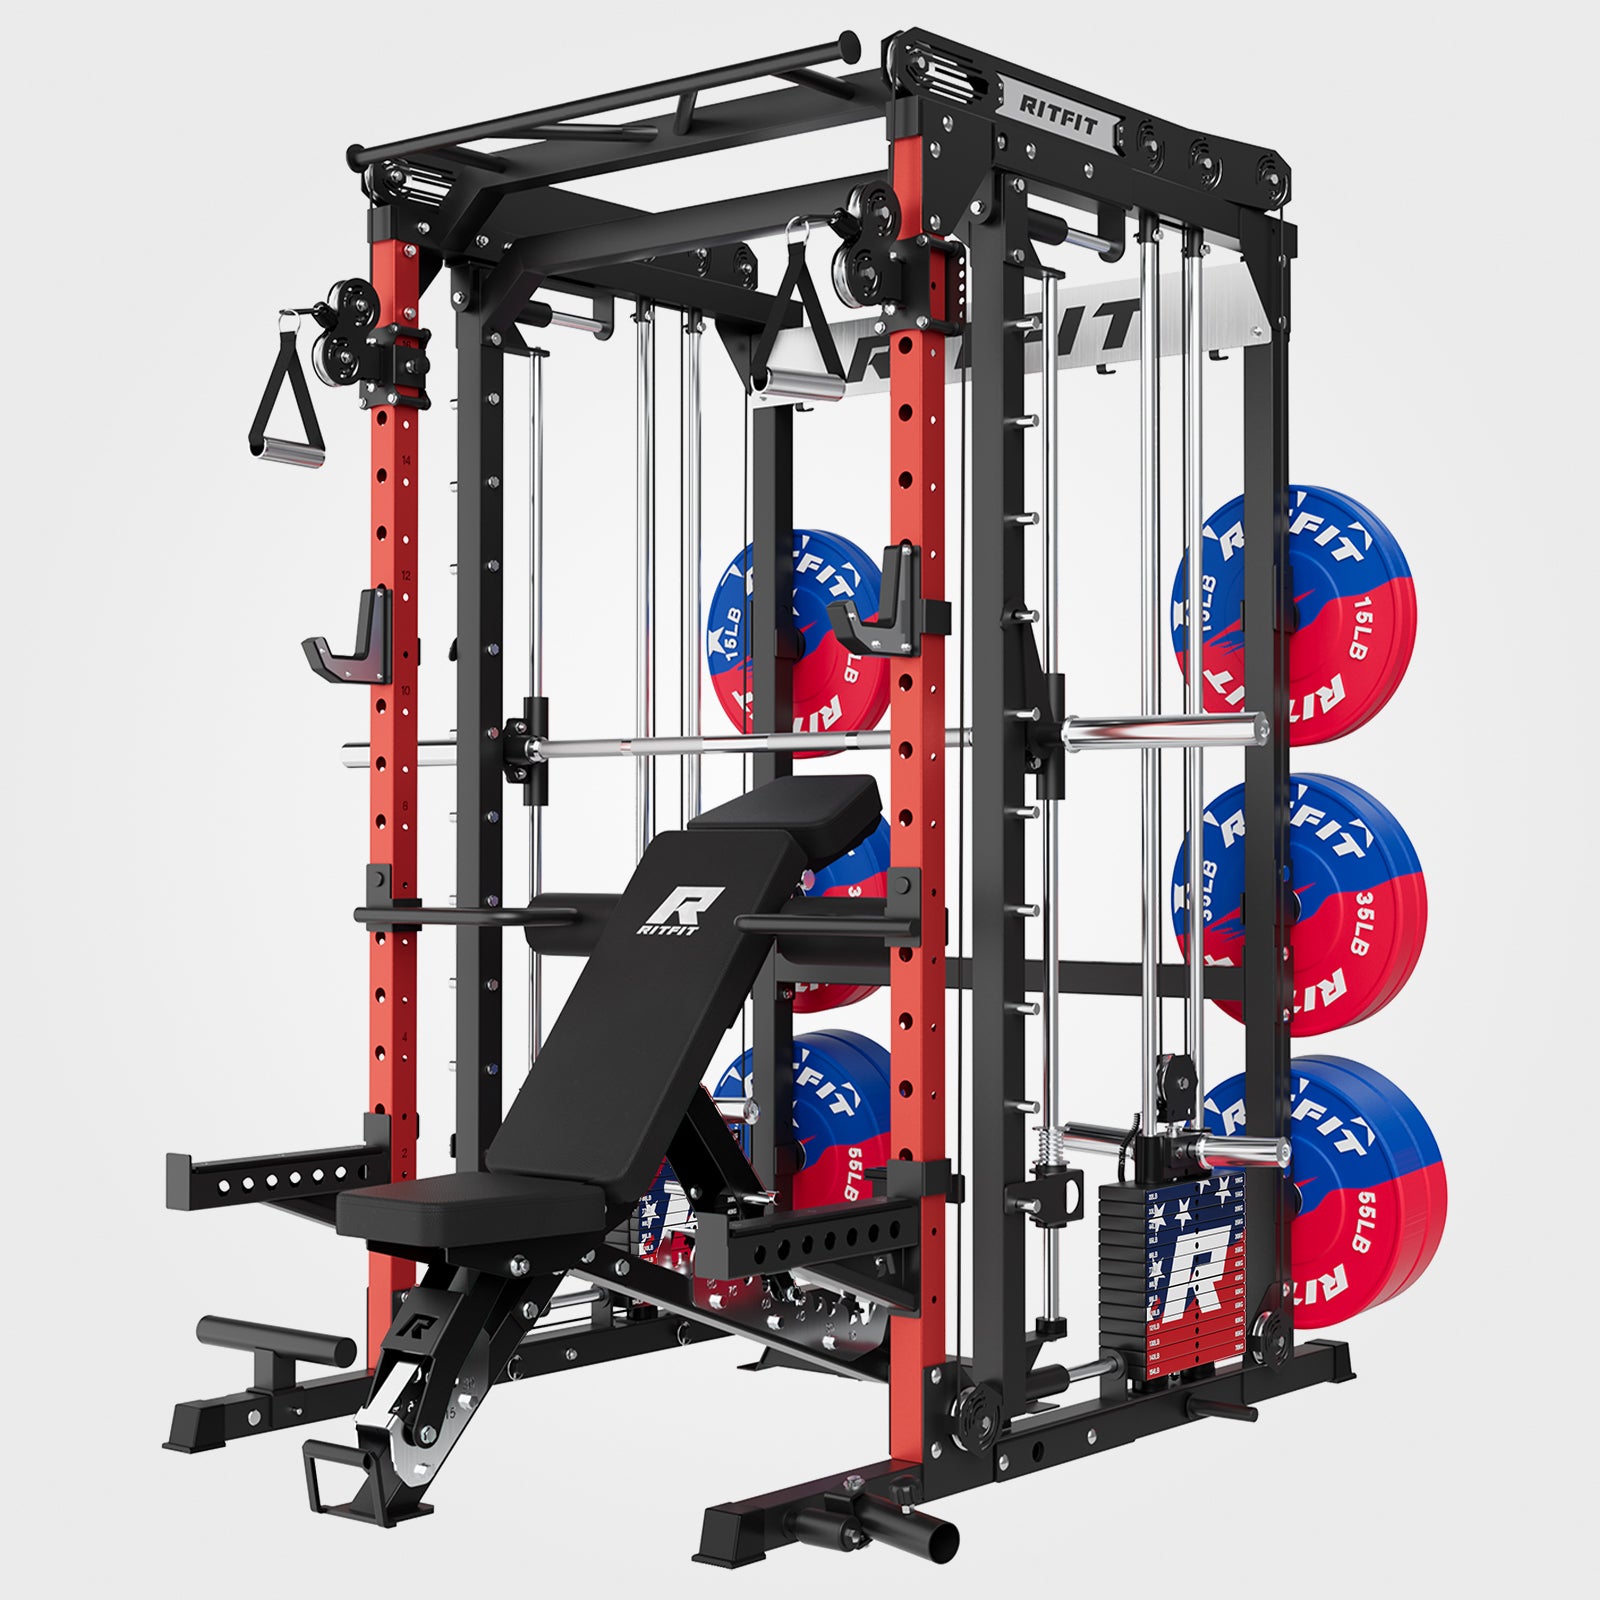
If you're pairing your rubber flooring with major equipment, the RitFit M1 Multi-Functional Smith Machine and similar full-frame machines require 3/4-inch minimum coverage under all four footprint corners. Browse athlete-curated setups on the Chase DeMoor's home gym setup collection page to see how rubber flooring integrates with a complete training space.
Also consider the horse stall mats for home gym article if you're weighing a budget 3/4-inch alternative before making your final flooring decision.
FAQs About Rubber Mats for Gym
What thickness rubber mat do I need for a home gym with free weights?
For a home gym with free weights such as dumbbells and barbells, 3/8 inch is the minimum, and 1/2 inch suits moderate lifting up to 75 lbs. If you regularly drop loaded barbells or perform Olympic lifts, upgrade to 3/4 inch to protect both your subfloor and equipment from impact damage.
Are interlocking rubber tiles better than rubber rolls for a home gym?
Interlocking rubber tiles are easier to install, replace, and customize around irregular room shapes, making them ideal for most garage and basement gyms. Rubber rolls create seamless coverage with fewer trip hazards and suit larger open spaces. For most home gym builders buying their first floor, interlocking tiles offer the best balance of convenience, modular upgrades, and professional appearance.
How do I get rid of the rubber smell from new gym mats?
New rubber gym mats off-gas from recycled rubber materials used in manufacturing. To reduce the smell, unroll or unpack the mats outdoors or in a well-ventilated space for 24 to 72 hours before installing. Wiping surfaces with a diluted white vinegar solution can speed up the process. The odor typically fades within one to two weeks of regular ventilation.
Do rubber gym mats need to be glued down?
Most rubber gym mats stay in place without adhesive due to their weight and high-friction backing. For interlocking tiles, the tab system holds sections together. For rubber rolls or areas near doorways and high-traffic zones, double-sided tape along seams and edges prevents curling and shifting. Full glue-down is rarely needed for home gym installations and makes future changes difficult.
How many square feet of rubber mat do I need for a home gym?
Measure the length and width of your gym space in feet and multiply to get total square footage, then add 5 to 10 percent extra for cuts around walls, doorways, and equipment bases. A typical one-car garage gym at 12 by 20 feet requires approximately 240 to 265 square feet of rubber matting.
Can I use rubber gym mats on concrete floors?
Yes. Concrete is the ideal subfloor for rubber gym mats because it is rigid, level, and moisture-resistant when properly sealed. Before installing, clean the concrete thoroughly, fill cracks wider than 1/4 inch with polyurethane caulk, and test for moisture by taping a plastic sheet to the floor overnight before laying mats.
What is the difference between recycled rubber and virgin rubber gym mats?
Recycled rubber mats are made from repurposed tire rubber, making them more affordable and environmentally friendly, though they may off-gas initially and show subtle color variation. Virgin rubber mats use new rubber compounds, offering a more uniform appearance and lower initial odor. For most home gym applications, high-density recycled rubber provides equivalent performance at a lower cost per square foot.
Conclusion
Rubber mats for your home gym are a foundational purchase that protects your subfloor, stabilizes equipment, and makes every training session safer and quieter. Choose 3/8 inch for cardio and light weights, 1/2 inch for mixed-use setups, and 3/4 inch wherever barbells or loaded machines meet the floor.
Start by measuring your space, adding 5-10% for cuts, and choosing the right mat thickness for your heaviest training use case. Lay the floor before your first piece of equipment arrives and you'll never regret the upgrade.
Disclaimer
The information in this article is intended for general home gym planning and equipment selection purposes only. Consult a qualified contractor or structural engineer for specific subfloor assessments, moisture mitigation, or structural concerns before installing heavy gym equipment.
Save on your next RitFit order
Tap the button to copy your code, then paste it at checkout.
References
1. Morsi SMM, Khalil AM, Kamel S. Sustainable court surfaces using emulsion-waste rubber cushions and acrylic-rice husk top coatings. Sci Rep. 2025;15(1):25437. doi:10.1038/s41598-025-10189-6
2. Beranek V, Stastny P, Bacik B, Bonkowski T, Novacek V. The Effect of Protective Mat Thickness on the Upper Limb Strike Force Simulation in Combat Sports and Self Defense. J Hum Kinet. 2024;94:47-63. doi:10.5114/jhk/192131
3. Brtva P, Bizovska L, Canty B, Skypala J, Irwin G, Farana R. Modifying landing mat properties elicits different lower limb biomechanical responses in gymnasts and non-gymnasts. Sci Rep. 2025;15(1):42490. doi:10.1038/s41598-025-26522-y