
Smith machine positions decide what your machine can actually do, from where the bar catches for a press to whether it ever gets low enough for a Romanian deadlift. Most home buyers compare total height and setting counts, then discover the two positions they needed were never listed.
This guide explains every kind of bar position, safety stop, and cable setting on a home Smith machine, and it turns the lowest-position problem into a five-point checklist you can run on any spec sheet. It applies to home and garage gym shoppers, not commercial facility buyers.
Quick Answer: Smith machine positions set where the bar starts, catches, and stops for each lift, so high positions fit presses and rows, mid-range settings fit squats and bench work, and the lowest stop makes Romanian deadlifts, hip thrusts, and seated rows possible. Before you buy, verify the lowest bar stop and the lowest cable position on the spec sheet.
Key Takeaways
- High positions: start overhead presses, incline presses, and standing rows near shoulder height so you can unrack alone and stay in control.
- Mid-range settings: hold the bar at upper-back height for squats and chest height for bench work, the zone most lifters use daily.
- The lowest stop: the make-or-break setting, because RDLs, hip thrusts, deadlifts, and seated rows all need the bar to start near the floor.
- Safety stops and the rotational release: let a solo lifter fail a rep and reroll the bar onto a catch instead of fighting the weight.
- Cable settings: count and placement matter, but the number that changes your exercise list is how low the handles actually reach.
Why Bar Position Is the Most Overlooked Spec on a Smith Machine
Bar position settings determine which exercises a Smith machine supports, because every lift needs the bar to start and end at a usable height. Two machines with the same frame and footprint can support very different exercise lists depending on where the bar can rest.
- High positions: serve pressing and rowing, where the bar should begin at or just below shoulder height.
- Mid-range settings: serve squats and bench work, where the bar starts across your traps or at chest height.
- Lowest stop: serves floor-adjacent work, and it is the setting most product pages bury or omit.
Buyers usually compare footprint, capacity, and attachment counts because those numbers are easy to find. Position data takes more digging, and that is exactly why the shopping mistake repeats itself.
High Positions: Where Presses and Rows Should Start
High bar positions serve overhead presses, incline presses, and standing rows, where the bar should start at or just below shoulder height. Starting high also lets you unrack without a spotter, which matters in a home gym.
- Overhead press: the bar sits at roughly upper-chest height so you can press your head clear of the path.
- Incline press: the bench slides under the bar and the catch sits at your lower-chest line.
- Standing row and shrug work: a high start keeps the pull loaded through the working range instead of wasting travel.
When you evaluate a machine, look at how tightly the top settings are spaced. Wide gaps at the top force shorter lifters to reach awkwardly for every set.
Mid-Range Settings: Squat and Bench Start Heights
Mid-range positions hold the bar at upper-back height for squats or at chest height for bench work, which is why most lifters live in this zone. A setting every few inches through the middle of the rail makes one machine shareable across different body heights.
- Squat setup: step in, place the bar across your traps, and rotate it free, with your feet set a few inches ahead of the bar line.
- Bench press: position the bench so the bar starts level with your lower chest, then press along the fixed path.
- Shared-household benefit: two lifters of different heights need different mid settings, so density in this range is real versatility, not a spec boast.
This zone is also where fixed-path training pays off, because you can push close to fatigue without hunting for a rerack point.
The Lowest Stop: The Setting That Makes or Breaks RDLs and Hip Thrusts
The lowest bar stop decides whether floor-adjacent lifts work at all, because Romanian deadlifts, hip thrusts, deadlifts, and seated rows all need the bar to start near the floor. If the lowest catch sits around knee height, those lifts start with the bar floating too high and never feel right.
- Romanian deadlift: the bar should travel down to mid-shin level, so the catch needs to sit low enough to keep that stretch reachable.
- Hip thrust: you sit on the floor with the bar across your hips, which only works if the bar can rest just above your legs at the bottom.
- Conventional deadlift practice: the setup position comes off the floor, so a high lowest stop forces you to fake the pull.
Trainers often recommend confirming this one measurement before ordering, because it is the single most common reason a home Smith machine ends up limited to presses and squats. Ask the seller for the lowest stop height in inches if the page does not list it.
Safety Stops and the Rotational Release: What They Do When You Fail a Rep
Safety stops are the catch points where the bar can rest if you fail a lift. The rotational release is the twist that locks the bar onto the rail or frees it. Together they let a solo lifter push close to failure without a spotter standing by.
- Set stops one notch below your working depth: the bar then has somewhere safe to land on a missed rep.
- Learn the rotate-and-rack motion early: with most designs you turn the bar toward the rail, then lower it into the nearest catch.
- Overload with intent: fixed rails plus reliable stops are what let lifters run slow negatives and beyond-failure techniques alone.
"The smith machine is great because it's going to take a lot of the pressure out of your shoulders because it's supporting itself and you can do a little bit more weight on here. So it can help you break some barriers too, and also if you don't have a spotter you can utilize the tabs, put that right here so if you drop it it'll just bounce and then you won't hurt yourself."
Scott Herman, ScottHermanFitness, How To: Smith Machine Bench Press
That is the practical case for fixed rails in a solo setting. The catch hardware is not a bonus feature, it is the reason the machine can replace a spotter.
Angled vs Vertical Rails: How Track Angle Changes Low Travel
Angled rails follow a more natural press and squat arc, but that geometry can raise the bar's lowest rest point, while vertical rails keep travel straight and often reach lower. Compare the lowest catch height across both designs instead of assuming one is always better.
- Angled rails: the bar path matches a free-weight arc, which many lifters find more natural for pressing and squatting.
- Vertical rails: the path is dead straight, which simplifies setup positions and usually buys extra travel at the bottom.
- All-in-one trade-off: folding angled rails inside all-in-one frames often shorten the low end of travel, which is exactly where hip thrusts and RDLs live.
One guide that walked through a full all-in-one build found the rail design shaped which exercises felt right more than any attachment did. The takeaway is simple: rail angle is an exercise-list decision, not a style preference.
Cable Settings: How Low the Handles Need to Go
Cable settings matter twice, because the number of positions controls fine adjustments while the lowest cable position decides whether seated rows and floor-level work are possible. A machine can offer many positions and still stop every handle well above the floor.
- Position count: more adjustment points mean tighter height matching for lat pulldowns, crossovers, and face pulls.
- Lowest handle position: seated rows and low pulls need a handle start near the floor, so this is the cable version of the lowest-stop test.
- Pulley ratio: the ratio shapes how heavy the stack feels per plate, and either a two to one or a one to one design can work well.
| Spec | RitFit M1 PRO | RitFit BPC06 |
|---|---|---|
| Smith bar height settings | 11 height settings | Not listed on the product page |
| Cable adjustment positions | 15 positions | 17 adjustable cable holes |
| Pulley ratio | 2:1 | 1:1 |
| Smith bar weight | 33 lbs | Not listed on the product page |
| Rated capacity | 420 lbs carriage without stack | 700 lbs Smith capacity |
| Weight stack | 264 lbs optional stack set | 260 lbs stack, 130 lbs per side |
Source: RitFit product pages for the M1 PRO and BPC06, as of October 10, 2026. Blank lines are pages that do not publish the value, which is why the checklist below tells you to confirm before ordering.
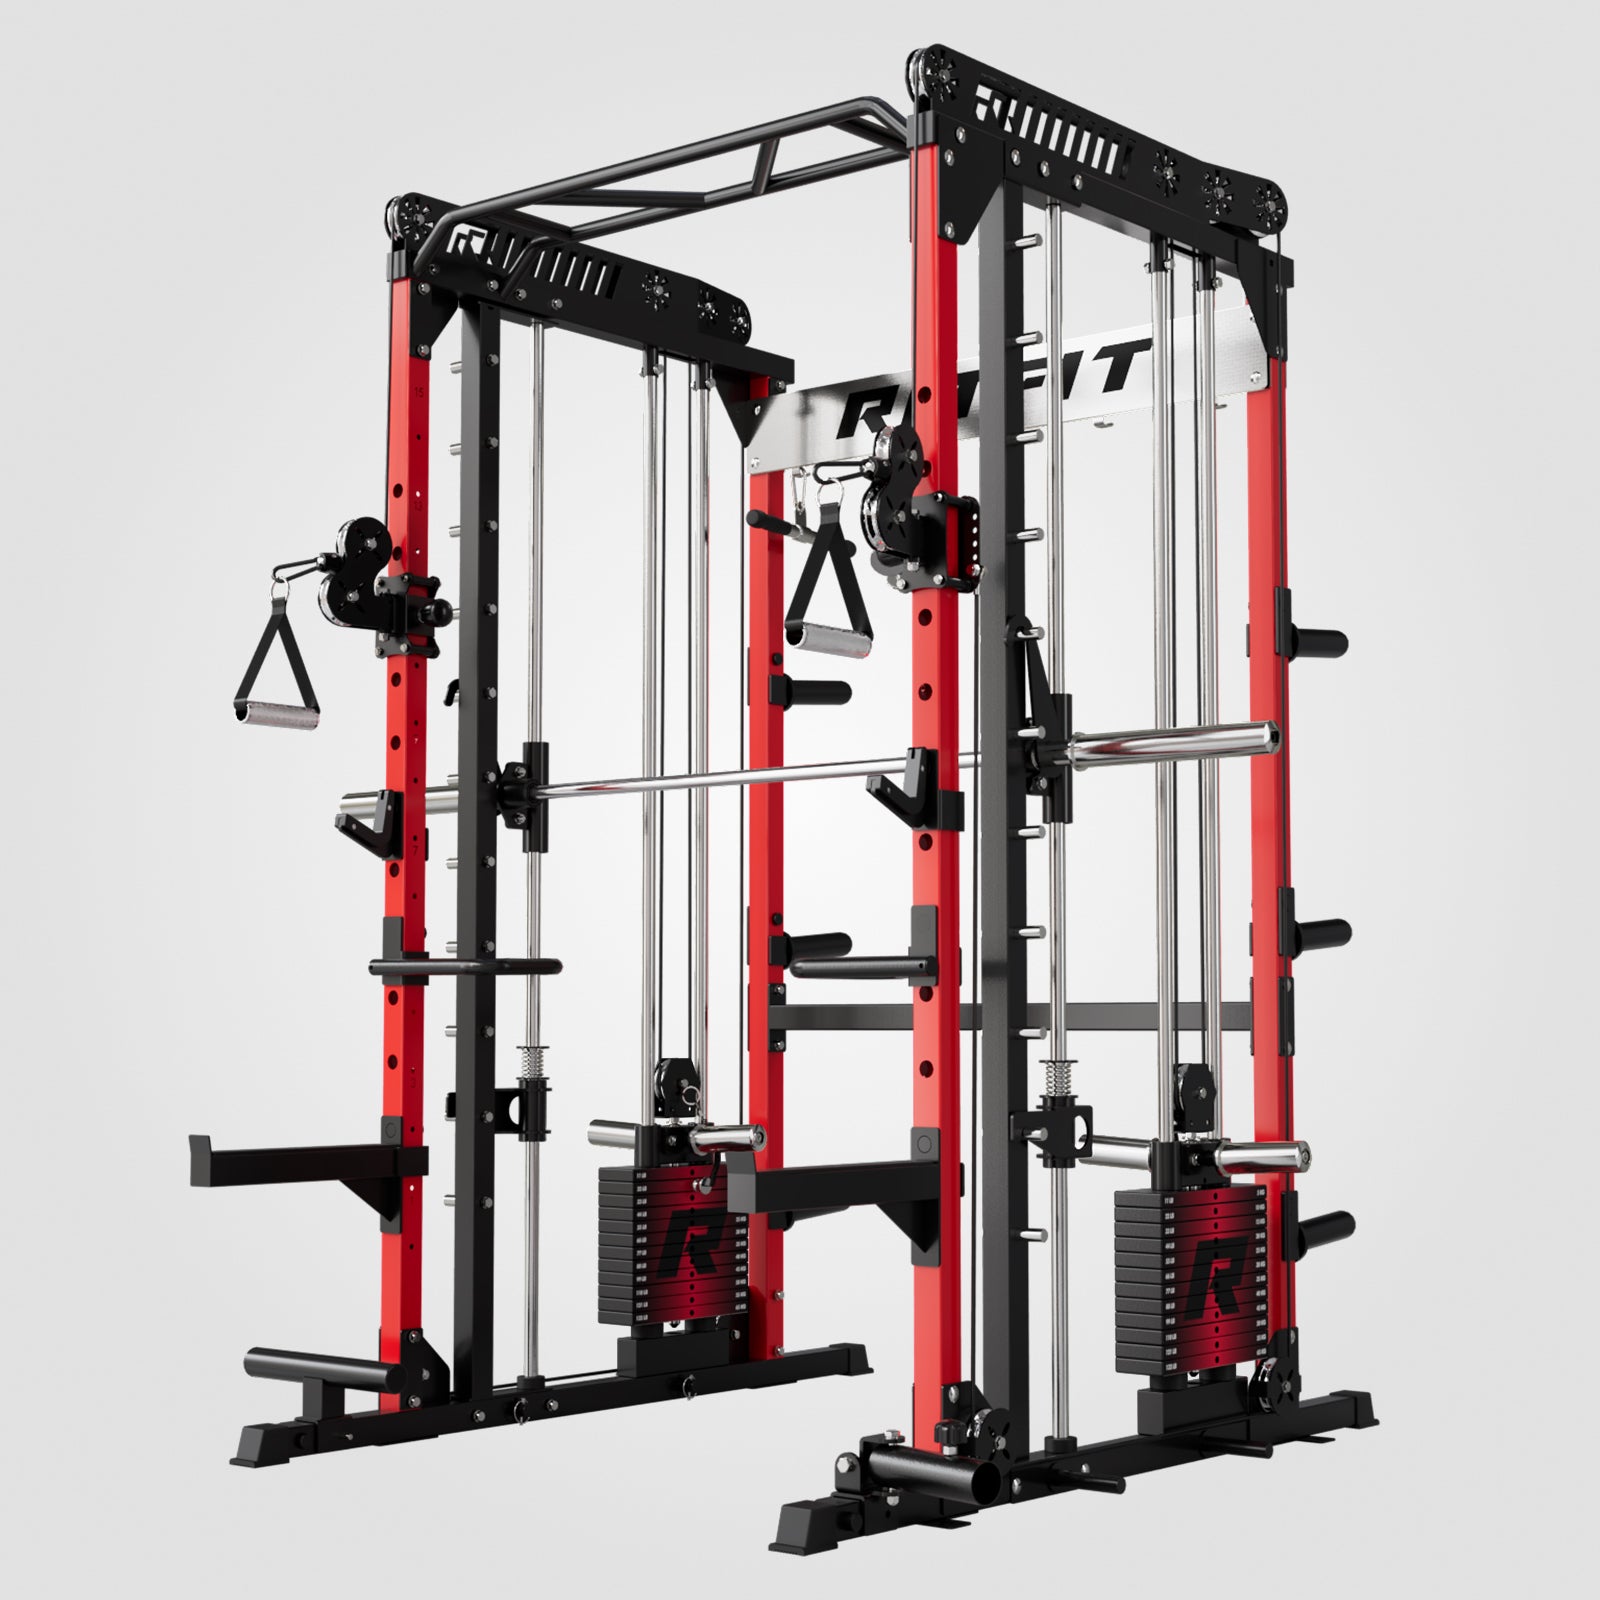
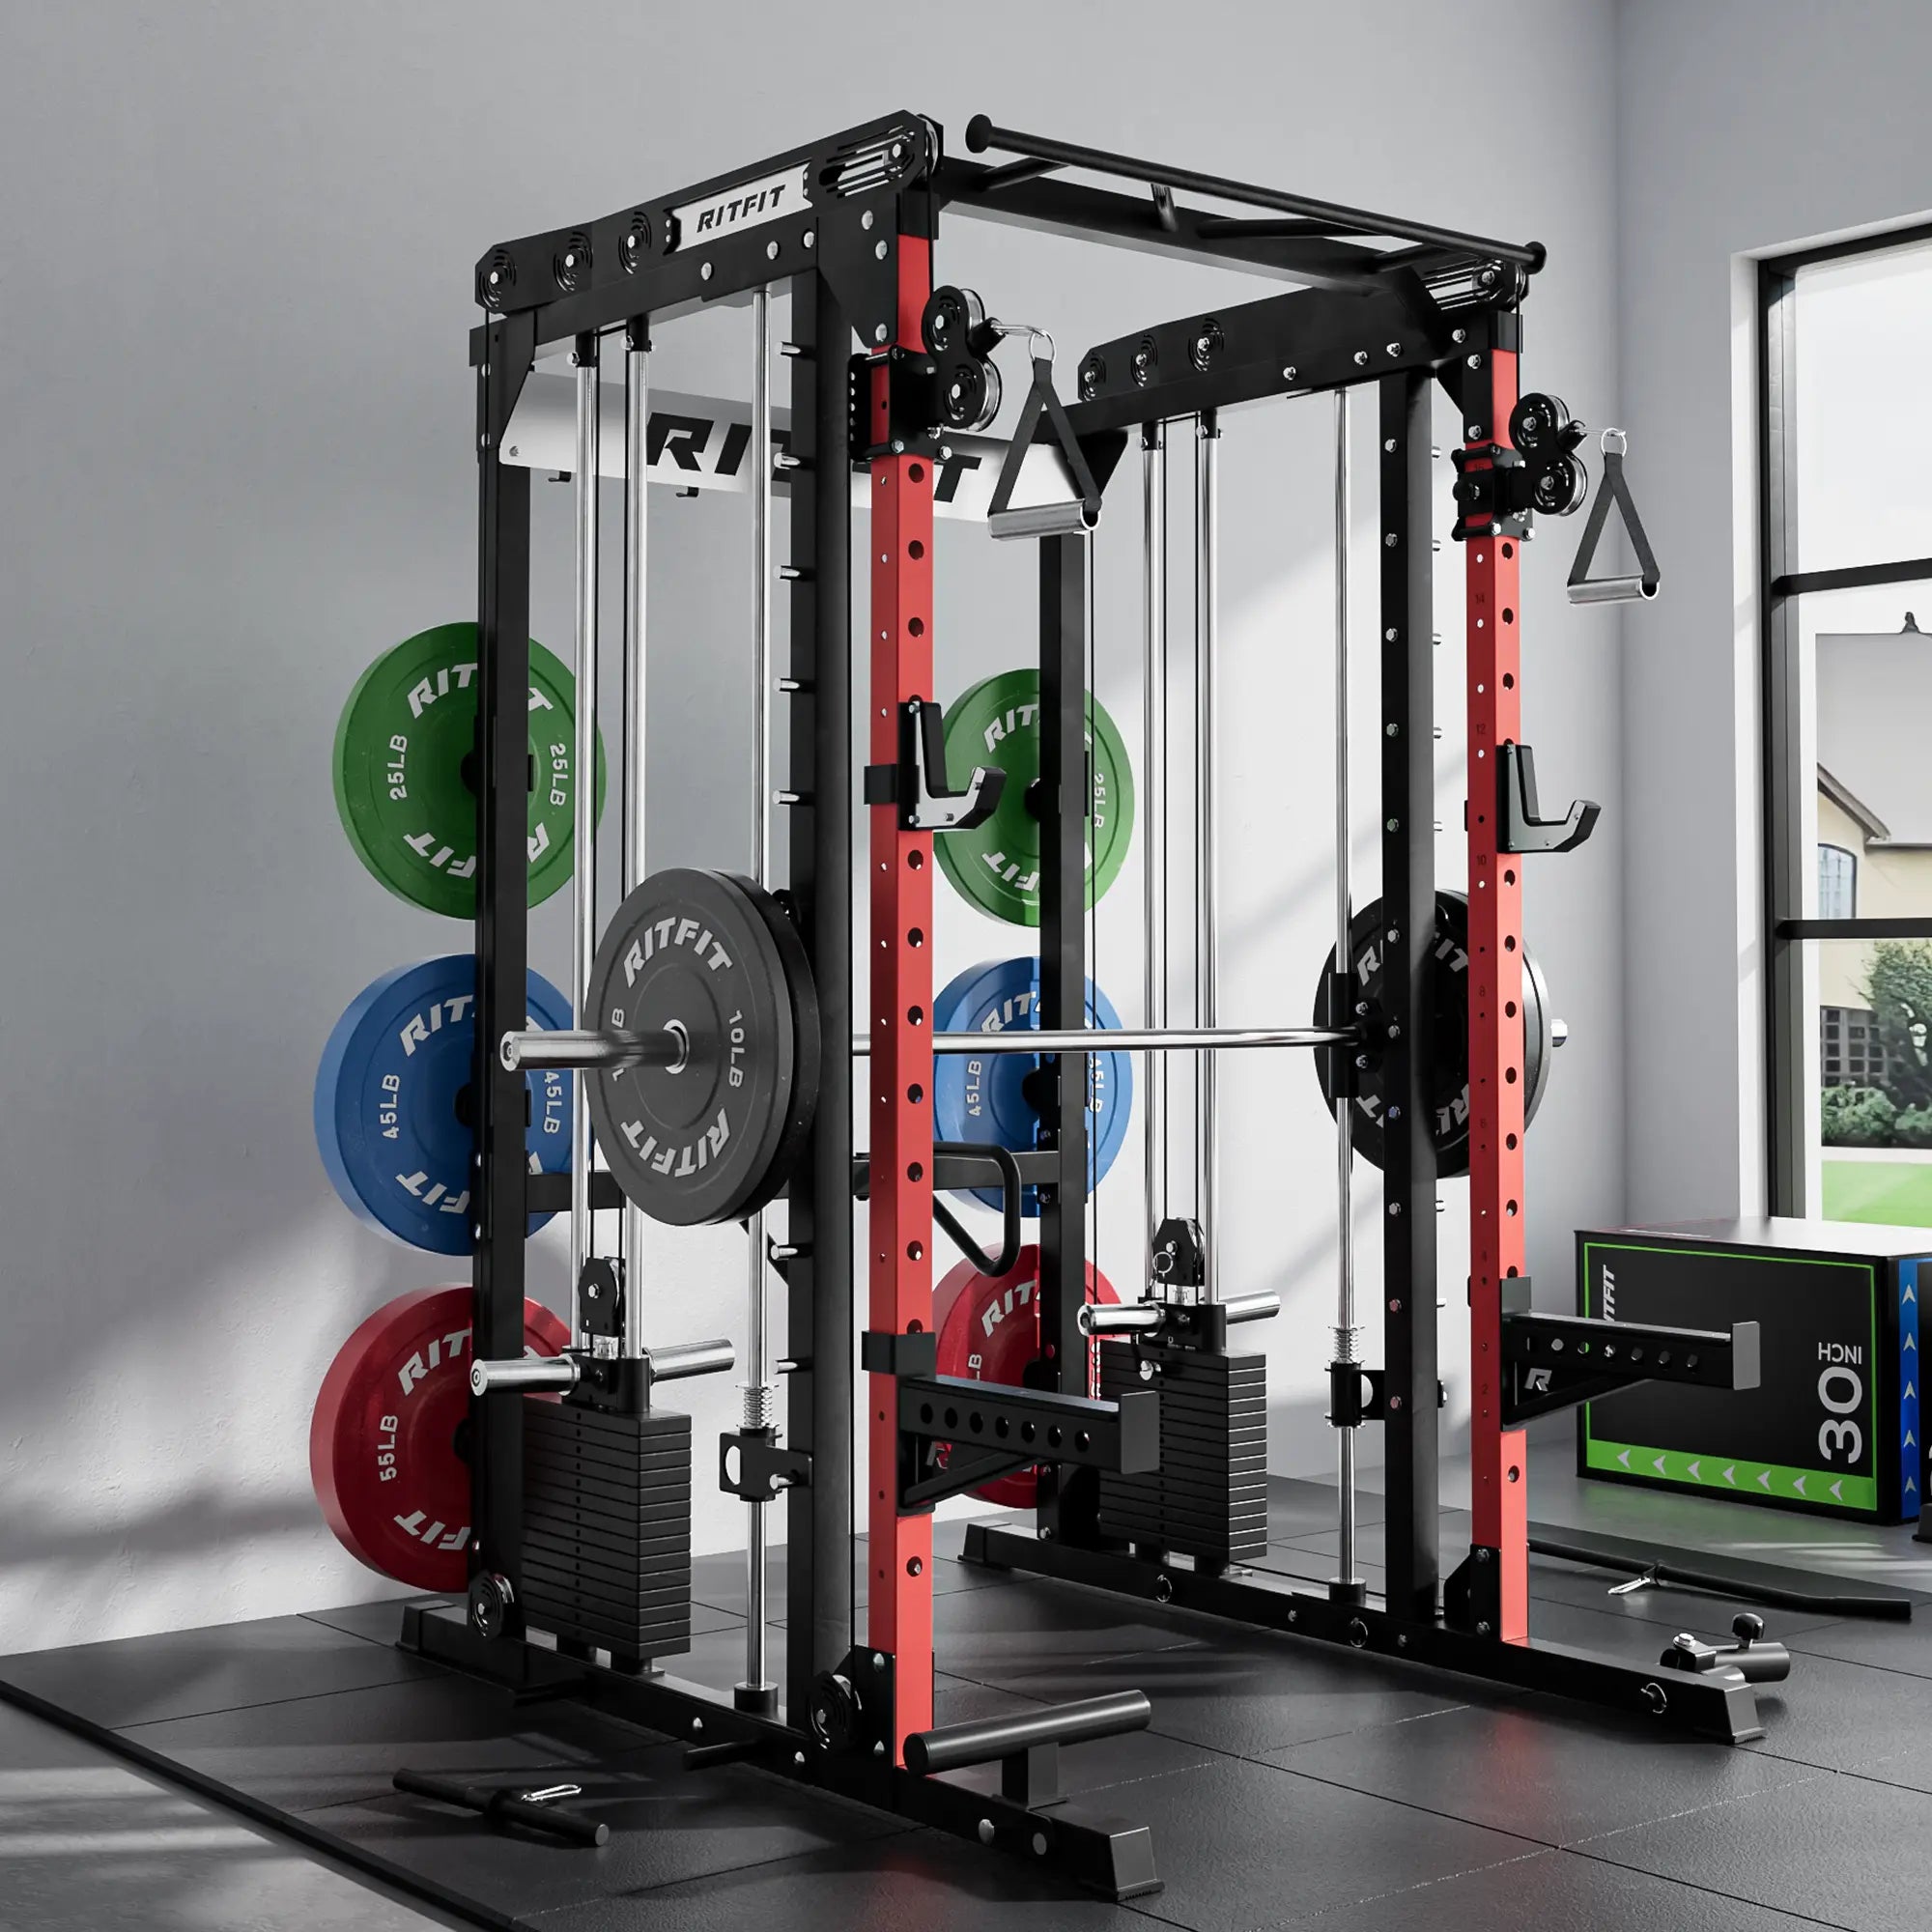
For floor-level cable work, the RitFit BPC06 All-In-One Smith Machine Home Gym Package pairs its adjustable cable system with the Smith bar on one frame.
A Buying Checklist: Five Numbers to Verify Before You Pay
Five spec-sheet numbers predict whether a Smith machine will fit your training, starting with the lowest bar stop height and the lowest cable position. The full list adds Smith setting spacing, the pulley ratio, and your ceiling clearance. If a listing omits the lowest numbers, ask support before ordering.
- Lowest bar stop height: must let the bar rest near the floor for RDLs, hip thrusts, and seated rows.
- Smith height settings: look for dense spacing through the mid range, not just a bigger total number.
- Lowest cable position: confirms seated rows and low cable work are real options on that frame.
- Pulley ratio: two to one feels lighter per plate and moves faster, one to one feels heavier per plate.
- Ceiling and clearance: RitFit recommends at least 8 ft of ceiling with 1 to 2 ft of clearance around the rack, so measure your room first.
Warranty belongs on the same list. RitFit lists a 3-year frame and welding warranty with 1-year coverage for bolts and pulleys on the M1 PRO, and the frame is rated for home and light commercial use.
Ready to compare machines with the checklist in hand? Start with the RitFit Smith machine collection, then shortlist the Buffalo Wild Smith Machine with Adjustable Dual Cable System if low cable reach is your priority.
Should You Buy the RitFit M1 PRO for These Low-Position Moves?
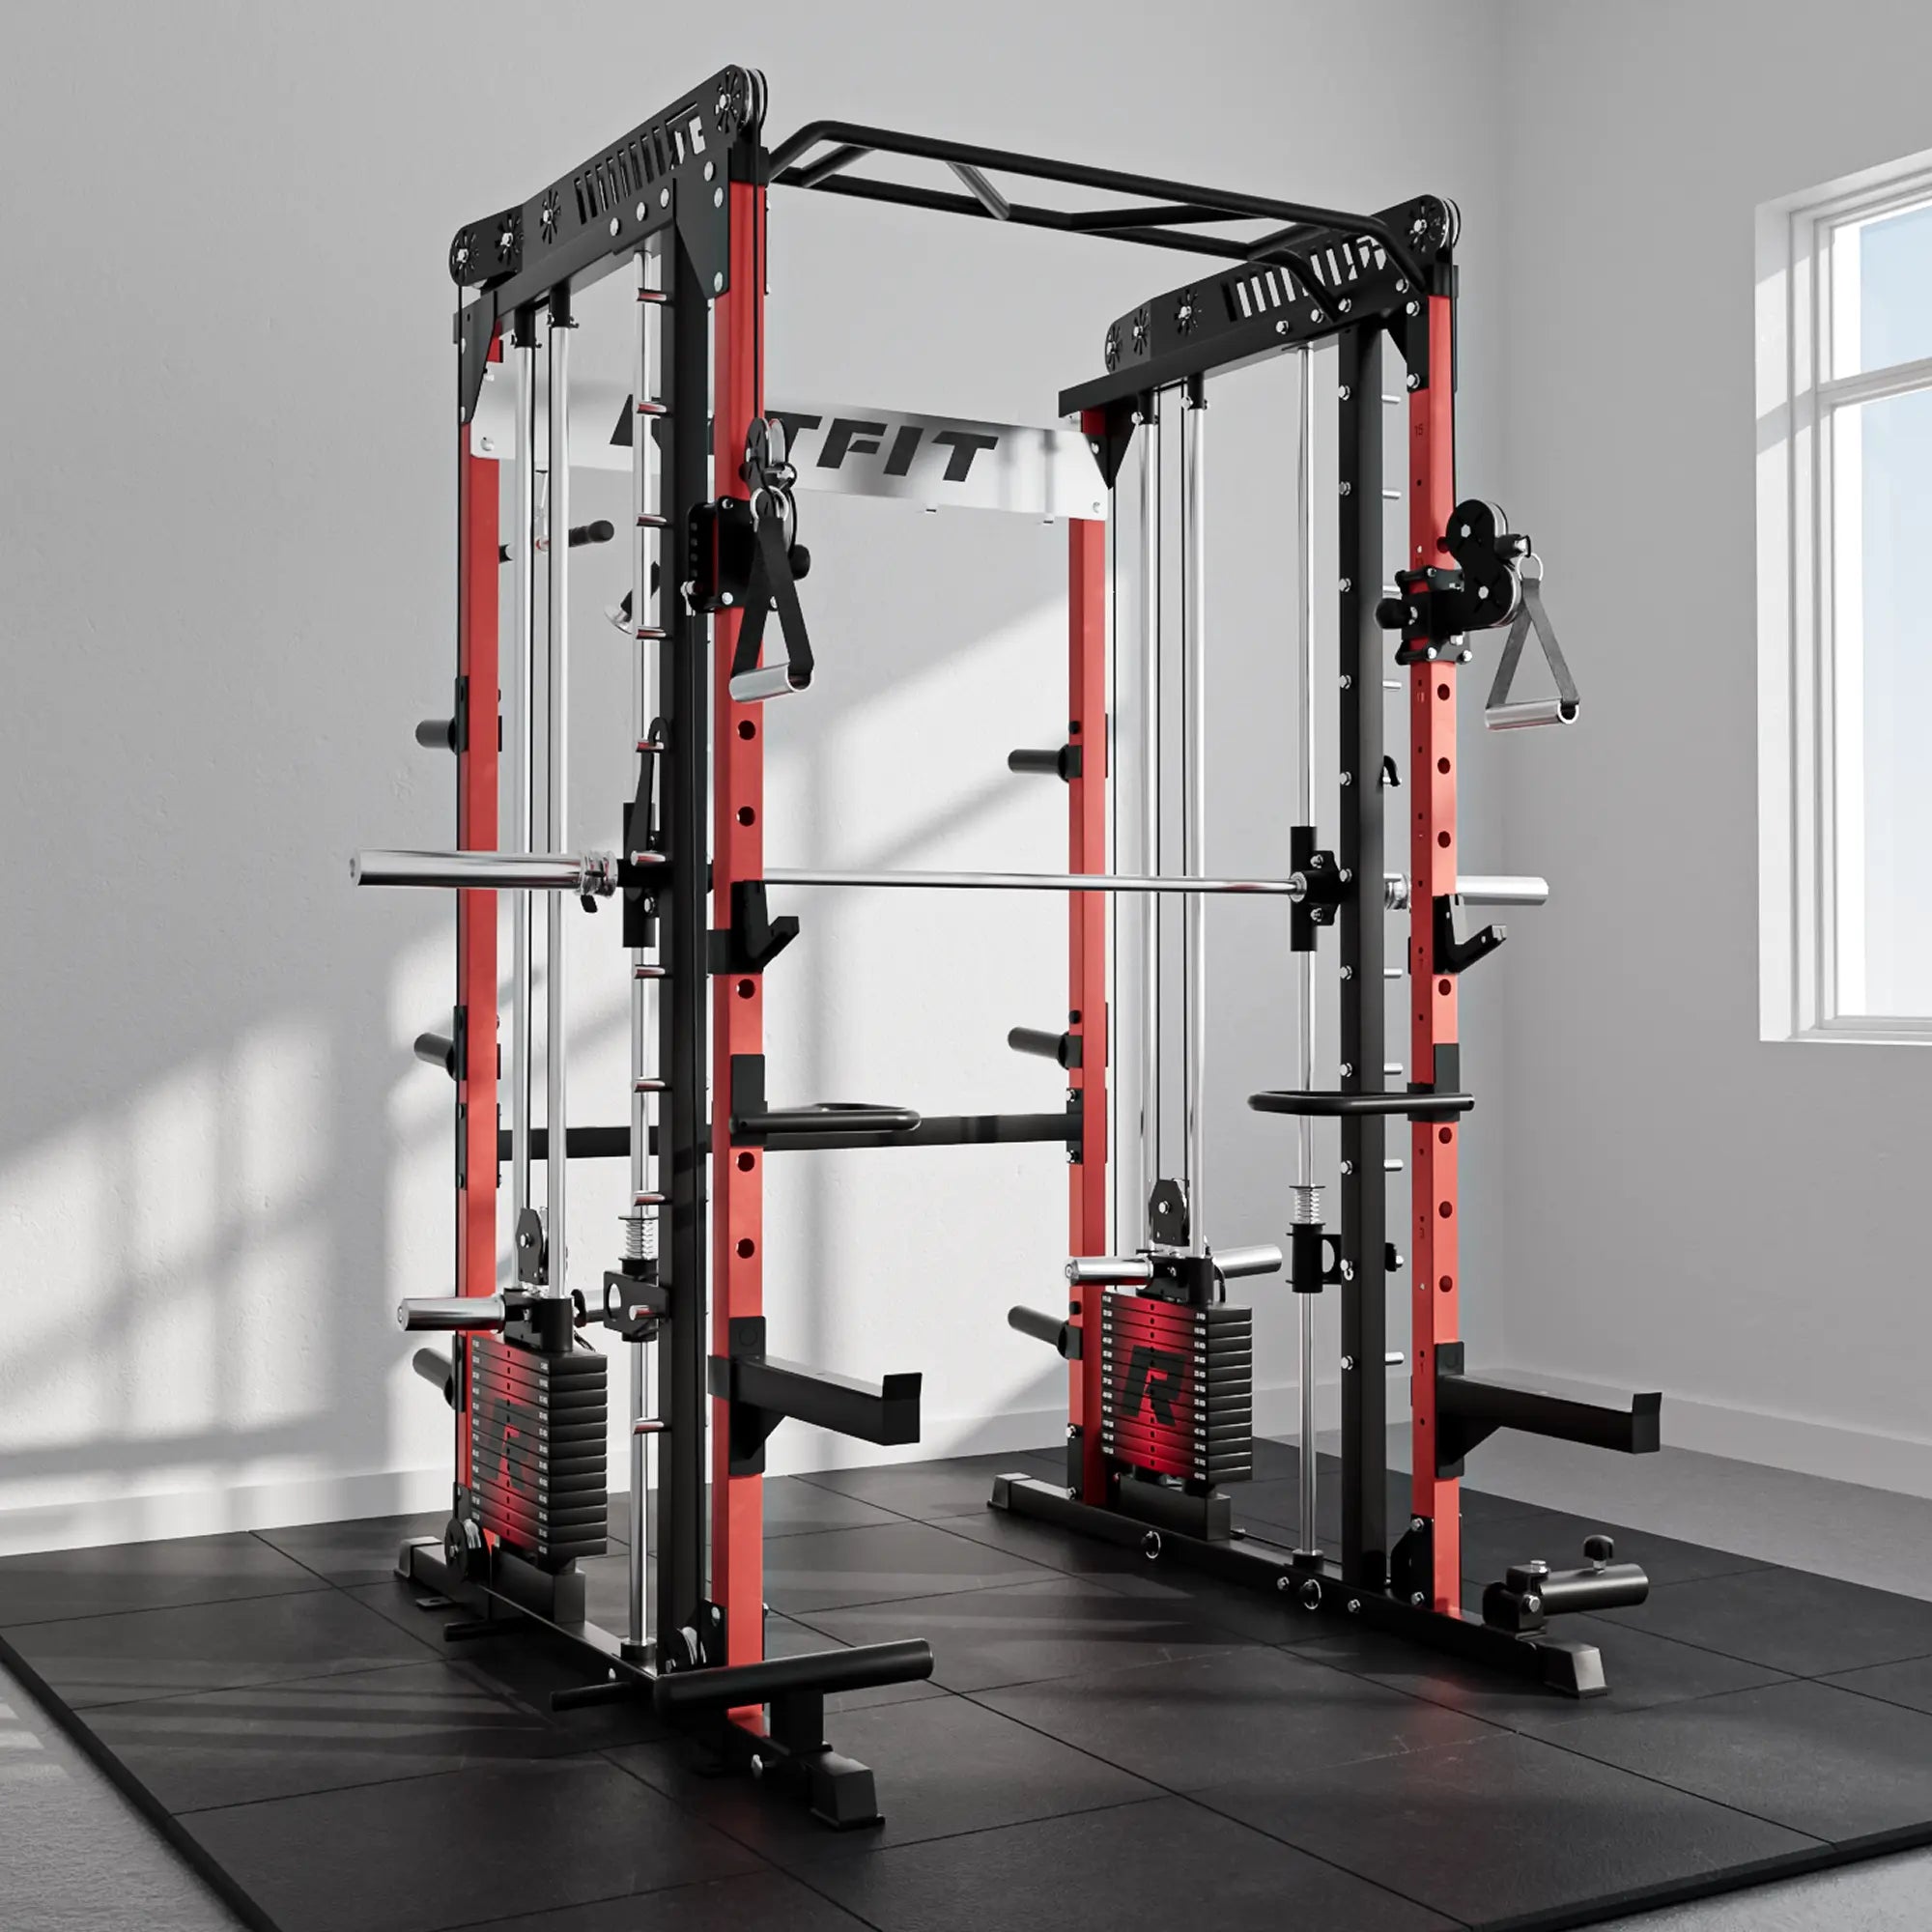
Yes, the RitFit M1 PRO is a strong fit for position-focused home training. It gives you 11 Smith bar height settings, 15 adjustable cable positions at a 2:1 ratio, and a 33 lb Smith bar. Run the checklist against your own height and lifts first, because every machine still has to clear your lowest stop.
- Versatility: the 11 Smith settings cover press, squat, and low zones, and the crossover adds 15 more cable heights for rows, flyes, and pulldowns.
- Durability: RitFit rates the carriage for 420 lbs without the optional weight stack, and 308 lbs with it, on a linear-bearing Smith bar system.
- Warranty: 3 years on frame and welding, 1 year on bolts and pulleys, rated for home and light commercial use.
- Value: you are buying position density at a home-gym price, which is what makes the checklist above easy to pass.
The RitFit store listing shows an overall rating of 4.7 / 5 from 479 reviews as of October 2026. If you want more overhead clearance in a taller room, the M3 Power Rack Cable Crossover Smith Machine moves up the same checklist.
"Solid all in one rack. The pulleys and smith machine are so smooth. Ample room to store attachments and barbells. Time consuming assembly but easy"
Khristian P. Verified Buyer, RitFit M1 PRO Multi-Functional Smith Machine with Cable Crossover System and Squat Rack for Home Gym
FAQs About Smith Machine Positions
What is the lowest setting on a Smith machine used for?
The lowest bar stop is what lets the bar start just off the floor, which lifts like Romanian deadlifts, hip thrusts, deadlifts, and seated rows need. If the lowest catch sits near knee height, the bar path starts too high and those lifts feel wrong. Always check the lowest stop height before buying.
How do I check if a Smith machine goes low enough for RDLs?
Look past the total height and setting count and find the lowest bar stop height in the spec sheet or manual. Then test the movement, standing over the bar at its lowest stop to see whether your bottom position lines up with it. If the listing does not show the number, ask support before ordering.
Does an angled Smith machine rail change the lowest bar position?
It can. Angled rails follow a natural press and squat arc, but the geometry shifts where the bar can rest at each end of travel. Some angled designs stop the bar higher at the bottom than vertical rails do. Compare the lowest catch height, not just the rail angle, when you compare machines.
What does the pulley ratio mean for cable height settings?
The pulley ratio decides how much weight you feel, not how many heights you get. A two to one ratio makes the felt resistance half the stack weight and moves the handle faster, while a one to one ratio feels heavier per plate. Either works well, so check the lowest cable position for low rows instead.
Can a Smith machine cable system reach near the floor?
Some can and some cannot. Machines with adjustable dual cables often set the lowest handle position well above the floor to keep cables clear of the frame. If floor-level pulls or low seated rows matter to you, verify the lowest handle height in the specs rather than assuming an all-in-one covers it.
How many bar height settings do home Smith machines have?
It varies by model. The RitFit M1 PRO, for example, lists 11 height settings for its Smith bar and 15 adjustable positions on its cable crossover. Count matters less than placement though, because a machine with fewer settings can still cover your lifts if the key stops are in the right spots.
Conclusion
Every position on a Smith machine is a commitment to a certain kind of training, and the lowest stop is the one that quietly decides your exercise list. Verify the lowest bar catch, the lowest cable position, the setting spacing, and your ceiling before you pay, and the machine you order will match the lifts you actually do.
If you are still shortlisting, run the five-point checklist on the RitFit M1 PRO Multi-Functional Smith Machine and the RitFit PSR05 2.0 Multifunctional Smith Machine, and check our discount guide before checkout.
Disclaimer
This article is general equipment education, not medical or professional training advice. Specifications reflect RitFit product pages as of October 10, 2026 and can change without notice, so confirm current specs and warranty terms with the manufacturer before purchase.