


The barbell row is one of the best exercises for building back thickness, pulling strength, and better posture, but only when your torso stays stable and your spine stays neutral. This guide explains how to row correctly, what muscles you train, which mistakes to avoid, and how to choose the right variation for your goal.
Key Takeaways
- The barbell row is a compound pulling lift that mainly builds the lats, rhomboids, and mid-back while also challenging the biceps, grip, core, and spinal erectors.
- Proper setup matters more than load. A neutral spine, strong brace, and consistent torso angle protect your lower back and improve back engagement.
- Most technique problems come from using too much weight. If you have to jerk the bar, rise out of position, or shrug the weight up, the load is too heavy.
- Different row variations solve different problems. Pendlay rows build explosive strength, Yates rows shift more work to the lats and biceps, and chest-supported rows reduce spinal fatigue.
- For most lifters, rowing 1 to 2 times per week with strict form is enough to drive strength and muscle growth.
What Are Barbell Rows?
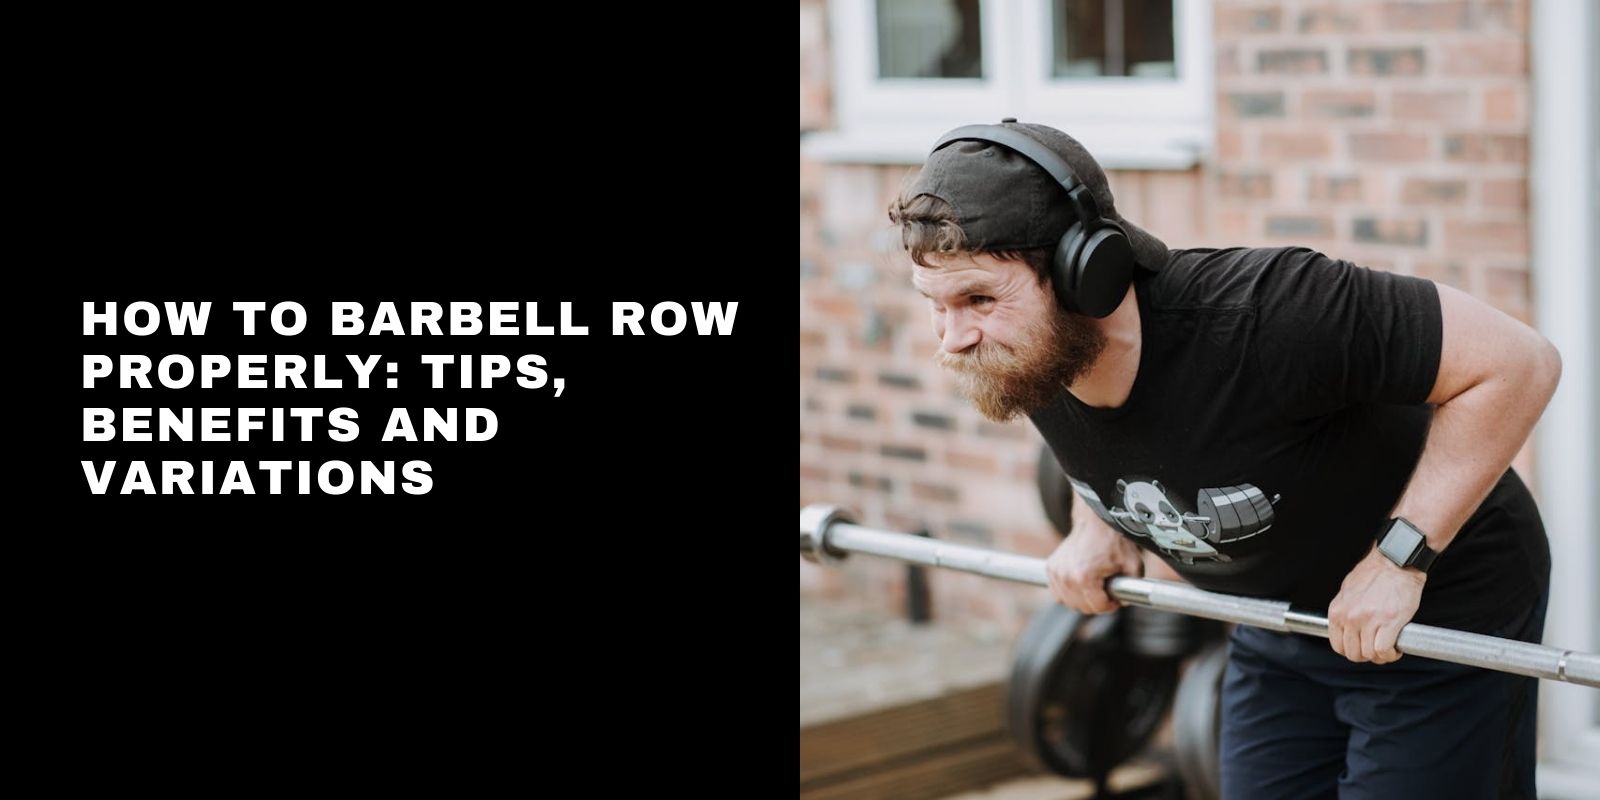
The barbell row is a compound pulling exercise where you hinge at the hips and pull a barbell toward your torso. It is a foundational back-building lift that trains the upper back, lats, and supporting muscles through a loaded hip-hinge position.
Muscles Worked
Primary muscles: Latissimus dorsi, rhomboids, mid-to-lower trapezius
Secondary muscles: Rear deltoids, biceps, forearms, spinal erectors, and core stabilizers
Because so many muscle groups work together, the barbell row is highly efficient for both strength and hypertrophy. It fits well into pull days, upper-body sessions, full-body routines, and back-focused programs.
Proper Barbell Row Setup
A strong setup makes the row safer and more effective. You need a barbell, plates, and stable footwear so you can brace properly and hold position throughout the set.
- Grip option: Start with a double overhand grip. An underhand grip can increase biceps involvement and lat emphasis, but it also changes the pulling path.
- Grip width: Place your hands just outside shoulder width. This usually gives you enough room to row freely without crowding your wrists or elbows.
- Stance: Stand with your feet about hip- to shoulder-width apart. Keep the bar over your mid-foot so the setup feels balanced and controlled.
- Torso position: Hinge at the hips and keep a neutral spine. Your chest should point toward the floor, and your knees should stay slightly bent.
- Bracing: Tighten your core before every rep. A strong brace protects your lower back and helps you keep the same torso angle from start to finish.
Step-by-Step Guide: How to Do Barbell Rows
Proper row form matters because small setup errors can shift tension away from your back and into your lower back, arms, or traps. Before you begin, use a manageable weight and make sure you can hold a stable hip hinge without rounding.
- Step 1: Set Your Position: Stand with the bar over your mid-foot, hinge at the hips, and bend your knees slightly. Keep your spine neutral, your chest set, and your core braced before the bar leaves the hang.
- Step 2: Start the Pull With Your Elbows: Drive your elbows back rather than lifting with your hands. This helps load the lats and upper back instead of turning the movement into a curl.
- Step 3: Row Toward the Lower Chest or Upper Stomach: Pull the bar into your torso with control and keep your shoulders down. The exact touch point can vary slightly based on your torso angle, but the bar path should stay close to your body.
- Step 4: Lower the Bar Under Control: Bring the bar down slowly without losing spinal position. Let your arms extend fully while keeping tension in your back and core.
- Step 5: Reset Your Brace Before the Next Rep: Refill your belly with air and lock your torso in again before each repetition. Every rep should look the same instead of getting looser as the set goes on.
Common Form Mistakes and How to Fix Them
Rounding the back
A rounded back increases lower back stress and usually means you have lost your hip hinge. It is one of the fastest ways to turn a strong back exercise into a risky rep pattern.
Fix: Reduce the weight and push your hips back harder during setup. Lift your chest slightly, brace your core, and stop the set when you can no longer hold a neutral spine.
Using Momentum
Jerking the weight with body English reduces back tension and turns the movement into a partial cheat row. A small amount of natural movement may happen on heavy sets, but large torso swings should not drive the rep.
Fix: Keep the torso angle nearly the same from the first rep to the last. If your chest rises every rep, lower the load and rebuild strict control.
Pulling with the hands instead of the elbows
When the hands lead, the row often becomes a shrug or curl. This usually shifts tension away from the lats and mid-back.
Fix: Think about pulling your elbows behind you. A simple cue is to drag the elbows back while the bar follows.
Short Range of Motion
Cutting the rep short reduces the training effect and usually hides poor positioning or excessive load. Many lifters either never reach a full stretch or never bring the bar high enough.
Fix: Let the arms extend fully at the bottom without losing posture, then row the bar all the way into your torso. Use less weight if the full range disappears.
Poor Neck Position
Looking too far up can strain the neck and encourage spinal extension. Looking too far down can also throw off your posture.
Fix: Keep your neck neutral and your gaze slightly ahead on the floor. Your head should move as part of the spine, not independently.
Technique Tips for Stronger and Safer Barbell Rows
Warm Up First
A quick warm-up improves position and reduces stiffness. Open the hips, activate the upper back, and do a few lighter sets before your work sets begin.
Use clear cues.
Simple cues usually work better than overthinking the lift. Good options include pull your elbows back, keep the bar close, and stay locked in the hinge.
Control the tempo.
A controlled tempo makes the row more productive. Try pulling firmly, pausing briefly at the top, and lowering in about two seconds.
Choose the Right Load
Use a weight that lets you keep your torso stable and finish every rep with the same mechanics. Strict reps beat sloppier heavy reps every time for long-term progress.
Benefits of Barbell Rows
Builds Back Strength That Carries Over
A strong row builds the upper back and lats, which support many other compound lifts. Better upper-back strength can improve bench stability, deadlift control, and squat posture.
Adds Thickness and Density
The barbell row is one of the most effective lifts for building a thicker-looking back. It trains the muscles that give the torso more depth from the side and rear views.
Improves Posture Balance
Many lifters do far more pressing than pulling. Rows help restore balance by strengthening the muscles that retract and stabilize the shoulder blades.
Supports Athletic Performance
Strong pulling muscles matter in contact sports, grappling, climbing, sprinting mechanics, and general power output. A stronger back also improves your ability to control loads in real-world movement.
Barbell Row Variations
Pendlay Row
The Pendlay row starts each rep from the floor. This version emphasizes a more explosive pull and reduces carryover momentum from rep to rep.
Use it when you want stricter power development and a more horizontal torso position. It is also useful for lifters who benefit from resetting their brace between reps.
Yates Row
The Yates row uses an underhand grip and a more upright torso. This shifts more emphasis toward the lats and biceps while reducing the depth of the hinge.
Use it when you want a lat-focused row with a slightly more comfortable body position. Be careful with heavy underhand loads if your elbows or biceps tendons are sensitive.
Bent-Over Row With Grip Changes
Grip width changes the feel of the exercise. A wider overhand grip usually increases upper-back and rear-delt involvement, while a narrower grip often feels more lat-dominant.
Small grip changes can improve comfort and mind-muscle connection. Test a few positions and keep the one that lets you row cleanly without wrist or shoulder irritation.
Chest-Supported Barbell Row
A chest-supported row removes much of the lower-back demand. This makes it a great option when fatigue, back discomfort, or high training volume limits your standard bent-over row.
Use it for hypertrophy work, technique cleanup, or after heavy deadlift sessions. It is also one of the best choices for lifters who struggle to maintain a strong hinge.
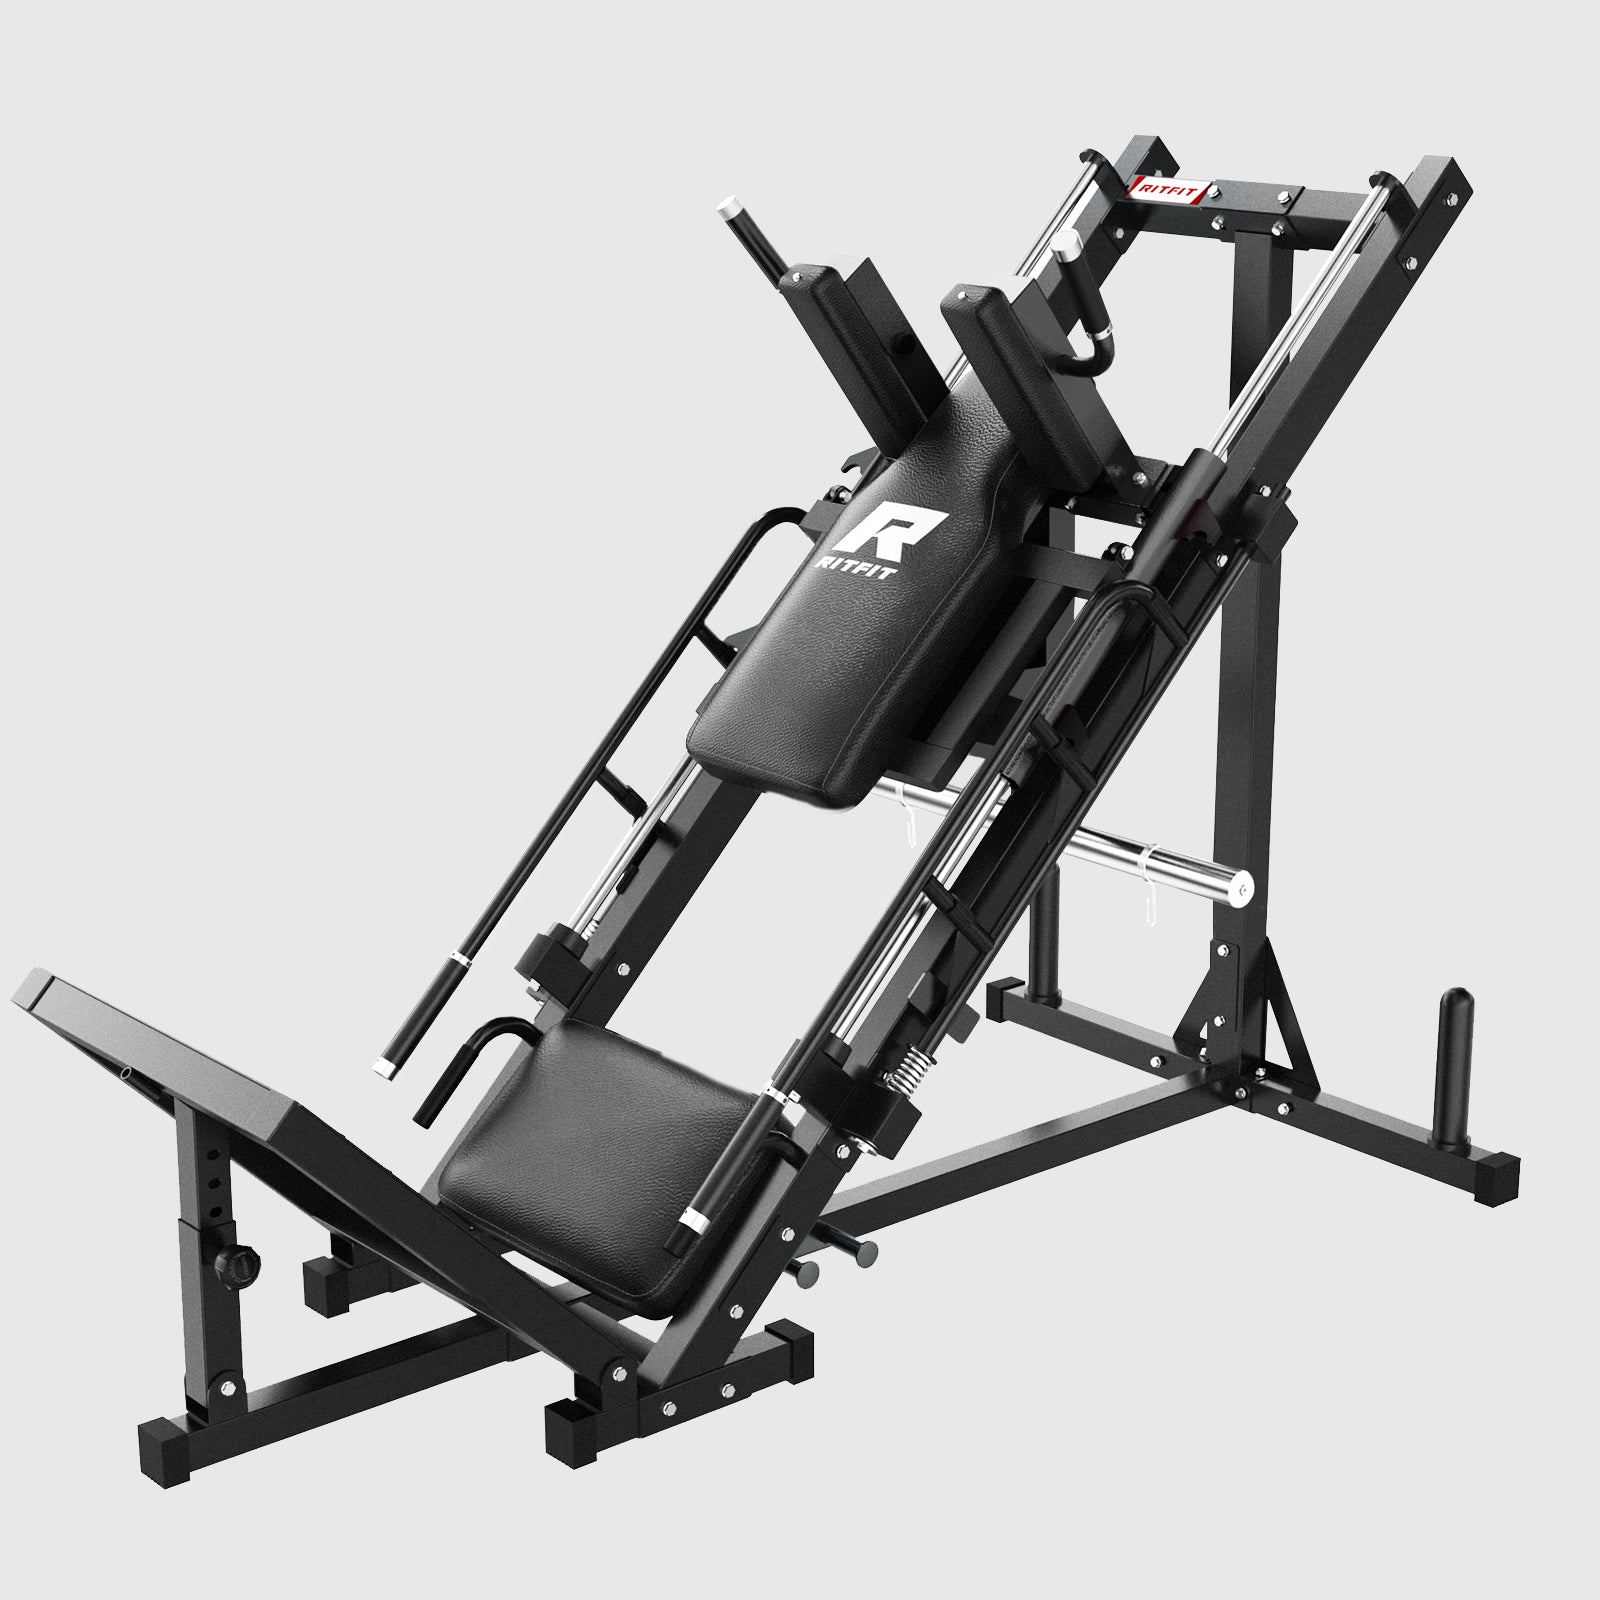
Other Rowing Alternatives
If barbell rows cause discomfort or do not fit your setup, other rows can still train the same general pattern. Dumbbell rows, cable rows, machine rows, and seal rows are all effective options.
Choose the version that lets you train hard with the least unnecessary joint stress. The best row is the one you can perform well in, progress steadily in, and recover from consistently.
Programming Barbell Rows Into Your Workout
How you program barbell rows should match your goal. The lift can work as a strength movement, a hypertrophy builder, or a support exercise behind bigger compound lifts.
Strength Focus
Use 3 to 5 sets of 3 to 6 reps. Rest longer between sets and prioritize stable, powerful reps.
Hypertrophy Focus
Use 3 to 4 sets of 8 to 12 reps. Focus on full range of motion, controlled lowering, and strong contraction at the top.
Exercise Placement
Place barbell rows early in the session if they are a priority lift and your lower back is fresh. If you already deadlift heavily on the same day, consider doing rows later or switching to a chest-supported option.
Frequency
Most lifters do well with barbell rows 1 to 2 times per week. One heavier day and one moderate or hypertrophy-focused day often works very well.
Safety, Mobility, and Recovery Considerations
Barbell rows are highly effective, but they do require enough mobility and spinal control to hold a good hinge. If you cannot keep a neutral back, you should improve the pattern before pushing the load.
If you have a history of lower back pain, start conservatively and consider supported variations first. Hamstring tightness, poor hip hinge mechanics, and fatigue from deadlifts can all make strict rowing harder.
Build better tolerance with hip-hinge drills, core-bracing practice, and thoracic-mobility work. Recovery also matters, so manage total pulling volume and reduce load when form quality starts to slide.
Frequently Asked Questions About Barbell Rows
Why do barbell rows hurt my lower back?
You feel lower back pain because your hip hinge is lost or the weight is too heavy. A rounded spine places excessive stress on your lower back instead of the target muscles. You should reduce the load, push your hips back, and keep your core braced tightly.
Which grip should I use for barbell rows?
You should start with a double overhand grip to build general back strength and stability. An underhand grip shifts more focus to your lats and biceps but can place extra stress on your tendons. Your grip choice depends entirely on your comfort and specific muscle building goals.
What is the main difference between Pendlay rows and standard barbell rows?
The Pendlay row starts every single repetition from the floor to build explosive strength. A standard barbell row keeps the weight suspended in the air to maintain constant tension on your muscles. You should choose the floor version for power and the suspended version for muscle growth.
Where should the bar touch my body during barbell rows?
The bar should touch your lower chest or upper stomach depending on your torso angle. You must pull with your elbows and keep your shoulders down to engage the upper back properly. The exact touch point matters less than maintaining a stable and consistent pulling path.
How often should I do barbell rows for muscle growth?
You should perform this exercise one to two times per week for optimal muscle growth. Most lifters achieve the best results by mixing one heavy strength day with one moderate volume day. This frequency allows you to stimulate the back muscles fully while ensuring adequate physical recovery.
Conclusion
The barbell row is one of the most useful back-building exercises you can do, but strict form must come before heavier loading. Start with a weight you can control, keep your torso fixed, and use the variation that best fits your body and training goal.

