


Table of Contents
- What is A Barbell Hip Thrust?
- Warm-up and Safety Tips Before Barbell Hip Thrusts
- How to Do A Barbell Hip Thrust the Right Way
- Barbell Hip Thrust Common Mistakes
- Muscles Worked in the Barbell Hip Thrust
- Barbell Hip Thrust Sets and Reps
- Benefits of Barbell Hip Thrust
- How to Progress Your Barbell Hip Thrust Training
- Sample Glute-Focused Workout with Hip Thrusts
- Barbell Hip Thrust Alternatives
- Barbell Hip Thrust FAQs
The barbell hip thrust exercise is popular among strength and muscle-building enthusiasts. This exercise targets the glutes and hamstrings. You can build a stronger and more defined posterior chain by performing this exercise with the correct form. It can help you achieve better athletic performance and improved overall posture. In this article, we'll look closely at the proper form for performing the barbell hip thrust, the muscles worked, the benefits, and some common mistakes to avoid.
What is A Barbell Hip Thrust?

The barbell hip thrust is a lower-body strength exercise where you sit on the floor with your upper back supported on a bench and a barbell resting across your hips, then drive your hips up into a bridge.
Unlike a traditional glute bridge on the floor, the elevated setup lets you move through a larger range of motion, placing more tension on the glutes at the top and making it one of the best exercises for building strong, round glutes.
To perform it comfortably at home, you will need a sturdy bench (such as a RitFit GATOR or BWB01 adjustable bench) and an Olympic barbell with plates. A barbell pad or thick foam can make the bar much more comfortable on your hips.
Warm-up and Safety Tips Before Barbell Hip Thrusts
Before you lift a lot of weight, take 5 to 10 minutes to get your body ready:
- To get your blood flowing, start with some light cardio, like walking, biking, or marching in place.
- Do one or two sets of bodyweight glute bridges and hip hinge movements to "wake up" your hamstrings and glutes.
- Use a barbell pad or folded mat on the bar so it does not dig into your hip bones.
- If you have a history of lower-back, hip, or knee pain, talk with a medical or rehab professional before pushing the weight. Stop immediately if you feel sharp pain, numbness, or pinching and seek professional advice.
This exercise is usually safe as long as you do it right and with control, but it should never hurt your back, hips, or knees.
How to Do A Barbell Hip Thrust the Right Way
To perform a barbell hip thrust correctly, follow these five steps:
Step 1: Set Up Your Bench and Bar
Place a flat or low adjustable bench behind you and sit on the floor in front of it. Roll the loaded barbell so it rests just in front of your hips.
Step 2: Position Your Upper Back and the Barbell
Lean back so the edge of the bench is under your shoulder blades. Slide the bar into the crease of your hips, center it, and use a barbell pad or towel for comfort. Lightly hold the bar to keep it stable.
Step 3: Set Your Feet and Brace
Plant your feet flat on the floor about hip-width apart. At the top, your shins should be roughly vertical. Take a breath in, gently brace your core, and keep your ribs “tucked down.”
Step 4: Drive Your Hips Up and Squeeze
Push through your heels to lift your hips until your body forms a straight line from shoulders to knees. Squeeze your glutes hard for 1–2 seconds, avoiding excessive arching in your lower back.
Step 5: Lower With Control and Repeat
Slowly lower your hips until your glutes almost touch the floor while keeping tension in your muscles. Maintain your bench position and foot placement as you repeat for the desired reps.
Helpful coaching cues:
- “Push the floor away with your heels.”
- “Ribs down, glutes up.”
- “Squeeze your butt cheeks together at the top, instead of just lifting your chest.”
Barbell Hip Thrust Common Mistakes
Although barbell hip thrusts are easy to learn, some people make mistakes that reduce their effectiveness or increase the risk of injury. Below are common errors and how to correct them.
1. Arching Your Back Excessively
What happens:
At the top, you flare your ribs and hyperextend your lower back instead of moving mostly from the hips.
Why it is a problem:
This creates unnecessary stress on the lumbar spine and takes work away from the glutes.
Quick fix:
Think about keeping your ribs “tucked” and your chest softly pointed forward instead of up. Squeeze your glutes to finish the rep rather than driving your hips so high that your back bends.
2. Using Your Lower Back to Lift the Weight
What happens:
You feel a strong arch or pinch in your lower back and very little tension in your glutes.
Why it is a problem:
Relying on your lower back to move the weight can lead to back fatigue and discomfort while giving you less glute growth.
Quick fix:
Lower the load, reset your feet, and focus on driving through your heels. Imagine your glutes pushing the bar up. If you cannot feel your glutes at all, start with bodyweight bridges or a lighter dumbbell version first.
3. Placing the Bar Too High on Your Hips
What happens:
The bar sits closer to your stomach or ribs instead of across the bony part of your hips.
Why it is a problem:
This can make it hard to breathe, limit your range of motion, and feel very uncomfortable.
Quick fix:
Roll the bar so it rests directly across your hip bones and pad it generously. Your hands should simply steady the bar, not squeeze it into your belly.
4. Rounding Your Shoulders Forward
What happens:
You collapse your chest, round your shoulders, and slide on the bench.
Why it is a problem:
This reduces the stability of your upper body and makes it harder to keep a neutral spine.
Quick fix:
Before each set, pull your shoulder blades slightly back and down into the bench. Think about creating a “solid shelf” with your upper back. A high-quality bench with a grippy pad, such as a RitFit GATOR bench, can also help you stay in place.
5. Allowing Your Knees to Move Outwards Too Much
What happens:
You drive your knees very far out to the sides in an attempt to “feel the glutes more.”
Why it is a problem:
Over-spreading the knees can shift tension away from the glutes, irritate the hips, and make your foot position unstable.
Quick fix:
Keep your knees roughly in line with your feet. Avoid letting them collapse inward or flare extremely outward. Think “knees track over the middle of the foot” throughout the movement.
Muscles Worked in the Barbell Hip Thrust
The muscles worked by the barbell hip thrust are mainly in your posterior chain. When performed correctly, this exercise can help strengthen your glutes, hamstrings, quadriceps, and erector spinae.
Glutes (especially the gluteus maximus)

The primary muscle worked in the barbell hip thrust is the gluteus maximus. This large muscle extends from the back of your pelvis to your upper thigh bone and is responsible for powerful hip extension, such as standing up, running, and jumping. Because the hip thrust loads the glutes hardest at the top of the movement, it is especially effective for building strength and size in this area.
Hamstrings

The hamstrings run along the back of your thighs and assist with both hip extension and knee flexion. During the hip thrust, they help your glutes drive the hips upward and stabilize the knee joint. Strong hamstrings can improve sprinting speed and reduce the risk of hamstring strains.
Quadriceps

Although the barbell hip thrust is not primarily a quad exercise, your quadriceps still play a supporting role in stabilizing the knees and helping to control the descent. You may notice some quad involvement, especially if your feet are positioned closer to your body.
Erector Spinae

The erector spinae muscles run along both sides of your spine and help you maintain an upright posture. In the hip thrust, they work isometrically to keep your back in a neutral position. When trained properly with good form, the hip thrust can contribute to a stronger, more resilient lower back rather than aggravating it.
Barbell Hip Thrust Sets and Reps

- For strength, do 3 to 5 sets of 5 to 8 reps with a heavy weight and full control. Take a break of 2 to 3 minutes between sets.
- For muscle growth (hypertrophy), do 3 to 4 sets of 8 to 12 reps with moderate to heavy weight, and leave 1 to 2 reps in reserve at the end of each set.
- To finish off your workout with some glute burn and activation, do 2–3 sets of 15–20 lighter reps, focusing on a strong squeeze at the top.
Benefits of Barbell Hip Thrust
Increased strength and muscle mass in the glutes and hamstrings
The barbell hip thrust places the glutes under high tension in their strongest range of motion, making it one of the most efficient ways to grow stronger, more powerful glutes and hamstrings. More glute strength can improve your performance in squats, deadlifts, sprinting, and jumping.
Improved posture and spinal health
By strengthening the posterior chain, especially the glutes and erector spinae, the hip thrust helps counteract long hours of sitting and slouching. Strong glutes help the pelvis and lower back, which can help you stand up straighter and lower your risk of long-term lower-back pain. Lower body injuries are less likely to happen. When your glutes are weak or not used enough, your lower back, knees, and hips have to take on more stress. Training the hip thrust consistently can improve hip stability and lower-body mechanics, helping you move more efficiently and lowering your risk of overuse injuries.
Home-gym friendly
If you have a solid bench, a RitFit Olympic bar, and bumper plates, you can perform heavy hip thrusts safely in a small home-gym space. This makes it an ideal main glute exercise for home lifters who do not always have access to commercial machines.
How to Progress Your Barbell Hip Thrust Training
If you are new to hip thrusts, follow a simple progression:
- Start with bodyweight glute bridges on the floor until you can perform 2–3 sets of 15–20 quality reps without lower-back discomfort.
- Move to dumbbell hip thrusts using a light dumbbell or plate across your hips on a bench. Focus on control and glute squeeze.
- Progress to barbell hip thrusts with an empty bar plus a pad, then gradually add weight as your technique improves.
A simple 6-week progression might look like this:
- Weeks 1–2: 3 sets of 10 reps at a light, comfortable weight
- Weeks 3–4: 4 sets of 8–10 reps with a moderate weight
- Weeks 5–6: 4 sets of 8 reps with a heavier but controlled load
Aim to add a small amount of weight (2.5–5 kg / 5–10 lb) or 1–2 reps every week, as long as you can maintain perfect form.
Sample Glute-Focused Workout with Hip Thrusts
Here is a simple lower-body session centered around the hip thrust that you can do in a home gym:
- Barbell Hip Thrust: 4×8–10
- Bulgarian Split Squat: 3×8–10 per leg
- Romanian Deadlift: 3×8–10
- Side-Lying or Standing Hip Abductions: 2–3×15–20 per side
Perform this workout 1–2 times per week, leaving at least one rest day or light day between sessions for recovery.
Barbell Hip Thrust Alternatives
Alternative #1: Dumbbell Hip Thrusts
Instead of a barbell, a dumbbell hip thrust uses one or two dumbbells as resistance. You set up the same way, with your upper back on a bench, but you hold the dumbbell across your hips. If you train at home and don't have a lot of room or aren't ready to handle a long barbell yet, this variation is perfect. Dumbbells are great for beginners or for doing higher-rep glute work because they can feel better and be easier to control.
Alternative #2: Glute Bridges
Glute bridges are a bodyweight or lightly loaded exercise performed on the floor. You lie on your back, bend your knees, plant your feet, and lift your hips toward the ceiling. Because they do not require a bench or heavy equipment, glute bridges are an excellent starting point for true beginners, for warm-ups, or for people returning from time off. You can progressively load them by adding a plate, dumbbell, or resistance band over your hips.
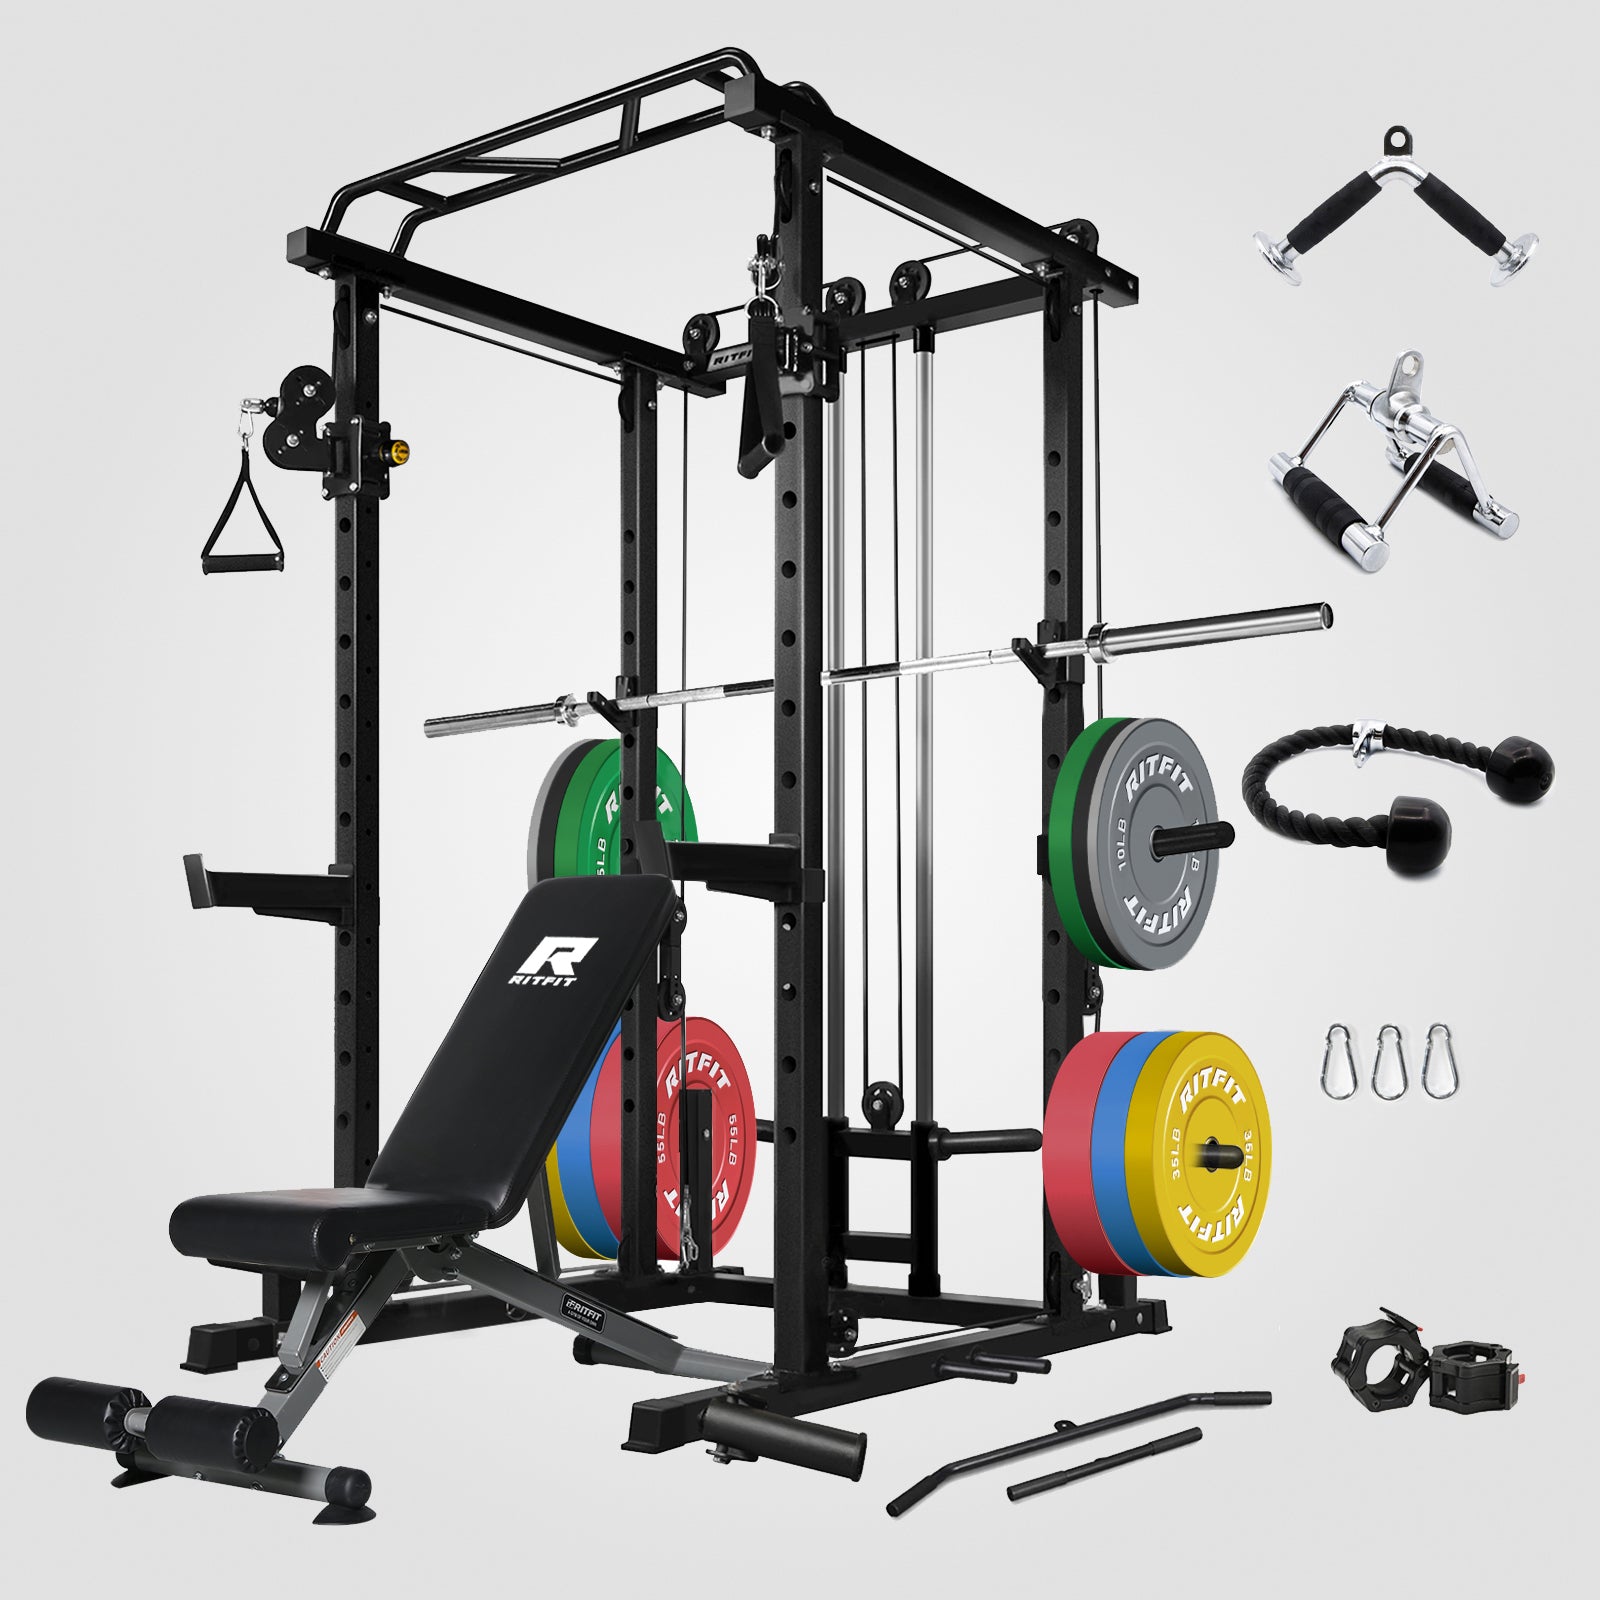
If you own a RitFit Smith machine or power rack with safety bars, you can also explore Smith-machine hip thrusts and rack-supported variations for additional stability and easier bar setup.
Summary
One of the best exercises for building strong glutes and a strong posterior chain is the barbell hip thrust. If you set up the movement correctly, warm up properly, and pay attention to your form, you can safely add weight to it and see real improvements in your strength, athletic performance, and lower-body shape. If you can do the hip thrust well, you'll be able to do almost any other lift and daily activity that requires hip power better, whether you're working out at a commercial gym or at home with a RitFit setup.

