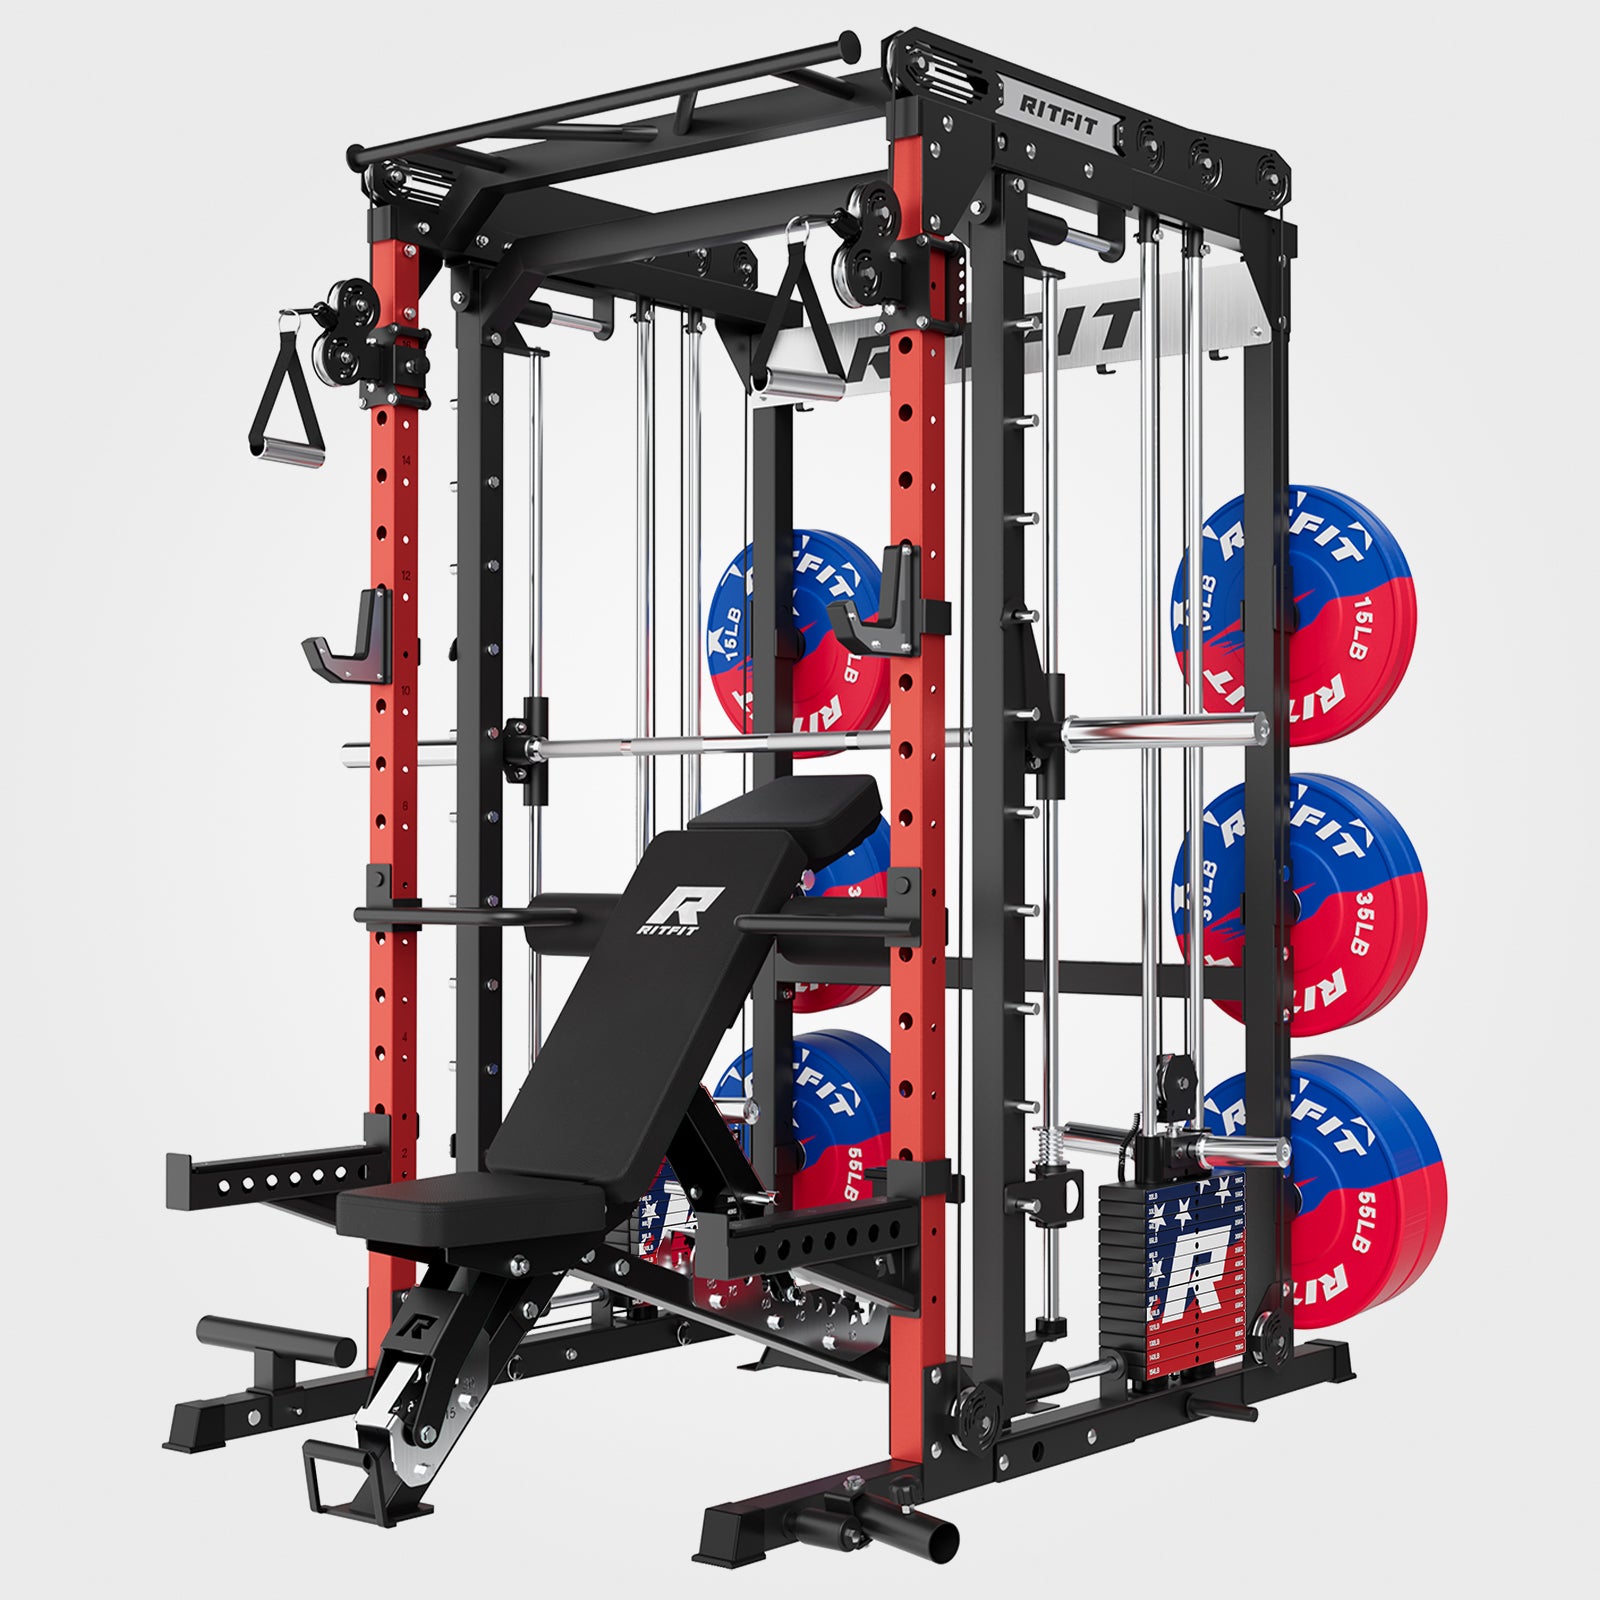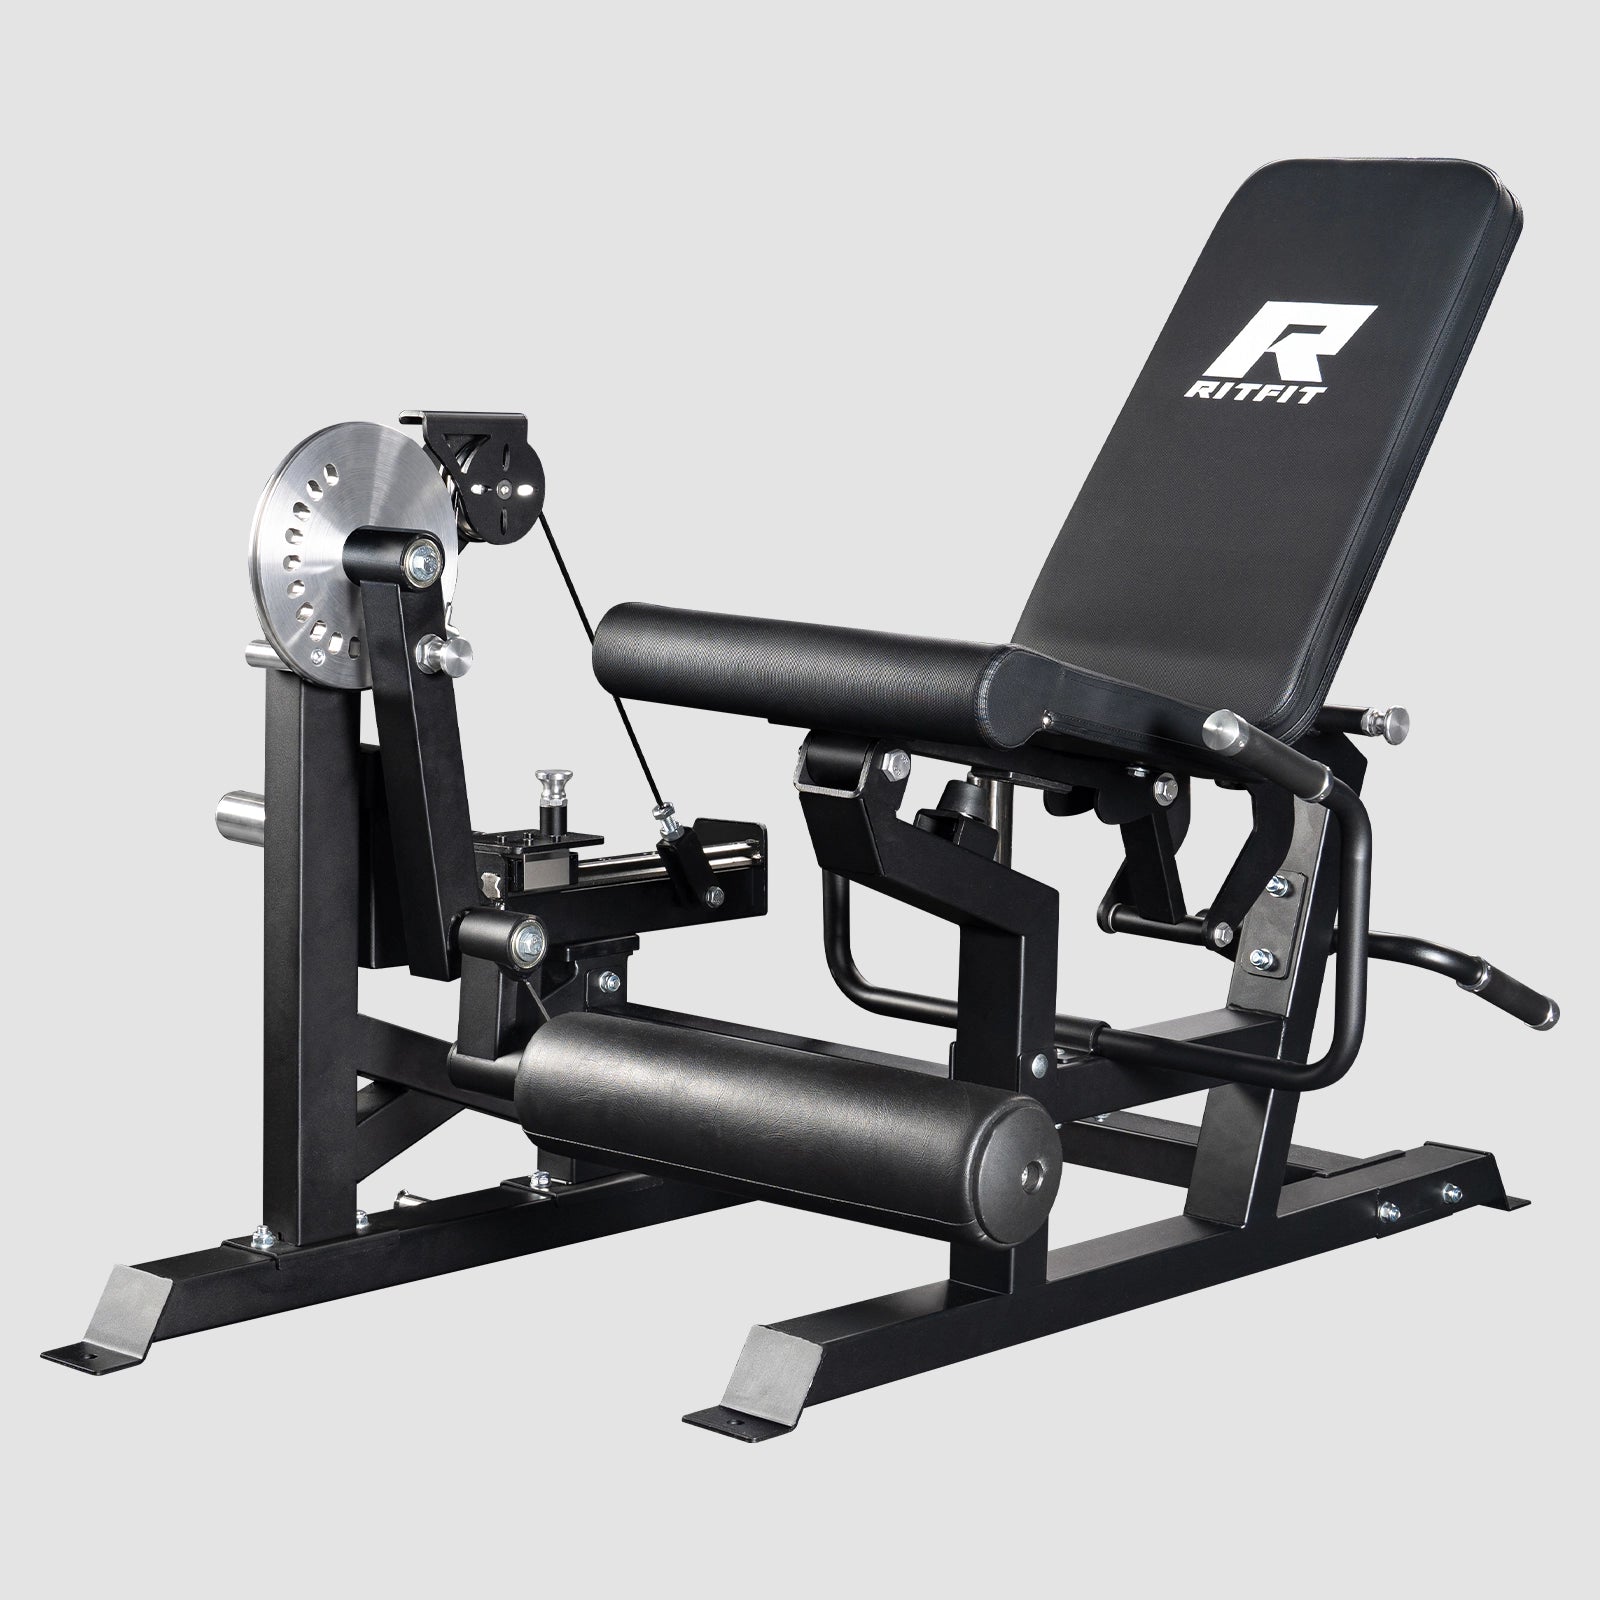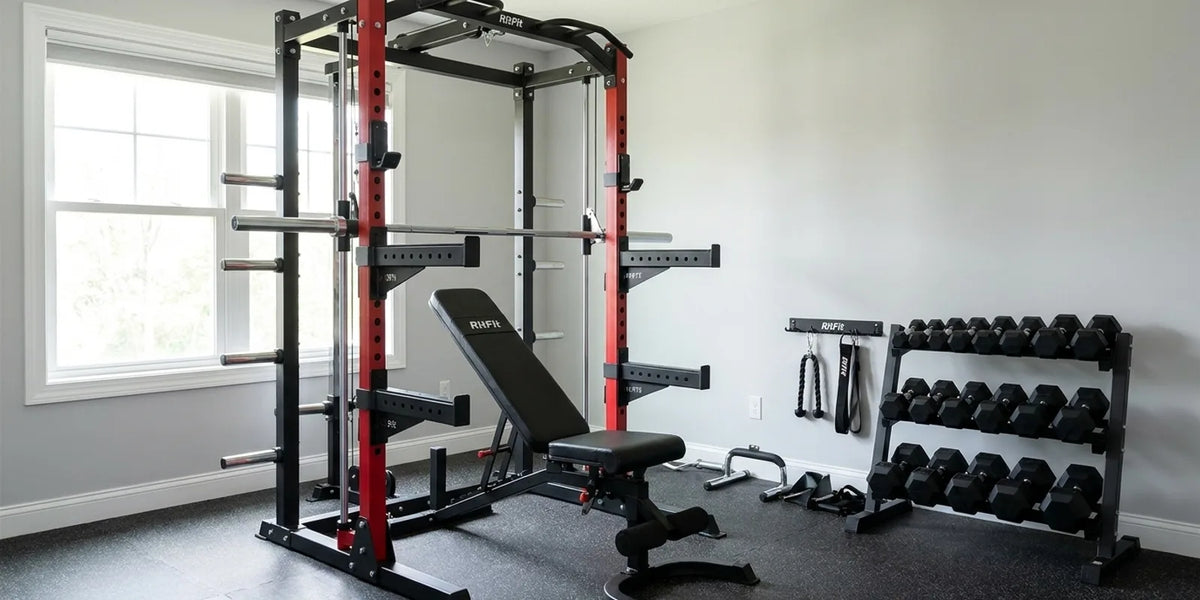
RitFit M1 PRO accessories are the fastest way to add training to a machine you already own, and the right order matters more than the total spend. RitFit sells two different kinds of add-ons for this platform: parts made only for the M1 PRO and parts that also fit other racks.
This guide covers the M1 PRO attachment line, which tier each piece belongs to, and which upgrade to buy first. It sticks to published RitFit specs and real buyer comments, and it flags where a part is machine-specific rather than universal.
Quick Answer: RitFit M1 PRO accessories fall into two groups: exclusive parts like the FUM1 upright frame, LDM1 lat pulldown, LHM1 leg holder, TAM1 tornado arm, LAM1 lever arm, RTM1 ratio kit and PBM1 pegboard, and cross-platform parts like the AT04 foot plate and 2x2 J-hooks. Buy the lat pulldown first if you want the biggest gain.
Key Takeaways
- Two attachment families: RitFit lists FUM1, LDM1, LHM1, LPM1, TAM1, LAM1, RTM1 and PBM1 as M1 PRO-only, while AT04, the 2x2 J-hooks and cable handles cross over to other equipment.
- Official compatibility list: The M1 PRO product page names WSM1, LPM1, RTM1, PBM1, FUM1, AT03, AT02A and AT04 as its compatible add-ons.
- Buying order beats buying volume: The LDM1 lat pulldown adds a whole movement pattern for $89.99, which is why it usually comes before cosmetic or storage parts.
- Mount points are fixed: The M1 PRO uses 1 inch upright holes and a 0.39 inch fly attachment hole, so a part that does not match those specs will not bolt on.
- Frame headroom: The M1 PRO frame is rated to 1,600 lb with a 420 lb single-side pulley capacity, which is the ceiling that should guide attachment choices.
What Is the RitFit M1 PRO Attachment Ecosystem?
The M1 PRO attachment ecosystem is a closed set of parts RitFit lists for this machine. RitFit's own product page names WSM1, LPM1, RTM1, PBM1, FUM1, AT03, AT02A and AT04 as the compatible add-ons.
The machine underneath those parts is a 2 inch by 2 inch 14-gauge steel frame rated to 1,600 lb. It stands 85.3 inches tall on a 20.9 sq ft footprint and weighs about 339 lb.
- Adjustment range: 11 Smith machine positions and 15 cable positions let you set press, squat and cable work at the height you actually train at.
- Load ratings: Single-side pulley 420 lb, single-side J-hook 287 lb, safety arms 575 lb, and pull-up bar 465 lb.
- Cable hardware: A 2:1 pulley ratio on both the high and low pulleys, aluminum pulleys and a stainless steel cable rail.
- Storage: Six plate storage bars that each hold up to 280 lb and accept 2 inch plates only.
That hardware ceiling is what makes the add-on list short and specific. A part has to match the upright or the cable, which is the opposite of a universal accessory aisle.
If you are still deciding on the platform itself, start with the RitFit M1 PRO Multi-Functional Smith Machine page before you shop for parts.
"Few pieces of equipment in the home exercise industry are as comprehensive and versatile as this all-in-one gym system. The robust system provides a natural, centered bar path for compound lifts like squats, presses, and rows, and incorporates a dual cable crossover station with a full rack of precision-engineered attachments."
Tom Eskey, CF-L1, CPT, Home Gym Equipment Reviewer, Garage Gym Revisited, RitFit M1 Multi-functional Smith Machine Review
"Great investment. Super smooth. Love the different attachments."
Richard M. Verified Buyer, RitFit Pro Strength System
Which Attachments Are Exclusive to the M1 PRO?
RitFit builds a dedicated attachment line for the M1 PRO. Each piece closes one specific gap, and the exclusive line runs from a $79.99 pegboard to a $239.99 lever arm.
| Attachment | What it adds | Mount point | List price |
|---|---|---|---|
| FUM1 11-gauge upright frame | Replaces the factory uprights with 11-gauge steel | Upright columns | $129.99 |
| LDM1 lat pulldown | Adds vertical pulling off the top of the frame | Upper frame | $89.99 |
| LHM1 leg holder | Anchors your legs during pulldowns and decline work | Front upright | $89.99 |
| LPM1 bundle | LDM1 plus LHM1 in one box | Upper and front frame | $169.99 |
| TAM1 tornado arm | Adds a second arm path on the cable side | Side upright | $219.99 |
| LAM1 adjustable lever arm | Adds a plate loaded lever path for pressing and rowing | Side upright | $239.99 |
| RTM1 DIY dual ratio kit | Changes how the cable resistance feels through the pulley | Cable system | $79.99 |
| PBM1 pegboard | Adds wall-side storage for handles and small parts | Rear upright | $79.99 |
Prices are RitFit list prices in USD at the time of writing and can change. Attachment functions follow the names and descriptions RitFit publishes on each product page.
One detail worth catching is that the exclusives list and the compatibility list are not the same thing. RitFit's M1 PRO page names WSM1, LPM1, RTM1, PBM1, FUM1, AT03, AT02A and AT04, while the LDM1, LHM1, TAM1 and LAM1 are sold as standalone M1 PRO parts.
If your machine is shared with a partner or a teenager, the lever arm and tornado arm add the most new positions for a second person, because both change the angle of the pull rather than the height of the cable.
"Excellent addition to the M1 pro! Adds a lot of storage space and not only does it not interfere with the storage hooks on the back it actually helps keep oddly balanced attachments from falling off. Highly recommend."
Brian M. Verified Buyer, RitFit PBM1 Pegboard Attachment (Only for M1 PRO)
What Compatibility Tier Does Each Attachment Belong To?
M1 PRO attachments sit in one of three compatibility tiers. Picking the wrong tier is the most common way people waste money on accessories.
- Tier 1, M1 PRO only: FUM1, LDM1, LHM1, LPM1, TAM1, LAM1, RTM1 and PBM1 are labeled only for this machine. RitFit names them for the M1 PRO because they use its own upright layout and mount points.
- Tier 2, 2 by 2 racks: The upgraded sandwich J-hooks for 2 inch by 2 inch racks follow the upright size rather than the model, so they fit any frame built to that spec, including the M1 PRO.
- Tier 3, cable universal: Handles and bars such as the 5-piece lat pulldown bar combo attach at the cable end, so they work across cable machines generally.
The judgment rule is simple.
If the part bolts to the upright or the frame, check the upright spec first.
39 inch fly attachment hole, and it is built from 2 inch by 2 inch 14-gauge steel.
If the part clamps to the cable end, model does not matter much. If the part is sold under a name that includes a model number, treat it as machine-specific until the product page says otherwise.
The AT04 foot plate sits in a useful middle spot: RitFit lists it as compatible with the M1 PRO and describes it for Smith machine leg press use, so it can move with you if you change platforms later.
"A great addition to the M1 Pro rack. Easy to setup and get the full range of motion for lat pulldown"
Xiangbo P. Verified Buyer, RitFit LPM1 Lat Pulldown & Leg Holder Attachment Bundle (Only for M1 PRO)
Which Attachment Should You Add First?
The first M1 PRO attachment to buy is the one that adds a movement pattern you cannot train today. For most owners that is the lat pulldown.
- Step 1, LDM1 lat pulldown at $89.99: Adds vertical pulling, which is the largest gap on a Smith machine that has no dedicated pulldown station.
- Step 2, LHM1 leg holder at $89.99: Keeps you anchored during heavy pulldowns and decline work, so your lower back is not fighting the load.
- Or combine them: The LPM1 lat pulldown and leg holder bundle lists at $169.99, which is less than the two parts bought separately.
- Step 3, RTM1 dual ratio kit at $79.99: Worth adding once you have a reason to want a different resistance curve through the cable.
- Step 4, LAM1 lever arm at $239.99 and TAM1 tornado arm at $219.99: These come later because they cost more than the pulling parts and overlap with barbell work you can already do.
- Step 5, FUM1 upright frame and PBM1 pegboard: Structural and storage upgrades, meaning they change how the machine holds up and how your gear is organized rather than what you can train.
This order is built on use frequency and training gain, not price. The two cheapest pieces on the list, the pegboard and the ratio kit, sit at opposite ends of the priority order for exactly that reason.
If you train lat pulldowns several times a week, the order above is straightforward.
If your training is mostly barbell focused, start with the FUM1 upright frame instead and let the cable parts wait. You can browse the full category on the RitFit rack attachments collection page.
Does a Base Build or a Full Build Cover More Training?
A base build covers barbell and cable basics, while a full build adds vertical pulling, leg anchoring and lever work. The gap between them is movement patterns, not weight.
- Base build, roughly $300: LDM1, LHM1 and RTM1 cover lat pulldowns, seated rows, cable curls and presses, plus a different resistance feel through the pulley.
- Mid build, roughly $570: Add the AT04 foot plate and a weight stack upgrade, and leg press and heavier cable work come online.
- Full build, roughly $900: Add the LAM1 lever arm, TAM1 tornado arm and FUM1 upright frame for plate loaded pressing, rowing and a stronger frame.
- What never changes: Storage capacity beyond the six plate storage bars comes from accessories like the PBM1 pegboard rather than the frame itself.
Attachment choices also change how you press, not just what you press with. A study comparing Olympic and safety squat bars found differences in force, velocity and perceived exertion during high intensity back squats[1].
On the pressing side, a study found that muscle activity in the pectorals, front delts, triceps and lats rises as bench press intensity climbs from 70 to 100 percent of one rep max[2]. A separate electromyographic comparison found that around 30 degrees of bench incline emphasizes the upper chest, while steeper angles shift the work to the front delts[3].
That is the practical case for a lever arm or a press-focused attachment: the angle you train at decides which muscles carry the load. Adding the WSM1 264 lb weight stack set extends the same logic to resistance, since the cable side can then be loaded without hanging plates.
How Do You Install an Attachment on the M1 PRO?
Installing an M1 PRO attachment is a bolt-on job on a machine that is already standing. Small parts take minutes, and only the upright frame swap changes the structure itself.
- Step 1, check the mount: Confirm the part matches the M1 PRO upright layout and its 1 inch upright holes or 0.39 inch fly attachment hole before you start.
- Step 2, drop the cable tension: Lower the carriage and unhook the cable before you bolt anything to the frame so nothing is under load while you work.
- Step 3, fit the part, then the hardware: Most add-ons reuse the existing bolt holes, so thread hardware by hand first and tighten once everything lines up.
- Step 4, test through the full range: Run the cable and the Smith bar through their full travel to check for catching, then re-check the bolts.
The one job that is not a quick swap is replacing the uprights with the FUM1, because the frame has to come apart and go back together square. Owners describing the original build of a machine like this report the frame assembly itself running around two hours.
Leave the machine on a level surface with the ceiling clearance you measured before you bought it, since the M1 PRO stands 85.3 inches tall. If you are swapping uprights, that number does not change, but working room above the frame does.
"Easy to set up smooth cable operation well worth the price smith very smooth as well. I have seen some machines the aluminum pulley upgrade alone cast what this machine cost and free fast shipping had it in 3 days from order."
Davy M. Verified Buyer, RitFit M1 PRO Multi-Functional Smith Machine with Cable Crossover System and Squat Rack for Home Gym
Is the M1 PRO Upgrade Path Worth the Cost?
The M1 PRO upgrade path is worth the money if you already train cables and barbells on it. It is a poor first purchase if you have not built the base setup yet.
- Worth it: You own the M1 PRO and train lat pulldowns, rows or pressing several times a week. A $169.99 bundle plus an $89.99 part changes what you can do more than a new accessory would.
- Not worth it yet: You are still assembling your first setup, because the frame, barbell and plates do more for your training than any attachment.
- Compare against the platform: RitFit's own model comparison puts the M1 PRO at a 1,600 lb frame capacity against 2,000 lb on the M2 series, so if you are already shopping for more frame, an upgrade kit is the cheaper route.
- Warranty: RitFit states a 3-year warranty on the rack, and the machine ships in 7 boxes, so plan the delivery before you order parts on top of it.
Frame upgrades are where the value logic gets clearest. The FUM1 replaces the factory uprights with 11-gauge steel for $129.99, which is a structural change for less than the cost of most single attachments.
"I am happy with this product! Love the different attachments that come with it! 100% worth buying!"
Adale H. Verified Buyer, RitFit M1 PRO Smith Machine Weight Stack Home Gym Package
What Should You Know Before You Order?
Before you order, confirm the part is listed for your machine and the gap it closes. Everything else, including the rated capacity and the wider category, can wait until you know what you are solving.
- Match the tier: Machine-only parts like the AT04 foot plate for leg press work on the M1 PRO, while true fit is wider for cable ends and narrower for upright brackets.
- Respect the pulley limit: Single-side pulley capacity is 420 lb, so stack upgrades and attachment additions should be planned around that number.
- Read the wider category: The RitFit gym accessories collection shows what else uses the same cable ends.
- Start with the overview: The 10 must-have Smith machine attachments guide covers the general categories before you narrow to M1 PRO specific parts.
- Then go deep on one part: The FUM1 11-gauge upright frame guide and the LHM1 leg holder attachment guide cover those two parts in detail.
The pattern across all of it is the same. RitFit names the machine in the product title when a part is exclusive, and names the spec when a part is cross-platform, so the title is usually the fastest compatibility check you have.
FAQs About M1 PRO Accessories
Which RitFit attachments are made only for the M1 PRO?
RitFit sells a dedicated M1 PRO line: the FUM1 11-gauge upright frame, LDM1 lat pulldown, LHM1 leg holder, LPM1 bundle, TAM1 tornado arm, LAM1 adjustable lever arm, RTM1 dual ratio kit and PBM1 pegboard. The M1 PRO product page also lists WSM1, AT03, AT02A and AT04 as compatible add-ons, so check that list before ordering.
Can I use M1 PRO attachments on an M2 or M3 rack?
No. The M1 PRO-only parts are built around its own upright and mount layout, and RitFit labels them only for M1 PRO. The M2 and M3 platforms use different upright sizing and carry their own attachment lines, such as the LAM2 lever arm for M2. Treat the exclusive line as machine specific rather than universal.
What should I buy first for an M1 PRO?
Start with the piece that adds the most training you cannot currently do. For most owners that is the LDM1 lat pulldown, because it opens vertical pulling and pairs with the LHM1 leg holder to anchor you during pulldowns and seated rows. Buy the LPM1 bundle if you want both at once.
Do M1 PRO attachments fit 2 by 2 racks?
Some do. RitFit sells cross-platform parts such as the upgraded sandwich J-hooks and the AT04 foot plate for Smith machine and 2 inch by 2 inch rack use, and cable handles that fit any cable machine. Check the individual product page wording, because a part described as made for M1 PRO is not the same as one described as rack compatible.
How long does it take to install an M1 PRO attachment?
Small bolt-on pieces such as the LDM1, LHM1 or PBM1 are add-ons to a machine that is already built, so they take minutes with the included hardware. Replacing the uprights with the FUM1 is a bigger job because the frame comes apart, and owners report the full machine build itself running around two hours.
Is the M1 PRO upgrade path worth the cost?
That depends on how much of the machine you use. If you already train cables and barbell lifts on it, a few hundred dollars of exclusive attachments adds movement patterns a new machine would cost far more to replace. If you are still building your first setup, the M1 PRO weight stack package may cover more ground up front.
Conclusion
The M1 PRO accessories worth buying are the ones that fill a real gap in your training. Start with the lat pulldown and leg holder, add the ratio kit and foot plate as your cable work grows, and save the lever arm, tornado arm and upright frame until the frame itself becomes the limit.
Check the part page one more time before you buy, confirm it names the M1 PRO or the spec you actually own, and buy in the order you train. You can also check the RitFit discount guide before you check out.
Disclaimer
This article shares published RitFit product specifications and general training information for educational purposes only, and prices and availability can change after publication. Consult a qualified fitness or medical professional before starting a new training program with added equipment.
References
1. Androulakis-Korakakis P, et al. Comparison of Olympic and Safety Squat Bar Barbells on Force, Velocity, and Rating of Perceived Exertion During Acute High-Intensity Back Squats in Recreationally Trained Men. Int J Exerc Sci. 2024. PMCID: PMC11385282
2. Krol H, Golas A. Effect of Barbell Weight on the Structure of the Flat Bench Press. J Strength Cond Res. 2017;31(5):1321-1337. PMCID: PMC5400411
3. Rodriguez-Ridao D, Antequera-Vique JA, Martin-Fuentes I, Muyor JM. Effect of Five Bench Inclinations on the Electromyographic Activity of the Pectoralis Major, Anterior Deltoid, and Triceps Brachii during the Bench Press Exercise. Int J Environ Res Public Health. 2020. PMCID: PMC7579505