Wondering how to grow rounder, stronger glutes at the gym? The Smith machine hip thrust is one of the most effective and beginner-friendly moves you can add to your leg day, giving you visible results without the balance demands of a free barbell.
In this guide, you will learn the correct Smith machine hip thrust form, how to program sets and reps, common mistakes to avoid, and why this exercise builds glutes safely. Let's get started.
Quick Answer: The Smith machine hip thrust is a hip-extension exercise that builds the gluteus maximus by driving a fixed guide-rod bar upward while your upper back rests on a bench. The guided path removes balance demands, so beginners can set up easily and load heavily while isolating their glutes. Train it two to three times weekly.
Key Takeaways
- Glute focus: The hip thrust activates the gluteus maximus more than the back squat, making it a top glute-growth move.
- Beginner friendly: The fixed bar path removes balance demands and makes setup simple and spotter-free.
- Safe on joints: Keeping your shins vertical and ribs down protects the knees and lower back.
- Easy to progress: Consistent setup lets you add weight or reps every session without relearning the movement.
- Best weekly dose: Two to three sessions of three to five working sets build glute strength and size.
What Is the Smith Machine Hip Thrust?
Open the leg day with a strong reason.
The Smith machine hip thrust is a hip-extension exercise where the gluteus maximus drives a guided bar upward while your upper back rests on a flat bench.
Its fixed bar path makes it more stable and easier to set up than a free barbell, which is why it suits beginners and home gym lifters so well.
Although the movement is traditionally done with a barbell, you can also load it with dumbbells, bands, or a Smith machine.
The guided version lets you focus on pushing through your glutes instead of worrying about balancing a free bar.
That control also makes it a reliable choice if you train alone.
- Gluteus maximus: Main driver of the movement and the muscle you feel working the hardest.
- Hamstrings and adductors: Assist the hips during extension.
- Core and spinal erectors: Stabilize your trunk on the bench.
In short, the hip thrust is a powerful hip-extension exercise, and a Smith machine simply gives you a more controlled, repeatable environment to perform it in.
Looking to set up a home-gym version?
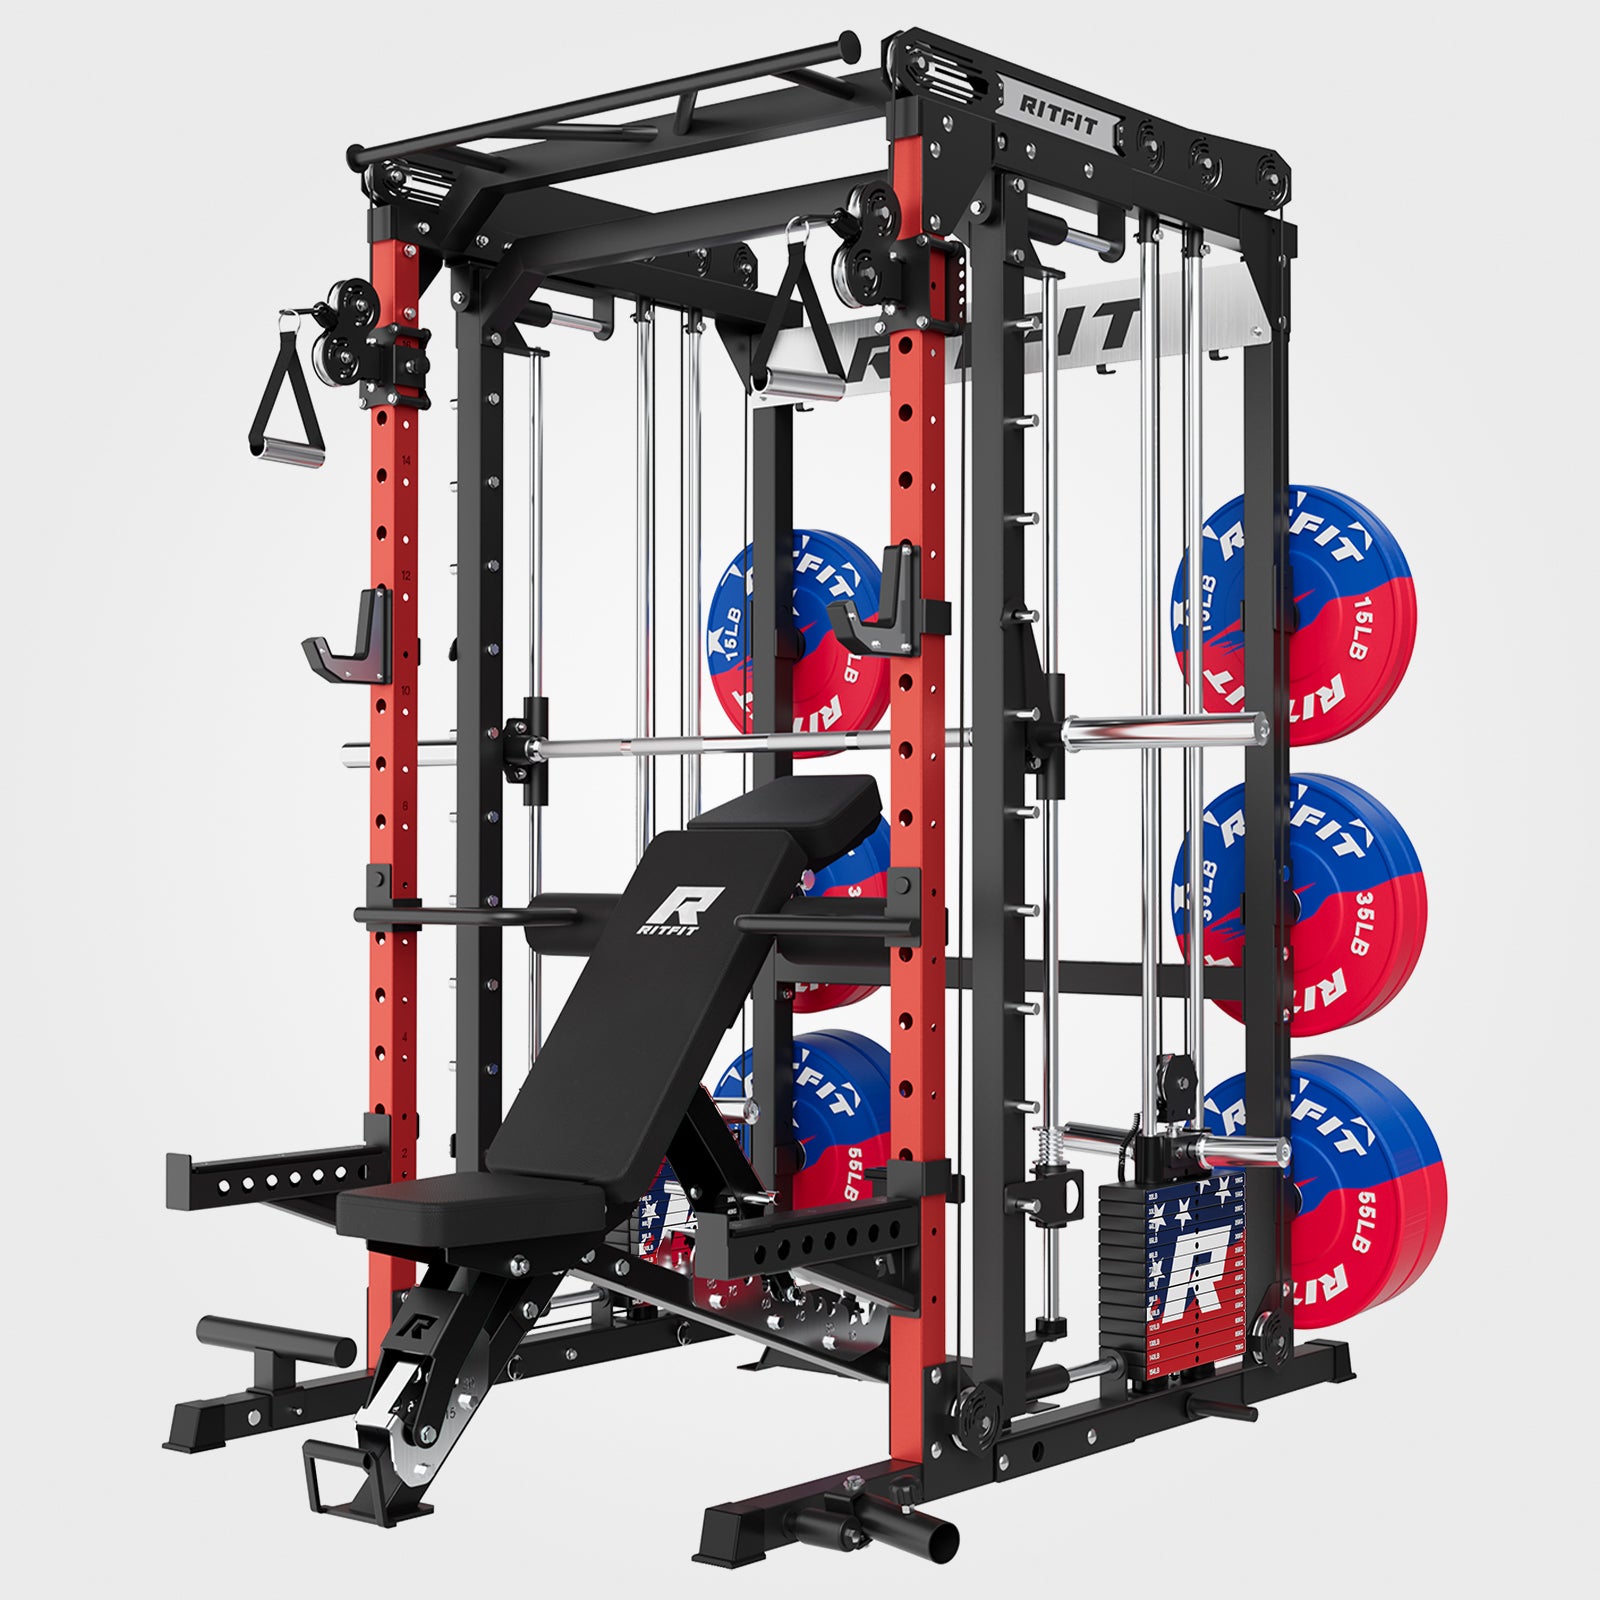
Every retreat needs a solid base, and a built-in guide-rod Smith machine keeps form consistent from day one.

How Do You Perform a Smith Machine Hip Thrust With Good Form?
Set the Smith bar to a low height, rest your upper back on a flat bench, and drive your hips straight up until your torso and thighs form a straight line. The setup is the hardest part, and this step-by-step guide walks you through position and technique so you get it right from the first rep. Read our simplified Smith machine hip thrust summary for a shorter overview.
A Smith machine like the RitFit M1 makes this simple, with the bar set to one of its lowest positions and a bench placed flat to rest your shoulders on. Keep a mat or pad across your hips to cushion the bar, and use Olympic plates when you need more load.
1. Position the bench and bar
- Slide the Smith bar to one of the lowest settings, roughly at mid-thigh height when you are seated on the floor.
- Position your bench horizontally so you can spread your shoulders across its full length without spilling over.
- Place the bench close enough to the Smith machine that your upper back rests on it while the bar sits across your hip bones.
2. Get into the starting position
- Sit on the floor with your back against the bench, knees bent, and feet flat about hip-width apart.
- Roll the bar over your legs until it sits in the crease of your hips, centered and cushioned by the pad.
- Lean back so the bench edge sits under your shoulder blades, with your gaze forward or slightly down.
Keep your hands evenly spaced on the bar for stability, brace your core, and lightly tuck your pelvis before extending your hips up and slightly outward. Control the descent for about 2-3 seconds until your hips are just above the floor and your knees reach roughly a 90-degree angle.
From this starting position, squeeze your glutes and extend your hips directly upward against the bar. Pause briefly at full extension with your glutes engaged, then lower in a controlled way to finish the rep. Research shows that hip extension with bent knees limits hamstring contribution through active insufficiency, which isolates the glutes more effectively[2].
Key form cues to remember
- "Ribs down, tailbone slightly tucked" to avoid over-arching your lower back.
- "Push through your heels and mid-foot" so the work stays in your glutes, not your quads.
- "Knees track over your toes" instead of caving inward.
For a different stimulus, use less weight and higher reps for hypertrophy, or heavier weight and lower reps for strength.
You can also adjust the bench position to change comfort and the angle at which your hips meet the bar.
If you ever feel sharp pain in your knees, hips, or back, stop, lighten the load, and re-check your form.
How Should You Program Smith Machine Hip Thrusts?
Program Smith machine hip thrusts by picking a rep range that matches your goal, using 8-12 reps for hypertrophy or 5-8 reps for strength. Rest 60-90 seconds between hypertrophy sets and 2-3 minutes between heavier strength sets to manage fatigue.
For glute hypertrophy (muscle and shape)
- 3-4 sets of 8-12 reps
- Rest 60-90 seconds between sets
For strength focus
- 4-5 sets of 5-8 reps
- Rest 2-3 minutes between sets
For a high-rep "glute pump" finisher
- 2-3 sets of 15-20 reps
- Rest 45-60 seconds between sets
Sample glute-focused lower-body workout
- Squat or leg press, 3-4 sets of 6-10 reps
- Smith machine hip thrust, 3-4 sets of 8-12 reps
- Romanian deadlift, 3 sets of 8-10 reps
- Single-leg work, such as Bulgarian split squats or step-ups, 2-3 sets of 8-12 reps per leg
- Glute isolation, such as band walks or cable kickbacks, 2-3 sets of 15-20 reps
Train this kind of session 1-2 times per week, leaving at least one full rest or light day between hard lower-body workouts. A compact all-in-one unit makes swapping between these stations fast, so the whole session flows without clutter.
What Warm-Up and Safety Tips Matter for Smith Machine Hip Thrusts?
A short warm-up and a few simple rules will make your Smith machine hip thrusts safer and more effective. Spend 5-8 minutes priming your hips and lower body before you load the working sets.
Quick warm-up
- 3-5 minutes of light cardio, such as brisk walking or easy cycling
- Dynamic moves like bodyweight squats and leg swings
- 1-2 light sets of bodyweight bridges or very light Smith hip thrusts before your working sets
Safety reminders
- Stop if you feel sharp or pinching pain in your back, hips, or knees; muscle burn is fine, joint pain is not.
- Avoid training to absolute failure on heavy sets; leave 1-2 clean reps in the tank when you are still learning.
- If you have a history of back, hip, or knee problems, check with a healthcare professional or coach before pushing heavy loads.
These rules keep the movement productive week after week, especially for lifters who train alone in a home gym without a spotter. With the right setup, this move stays kind to your joints while still giving your glutes real work.
What Are the Benefits of Smith Machine Hip Thrusts?
The Smith machine hip thrust builds bigger glutes, improves lower-body performance, and feels easy to learn, which is why so many lifters make it a weekly staple. Its strength carries over to squats, deadlifts, running, and everyday movements like climbing stairs.
Glute gains galore
Despite also training the hamstrings and adductors, the hip thrust is second to none for glute development. The Smith machine version keeps your setup identical every session, which helps you add weight or reps and track your glute gains over time.
Easy to execute
Proper Smith machine hip thrust form is not difficult to learn and can be perfected during your first session. The fixed bar path reduces balance demands, which is especially helpful for beginners and home gym lifters training without a spotter.
Feel free to load on the weight
The glutes are deceptively strong muscles, and a short range of motion in a controlled machine makes it easy to load them heavily. Many lifters eventually hip thrust more total weight than they squat, though control and form always matter more than the number of plates.
"The glutes fire 1.5-3 times harder in a hip thrust compared to a squat depending on whether examining the mean or peak activation levels."
Bret Contreras, PhD, founder of Glute Lab, bretcontreras.com
What Common Mistakes Should You Avoid With the Smith Machine Hip Thrust?
Even with the setup right, a few small errors can steal tension from your glutes or irritate your joints. These are the most common issues and the quick fixes for each one.
Feet too far forward or too close
If your feet are too far out, you will feel the move mostly in your hamstrings and lower back, while very close feet push the work into your quads. Fix: keep your shins nearly vertical at the top and adjust your feet until that alignment holds.
Over-arching the lower back
Driving your hips as high as possible by cranking into your lower back does not build more glute muscle, but it can irritate your spine. Fix: stop when your torso and thighs form a straight line, tuck your tailbone, and squeeze your glutes under you.
Knees caving inward
Letting your knees collapse toward each other reduces glute activation and can stress the knees. Fix: push your knees outward so they track over your toes and imagine spreading the floor apart with your feet.
Dropping too fast on the way down
Letting the bar crash down wastes tension and can bruise your hips even with a pad. Fix: lower in 2-3 controlled seconds with your core braced so your glutes catch the weight at the bottom.
Piling on too much weight too soon
Loading more plates at the expense of control leads to sloppy reps and possible injury. Fix: choose a weight that lets you move smoothly, keep your form tight, and still feel a strong burn in the last few reps.
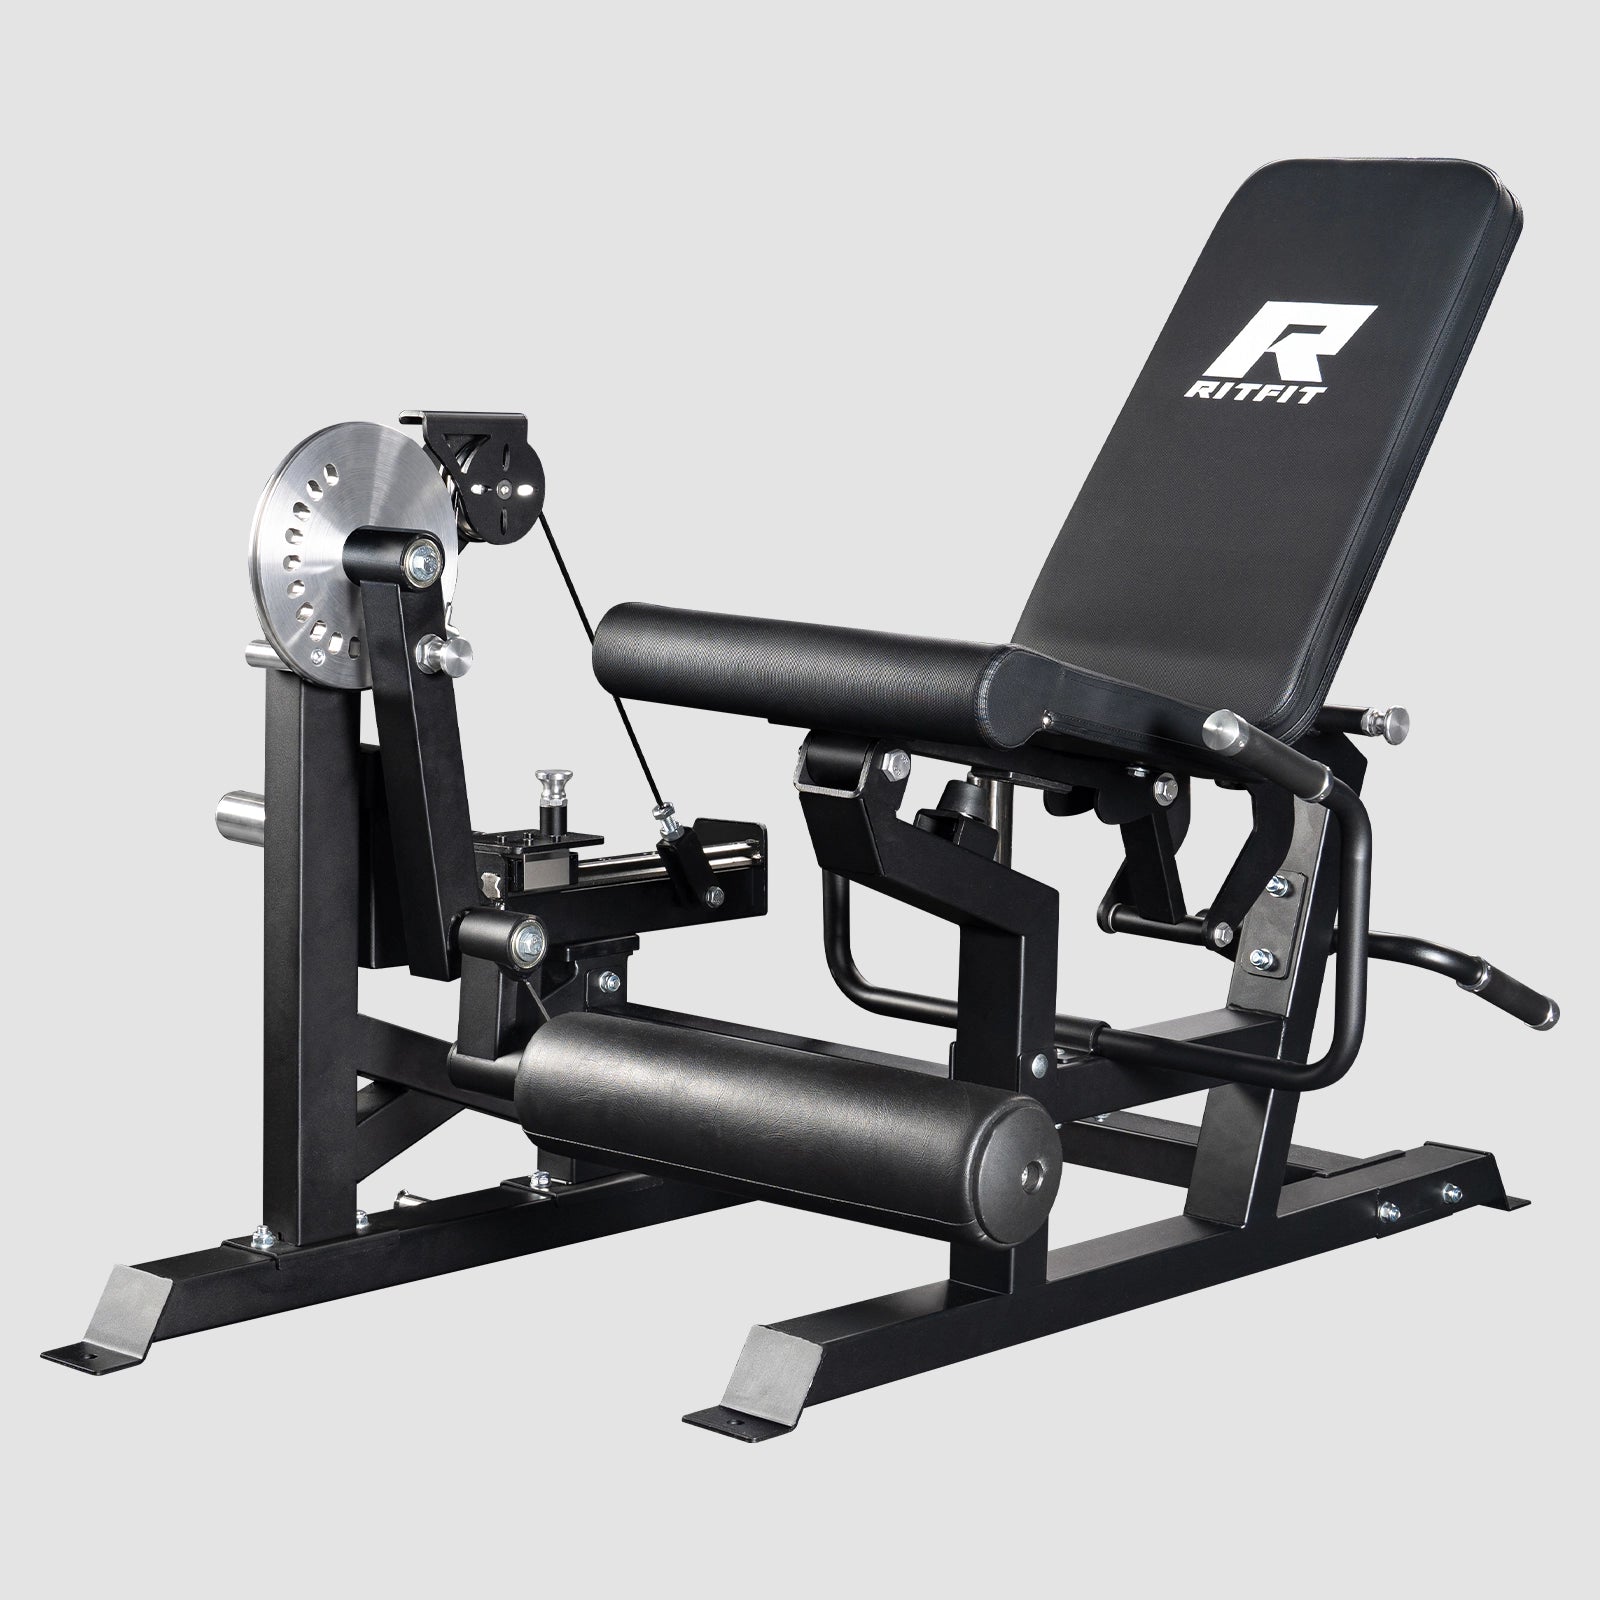
Training with a machine that guides the bar makes these corrections easier to hold, because you are not also fighting balance. A dedicated hip thrust attachment can extend your options when you want to isolate the glutes further.
Is the Smith Machine Hip Thrust the Ultimate Glute Development Exercise?
The Smith machine hip thrust is one of the most efficient glute exercises you can do, but no single move builds a complete lower body by itself. Treat it as the centerpiece of a balanced routine that also includes squats, hinges, and single-leg work.
Research shows that hip thrusts elicit significantly higher peak activation of the gluteus maximus than the back squat, making them essential for targeted glute growth[1]. A 7-week training study also found that hip thrust work improved sprint and change-of-direction performance more effectively than squat training, thanks to its focus on horizontal force production[3].
The bottom line: learn the setup once, keep your technique clean, and steadily progress your sets, reps, or load. Your glutes will thank you every time you stand up, sprint, jump, or glance in the mirror and see the results of consistent, smart work.
FAQs About Smith Machine Hip Thrust
Is the Smith machine hip thrust good for beginners?
Yes. The Smith machine version is very easy for beginners to use because it has a guided bar path and a stable setup. Start with just the bar and a pad. Move slowly, and only add weight when you can keep your form perfect.
Where should I feel the Smith machine hip thrust?
You should feel the movement mostly in your glutes, with some help from your hamstrings. If your knees or lower back hurt a lot, move your feet around a little and make sure you're not over-arching.
How often should I do Smith machine hip thrusts?
Most people who lift weights do well with one or two sessions a week, each with three to five working sets. For balanced lower-body development, do these exercises along with squats, hinges, and single-leg exercises.
Is a Smith machine hip thrust better than a barbell hip thrust?
Neither is universally "better." The barbell hip thrust allows for greater freedom of movement, while the Smith version provides more stability and ease of setup. Choose the one that allows you to perform safely, consistently, and confidently.
What if hip thrusts hurt my lower back or knees?
First, lighten the load and review your setup: shins nearly vertical at the top, ribs down, tailbone slightly tucked, and knees tracking over your toes. If pain persists even with light weight and careful form, stop and talk to a healthcare professional before continuing.
Can I do Smith machine hip thrusts if I have knee pain?
Yes, with caution. The guided bar path reduces the balance and shear load many lifters feel with a free barbell, and you can keep your shins vertical to stay kind to the knees. Start light, stop on sharp pain, and get clearance from a provider if the issue is persistent.
What is the best foot position for a Smith machine hip thrust?
Place your feet about hip-width apart with your heels under or slightly behind your knees. At the top of the press your shins should be nearly vertical, which shifts most of the work to the glutes. Move your feet a few inches forward or back to find the spot that feels strongest.
Conclusion
The Smith machine hip thrust gives you a simple, repeatable way to train your glutes hard without beating up your back or knees. Master the setup, keep your reps smooth, and let progressive overload do the quiet work of building rounder, stronger glutes.
If you already own a RitFit Smith machine, plug this move into your next leg day and start tracking your numbers every session. Explore RitFit Smith machines, grab the full leg-day plan from our guides, and check the latest RitFit discount guide to save on the gear you still need.
Disclaimer
This article is for general educational purposes and is not a substitute for professional medical, fitness, or safety advice. Always consult a qualified coach or healthcare provider before starting a new training program, especially if you have a history of back, hip, or knee problems.
References
1. Contreras B, Vigotsky AD, Schoenfeld BJ, Beardsley C, Cronin J. A Comparison of Gluteus Maximus, Biceps Femoris, and Vastus Lateralis Electromyographic Activity in the Back Squat and Barbell Hip Thrust Exercises. J Appl Biomech. 2015;31(6):452-458. doi:10.1123/jab.2014-0301
2. Neto WK, Vieira TL, Gama EF. Barbell Hip Thrust, Muscular Activation and Performance: A Systematic Review. J Sports Sci Med. 2019;18(2):198-206.
3. Gonzalez-Garcia J, Morencos E, Balsalobre-Fernandez C, Cuellar-Rayo A, Romero-Moraleda B. Effects of 7-Week Hip Thrust Versus Back Squat Resistance Training on Performance in Adolescent Female Soccer Players. Sports (Basel). 2019;7(4). doi:10.3390/sports7040080. PMCID: PMC6524379