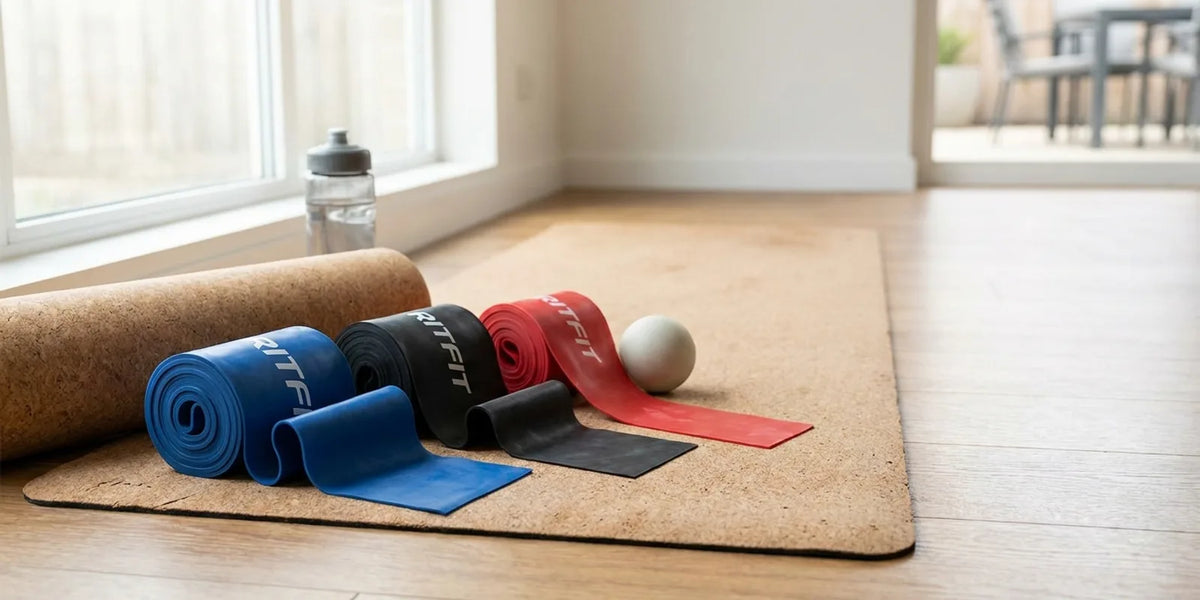
Floss bands are a multi-purpose mobility and recovery tool that wrap snugly around a joint to temporarily compress tissue and boost blood flow. When you wrap a band and move a joint through its full range of motion, it can help increase mobility in the shoulders, knees, elbows, and ankles.
In this guide, you will learn five practical ways to use floss bands, from improving ankle and shoulder range of motion to easing tight knees after heavy training. These techniques fit well in a home gym and pair naturally with a resistance band collection.
Quick Answer: Use floss bands by wrapping them tightly around a joint and then moving it through its full range of motion. Five effective ways to use floss bands are ankle mobility work, anterior knee pain relief, arm and elbow flossing, shoulder internal rotation, and lateral knee compression, each performed for one to two minutes after wrapping.
Key Takeaways
- Compression: Wrapping a floss band around a joint temporarily squeezes the tissue and can help break up adhesions in connective tissue.
- Ankle mobility: Wrap from mid-foot up over the ankle, then move the ankle through its full range to improve dorsiflexion.
- Knee relief: Wrapping just below and above the kneecap before 20-30 squats can ease anterior knee tightness.
- Arm and elbow: Wrap from below the elbow up the arm, then bend and straighten to the end of comfortable range for a few minutes.
- Shoulder rotation: A partner-wrapped band high on the arm plus internal and external rotation can improve shoulder mobility.
What Are Floss Bands and How Do They Work?
Floss bands are wide, stretchy compression bands that you wrap tightly around a joint to squeeze the surrounding muscle and connective tissue. This temporary compression can help increase mobility in a region of the body, including the shoulder, elbow, knee, and ankle.
- Compression effect: The tight wrap can help break up adhesions in connective tissue in areas of chronic overload.
- Joint movement: Moving the joint through its full range of motion while wrapped is the core of the flossing technique.
- Recovery support: Flossing after training can help with muscle recovery, reduce waste products, and ease muscular tightness.
Floss bands work well in a home gym and pair naturally with the rest of the Resistance Bands collection. If you are new to band training, start with our how to use resistance bands guide before adding compression work.
"I want people doing progressive resistance training two to three times per week with weights, machines or bands, because strong muscles create strong bones."
Susan Bukata, MD, Chair, Department of Orthopedic Surgery, UC San Diego
How Do You Use Floss Bands for Ankle Mobility?
The ankle floss starts with a wrap from mid-foot up over the ankle, and then you move the ankle through its full range of motion. You can do this actively by pointing your toes and then drawing the foot back up as far as you can.
- Active range of motion: Point the toes down, then pull the foot back up toward the shin to target ankle dorsiflexion.
- Lunge variation: Perform ankle mobility lunges while the compression band is on for a deeper stretch. Many people prefer a thicker band for a firmer squeeze.
A short ankle floss before lower body work can help you squat with a more stable foot position. Avoid common mistakes like wrapping too loosely by reviewing common resistance band mistakes before you start.
How Do Floss Bands Help with Anterior Knee Pain?
An anterior knee wrap starts just below the patella and moves firmly up to just above the kneecap, then you squat 20-30 times. The compression supports the tissue around the kneecap as the joint moves through its full range.
- Wrap position: Start just below the kneecap and wrap firmly upward to just above the patella.
- Squat reps: Perform 20-30 bodyweight squats while wrapped to move the knee through its range.
- Related support: For another knee option, see what patella bands are for.
If anterior knee discomfort is a regular problem, keep the floss light and pair it with gradual strength work rather than forcing deep range.
How Do You Floss Your Arm and Elbow with a Floss Band?
An arm and elbow floss wraps from just below the elbow up over the arm, and then you move the elbow through its full range using your other hand or a partner. Bend and straighten the arm for a couple of minutes or until you feel strong compression.
- Wrap direction: Start just below the elbow and work the band upward along the arm.
- Movement: Bend and straighten the elbow for a couple of minutes, using a partner to move the arm if needed.
- Safety check: If your hand goes numb, the band is wrapped too tight; loosen it before continuing.
Arm flossing is useful after high repetition pull ups or muscle ups. For related grip and support tools, compare how to use lifting straps and our guide to building muscle and strength with bands.
How Do Floss Bands Improve Shoulder Internal Rotation?
Shoulder flossing starts with a partner wrapping the band high on the arm up into the armpit, then you lie on the floor while the partner presses down on the shoulder. Slowly rotate your arm into internal and external rotation, or have the partner rotate it back and forth.
- Wrap placement: Position the band as high on the arm as possible, up into the armpit.
- Optional load: Place a barbell or kettlebell across the front of the shoulder for added pressure.
- Partner order: If training with a partner, go first so you control how much pressure to expect.
Shoulder flossing is a smart add-on to pressing work. When you train around a rack, set it up safely by reviewing how to use a squat rack before heavy overhead work.
How Do Floss Bands Help with Lateral Knee Pain?
A lateral knee wrap is applied firmly just above the kneecap, pulling from the outside of the knee across the thigh toward the inside. Tighten the band around the lateral thigh to focus compression on the outer knee.
- Wrap direction: Pull from the outside of the knee across the thigh toward the inside.
- Outer tension: Tighten the band around the lateral thigh for a firmer squeeze on the outer knee.
- Movement pair: Combine the wrap with controlled knee bends to keep the joint moving through its range.
For a wider view of band training and its benefits, read what resistance bands help with before adding flossing to your routine.
FAQs About Floss Bands
How long should I keep a floss band on?
Wrap the band for one to two minutes while you move the joint through its full range of motion.
Remove the band if the area becomes painful, numb, or discolored.
Do not leave a floss band on for long periods because the compression is meant to be temporary and active.
Can I use a floss band every day?
Yes, you can floss a joint most days as part of your warm-up or cool-down routine.
Keep the session brief and focus on controlled movement through the full range of motion.
If a joint feels sore or irritated after flossing, reduce the wrap pressure and take a day off.
Do floss bands help with muscle recovery?
Yes, flossing after high repetition training can support muscle recovery, reduce waste products, and ease muscular tightness.
Muscles that feel tight and restrict movement the day after a hard session often respond well to a short flossing routine.
Combine it with light movement for the best effect.
How tight should a floss band be?
Wrap the band snugly so the tissue feels compressed but you still have full circulation and feeling in the limb.
If your hand or foot goes numb, the band is too tight and you should loosen it.
Comfortable, firm compression is the goal for every flossing exercise.
Can floss bands replace resistance bands?
No, floss bands and resistance bands serve different purposes.
Floss bands are used for joint compression and mobility work, while resistance bands add progressive tension for strength training.
Both are useful tools, and many people keep a set of each for warm-up, mobility, and recovery.
Conclusion
Floss bands are a simple, effective way to increase mobility in the shoulders, knees, elbows, and ankles, and to support recovery after hard training. The five techniques above cover the most common uses, from ankle mobility to lateral knee pain, and you can practice them in your home gym with minimal space.
Start with a light wrap, move slowly through each joint's full range, and loosen the band if anything feels numb. For more ways to train with bands, check current RitFit offers before your next session.
Disclaimer
This article is for general information only and does not replace medical advice from a qualified healthcare professional. If you have a joint injury, persistent pain, or a medical condition, talk to your doctor before using floss bands or starting a new mobility routine.