


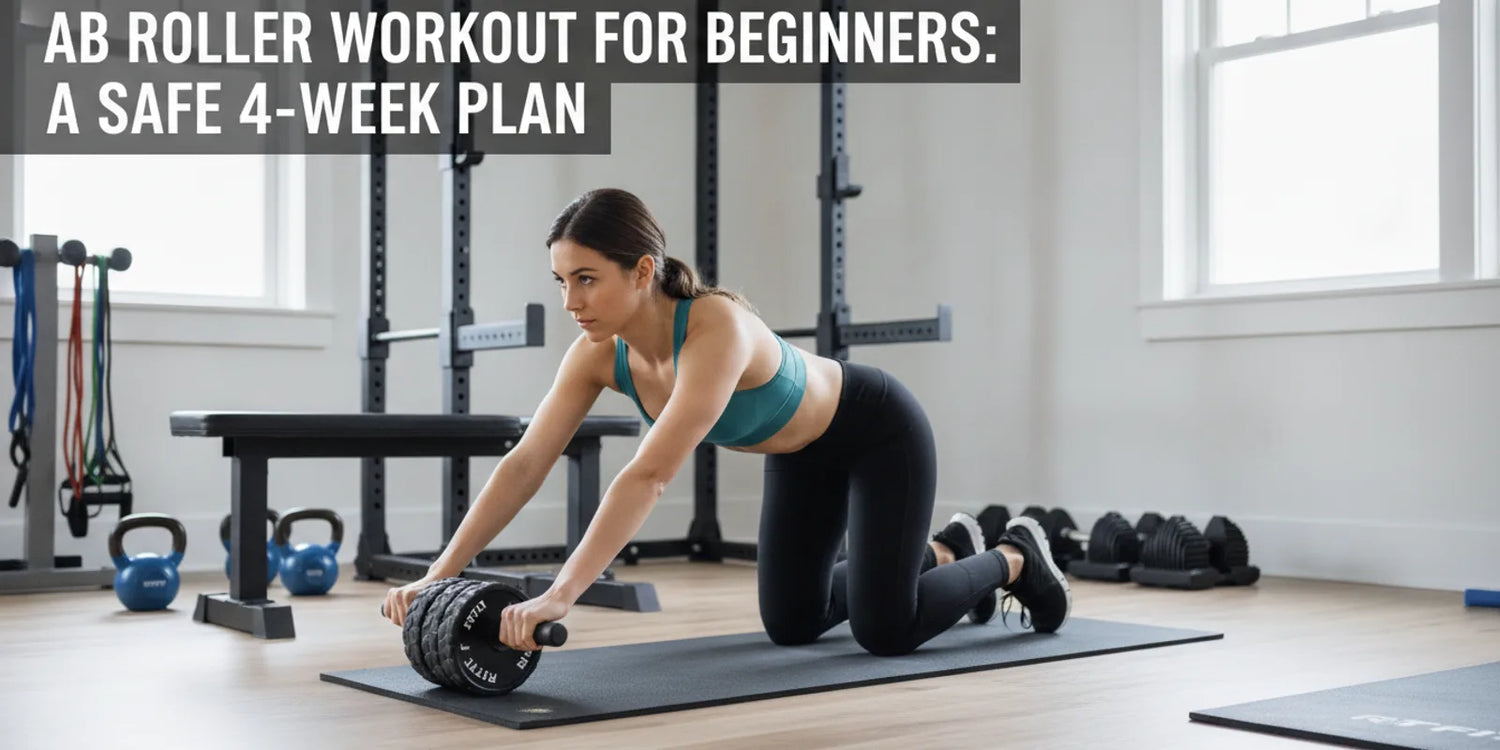
An ab roller is a simple wheel with handles that trains your core to resist bending backward, making it one of the most effective anti-extension exercises you can do at home. This guide gives complete beginners a safe, week-by-week plan to start rolling without straining the lower back.
You will learn how to check if you are ready, how to set up correct form, and how to progress from short kneeling rollouts to a full rollout over four weeks.
Table of Contents
- What Is an Ab Roller and How Does It Train Your Core?
- Are You Ready? The Plank Prerequisite Before You Roll
- How Do You Use an Ab Roller With Correct Beginner Form?
- What Is a Safe 4-Week Ab Roller Progression for Beginners?
- How Many Sets, Reps, and Sessions Should a Beginner Do?
- What Are the Most Common Beginner Mistakes?
- When Should You Stop or Regress?
- How Do You Build a Simple Home Core Routine?
Key Takeaways
- It is anti-extension, not a crunch: The ab roller trains your core to stay rigid and protect the lower back while your arms move away.
- Earn it with a plank first: Build a solid forearm plank of roughly 45 to 60 seconds before attempting your first rollout.
- Range is your load: Beginners start with very short kneeling rollouts and add distance only as control improves.
- Form beats reps: A tucked pelvis and braced core matter far more than how far or how many times you roll.
- Stop if your back arches: Lower back pain or hip sag means you have passed your strength limit, so regress immediately.
What Is an Ab Roller and How Does It Train Your Core?
An ab roller is a wheeled handle device that builds anti-extension core strength, meaning your job is to keep your spine rigid while your arms roll the wheel away from your body. A roll-out performed with a wheeled platform has produced higher rectus abdominis activity than traditional sit-ups and crunches in EMG testing[1].
- Anti-extension focus: Unlike a crunch that flexes the spine, the rollout makes the core resist your lower back arching.
- Whole-front engagement: EMG research on abdominal exercises measures activity across the rectus abdominis, obliques, and transversus abdominis as a percentage of maximal contraction[2].
- Low cost, low space: A wheel and a mat are all you need, which makes it ideal for home training.
For a wider set of movements once you master the basics, see our guide to ab roller exercises and how the ab roller builds core muscle.
Are You Ready? The Plank Prerequisite Before You Roll
You are ready for the ab roller once you can hold a clean forearm plank for about 45 to 60 seconds without your hips sagging. The plank proves your core can already brace against extension, which is the exact skill the rollout demands under a longer lever.
- Plank standard: Aim for 3 sets of 30 to 45 seconds with a flat lower back, squeezing glutes and bracing as if guarding your stomach.
- If you cannot yet: Build there first, and add dead bugs for anti-extension control before progressing.
- Cushion your knees: Use a non-slip mat to cushion your knees since every beginner rollout starts kneeling.
Treat the plank as a gate, not a formality, because rolling out before you can brace is the main cause of beginner back pain.
How Do You Use an Ab Roller With Correct Beginner Form?
Correct beginner form starts at the pelvis, not the arms, because tucking the pelvis pre-tensions the abs and keeps the lower back safe. Set up on your knees with hands under your shoulders, then brace before the wheel moves an inch.
Setting the Pelvis and Bracing
Tuck your tailbone into a slight posterior pelvic tilt and draw your ribs toward your hips so your back has a gentle hollow shape rather than an arch.
Controlling the Roll-Out and Pull-Back
Roll out slowly over 2 to 3 seconds only as far as you can hold the brace, then pull back by drawing your abs and lats, not by pushing your hips back.
"The best part about this exercise is once you feel it done right you'll know immediately because it's much harder."
Jeff Cavaliere, MSPT, CSCS, ATHLEAN-X, via Men's Health
What Is a Safe 4-Week Ab Roller Progression for Beginners?
A safe beginner progression moves from short kneeling rollouts to a full kneeling rollout across about four weeks, adding range only after you control the previous step. Core stability testing shows abdominal activation rises as exercise difficulty increases, which supports graded progression rather than rushing to full range[3].
- Week 1 to 2, short range: Kneel and roll out only 15 to 20 cm, keeping the tailbone tucked, for 3 sets of 6 to 8 reps.
- Week 3, wall-limited: Kneel about an arm length from a wall and roll until the wheel touches it, moving farther out as you get stronger.
- Week 4 and beyond, full kneeling: Remove the wall and roll as far as you can control without hips sagging, aiming for 3 sets of 8 to 12.
The jump from kneeling to standing roughly doubles the demand, so treat standing rollouts as a long-term goal, not a beginner target.
This walkthrough shows how the kneeling progression looks in practice before you attempt longer ranges.
How Many Sets, Reps, and Sessions Should a Beginner Do?
A practical beginner starting point is 3 sets of 6 to 10 controlled kneeling rollouts performed about twice per week. Quality reps with a flat back matter more than chasing high numbers, so stop a set the moment your form breaks.
- Frequency: Train the rollout 2 times per week with at least one rest day between sessions.
- When to progress: Add a little range or a couple of reps only after a full session with no arching and no hip sag.
- Pair it smartly: Combine with conditioning such as best HIIT workouts for beginners on separate days.
Progress is earned through clean repetitions over weeks, not by forcing more volume in a single session.
What Are the Most Common Beginner Mistakes?
The most common beginner mistake is letting the hips sag and the lower back arch, which shifts strain onto the lumbar spine instead of the abs. Most issues come back to losing the pelvic tuck and rolling out farther than your core can control.
- Sagging hips: Dropping the hips toward the floor first overloads the lower back, so keep glutes squeezed throughout.
- Butt-first return: Pushing the hips back to reset turns the move into a hip-flexor exercise, so pull with the abs and lats.
- Going too far too soon: Rolling past your strength removes core tension, so shorten range and rebuild.
Fixing these early protects your back and ensures each rep actually trains the core it is meant to.
When Should You Stop or Regress?
You should stop or regress immediately if you feel lower back pain, your hips sag, or your spine arches during the roll-out. These are signals that you have exceeded your current core strength and are no longer training safely.
- Lower back ache: Drop back to the previous progression phase and rebuild control before adding range again.
- Form collapse: If you cannot hold the brace, end the set rather than grinding out sloppy reps.
- Persistent pain: Pain that continues after training warrants rest and advice from a qualified professional.
Respecting these checkpoints keeps the ab roller a back-friendly tool rather than a source of injury.
How Do You Build a Simple Home Core Routine?
A simple home core routine pairs short ab roller rollouts with one or two complementary movements twice per week. This keeps total volume manageable for beginners while covering flexion, anti-extension, and rotation patterns.
- Anchor move: Use your current rollout progression as the centerpiece for 3 sets.
- Add variety: Round out the session with a bench ab workout or other core drills.
- Grow your setup: Explore more functional training tools as your core gets stronger.
For broader beginner programming, see our beginner workout plan, the beginner kettlebell workout guide, and these battle rope workouts for beginners.
FAQs About Ab Roller Workouts for Beginners
Can a complete beginner use an ab roller right away?
Most beginners should first build a baseline. If you cannot hold a solid forearm plank for about 45 to 60 seconds with a flat lower back, start there. Once your plank is stable, begin with very short kneeling rollouts of only a few inches before adding range gradually over several weeks.
Why does my lower back hurt when I use the ab roller?
Lower back pain usually means your hips are sagging and your spine is arching as you roll out. The ab roller is an anti-extension exercise, so your job is to keep the core braced and the pelvis tucked. Shorten your range, squeeze your glutes, and only roll as far as you can control without arching.
How many ab roller reps should a beginner do?
A practical starting point is three sets of six to ten short, controlled kneeling rollouts performed about twice per week. Prioritize perfect form over numbers. Add a little more range or a couple of reps only after you can complete your sets with no lower back arching and no hip sag.
Do I need a special ab roller plus or will any wheel work?
Any sturdy ab wheel with comfortable handles works for beginners, and a wider or dual wheel adds side to side stability that many newcomers find reassuring. The technique and progression stay the same regardless of model, so choose a roller that feels stable and use a mat to cushion your knees.
How long until I can do a standing ab rollout?
Standing rollouts are an advanced goal, not a beginner target. Plan to spend several months mastering full kneeling rollouts for clean sets first, since the standing version roughly doubles the lever and the core demand. Progress only when kneeling rollouts feel controlled and pain free.
Conclusion
The ab roller is a powerful beginner tool when you respect its anti-extension nature and earn each step. Pass the plank gate, master a tucked pelvis, and add range only as control improves.
Start with short kneeling rollouts twice a week, watch for hip sag, and progress patiently toward a full kneeling rollout before ever thinking about standing.
Disclaimer
This article is for general educational purposes only and does not replace personalized medical or fitness advice. If you have a back condition, an injury, or experience persistent pain, consult a qualified healthcare or training professional before starting.
References
1. Kawama R, Ike A, Soma A, Hojo T, Wakahara T. Side-To-Side Difference in Electromyographic Activity of Abdominal Muscles during Asymmetric Exercises. Journal of Sports Science & Medicine. 2022;21(4):493-503. https://pmc.ncbi.nlm.nih.gov/articles/PMC9741726/
2. Dolenec A, Svetina M, Strojnik V. Electromyographic Comparison of an Abdominal Rise on a Ball with a Traditional Crunch. Sensors (Basel). 2022;22(5). https://pmc.ncbi.nlm.nih.gov/articles/PMC8915105/
3. Chan EWM, Hamid MSA, Nadzalan AM, Hafiz E. Abdominal muscle activation: An EMG study of the Sahrmann five-level core stability test. Hong Kong Physiotherapy Journal. 2020;40(2):89-97. https://pmc.ncbi.nlm.nih.gov/articles/PMC7526057/


