A high school weight room layout is a space plan, not an equipment list. Published design guidance for school facilities starts the calculation at 50 to 100 square feet per athlete training at the same time, then adjusts that number for ceiling height, equipment clearances, zoning and accessibility.
This guide covers the measurements to take before anything is ordered, the published clearances that keep loaded bars and athletes apart, how many power racks fit common floor sizes, and sample plans for 1,500, 2,500 and 4,000 square foot rooms.
Quick Answer: A high school weight room layout starts with 50 to 100 square feet per athlete training at the same time, at least 9 feet of ceiling for general athletic use, 4 to 6 foot circulation aisles, and 10 to 12 feet between the bars of face-to-face power racks. Planning guidance suggests allowing about 150 to 250 square feet per rack or platform station once circulation is counted.
Key Takeaways
- Space per athlete: Plan 50 to 100 square feet for each athlete training at the same time, then multiply by your real peak group size rather than your roster.
- Rack allowance: Budget roughly 150 to 250 square feet per rack or platform station, including the circulation that station needs.
- Clearances: Keep 10 to 12 feet between the bars of face-to-face racks, 3 to 4 feet between machine stations, and 4 to 6 feet in main aisles.
- Ceiling: 9 feet is the working floor for general athletic use, and 12 feet is the practical minimum for Olympic lifting, with 14 to 16 feet preferred.
- Accessibility: An accessible route needs a continuous 36 inch clear width, and each type of exercise machine needs 30 by 48 inches of clear floor space.
How Much Space Does a High School Weight Room Need Per Athlete?
Planning guidance for school weight rooms puts the working allowance at 50 to 100 square feet for each athlete training at the same time. The lower end suits circuit style sessions with fast equipment rotation, while percentage based programs need closer to the upper end.
The practical first step is to write down your real peak group size, not the total number of athletes on the roster. A high school team program typically trains 15 to 40 athletes in one session, and that figure drives every number that follows.
Multiply the peak group by the allowance to get a working floor area, then use published area bands for high schools as a sanity check.
| School size | Suggested floor area |
|---|---|
| 300 to 600 students | 1,200 to 2,000 square feet |
| 600 to 1,200 students | 2,000 to 3,500 square feet |
| Over 1,200 students | 3,500 to 6,000 square feet and above |
Area bands from a published high school weight room design guide. Treat them as planning references and confirm against your own peak group size.
A 2,500 square foot room sits comfortably in the middle of that range for most high schools, and it is large enough to hold separate lifting, dumbbell and warm-up areas without turning into a corridor. Once you know the number, check the station dimensions in our guide to squat rack dimensions before you commit to a rack count.
Ceiling Height, Door Width, and Structural Limits to Measure First
Measure ceiling height, delivery access and column positions before placing any equipment, because they set hard limits that no floor plan can work around. These are the numbers that most often force a redesign after the racks have already been ordered.
- Ceiling height: One facility design guide puts the minimum at 9 feet for most athletic facilities and prefers 10 to 20 feet. A separate design guide puts the practical minimum for safe Olympic lifting at 12 feet, with 14 to 16 feet preferred for overhead work and jump training.
- Lowest obstruction: Measure to the bottom of ducts, light fixtures and ceiling fans, not to the slab. Commercial cages generally want at least 8 feet of ceiling for pull-up and jump clearance.
- Door and delivery path: Check the narrowest door and turn on the route that your largest piece must travel, because a rack that cannot physically enter the room changes the whole plan.
- Columns and structure: Columns break an open floor into bays, and a bay that is too narrow for a rack plus its pull-out lane is dead space.
- Floor and vibration: Note the floor structure and whether the room sits above occupied space, since dropped loads and sled work transfer impact.
Stop and bring in your facilities department or a structural engineer when a measurement conflicts with the program. If the ceiling cannot clear an overhead movement, drop that station rather than squeezing it into the plan, and if a column or floor loading issue appears, resolve it before the layout is frozen.
The same discipline applies to the sequencing of the design itself, as our equipment layout and setup plan explains for smaller rooms.
Weight Room Spacing Standards and Clearances for Every Zone
Published layout guidance gives a workable clearance for every station type, and those clearances are what stop a full room from becoming an unsafe one. Start from the table below, then adjust upward for heavier lifts and younger athletes.
| Element | Recommended clearance |
|---|---|
| Face-to-face power racks | 10 to 12 feet between the bars |
| Full power cage zone | 8 feet wide by 9 to 11 feet deep, with 24 to 36 inches of side clearance and a 6 to 8 foot pull-out lane in front |
| Benches | 6 to 8 feet from adjacent equipment or walls |
| Machine stations | 3 to 4 feet between units |
| Cardio equipment | 3 to 4 feet apart with 6 feet behind for a safe dismount |
| Dumbbell rack | 8 to 10 feet of rack length plus 8 to 12 feet of open floor in front |
| Main circulation corridor | 4 to 6 feet wide |
| Accessible route | 36 inches continuous, reducible to 32 inches at a doorway for no more than 24 inches of travel |
| Accessible turn | 48 inches at a 180 degree turn around a narrow obstruction |
| Exercise machine clear floor space | 30 by 48 inches, increasing to 36 by 48 inches when enclosed on three sides |
Equipment clearances from published layout guides; route and clear floor space figures from the U.S. Access Board ADA guides. Confirm the applicable edition of your state and local code.
Accessibility is where a school layout differs most from a home gym plan. Under the ADA standards at least one of each type of exercise machine needs the clear floor space shown above, and the accessible route has to connect those stations continuously.
"We prefer having similar pieces of equipment located together and in near proximity of the rack and platform areas, thus allowing a logical sequencing of exercises. For example, the athletes should be able to easily move from an area designated for squat and clean variations to an adjacent area to do glute-ham and reverse hyperextension exercises, which affect the same muscle groups. We also put the dumbbell and kettlebell racks close to the power racks and platforms, which allows athletes to limit their movement throughout the facility during the workout, thereby increasing their productivity."
Mike Gentry, EdD, MSCC, CSCS, Associate Director of Athletics for Athletic Performance, Virginia Tech, in Strength in Design (Training & Conditioning)
That grouping logic is also what keeps aisle allowances honest. Grouping weight benches with the racks they serve, for example, removes a long walk across the room on every set.
Pairing that with something like the RitFit 1300lb adjustable weight bench inside the rack zone is easier to supervise than scattering benches across the floor.
How Many RitFit P3 Power Cages Fit in a High School Weight Room?
A high school weight room fits about 2 to 4 power racks in 1,500 square feet. The working range widens to 4 to 6 racks in 2,500 square feet and 6 to 10 in 4,000 square feet once circulation is counted. Those ranges come from a planning allowance of 150 to 250 square feet per rack or platform station.
Do the measurement in three steps.
First, confirm your peak group size and the number of athletes a single rack must serve.
Second, multiply the rack zone share of your floor by the floor area to find the rack zone in square feet.
Third, divide that zone by 150 to 250 square feet per station.
| Room size | Rack and platform stations | Main layout priority |
|---|---|---|
| 1,500 square feet | 2 to 4 | Single circulation loop and dumbbells on the short wall |
| 2,500 square feet | 4 to 6 | Separate rack, dumbbell and warm-up zones |
| 4,000 square feet | 6 to 10 | Dedicated turf lane and separated coaching sight lines |
Planning estimate from a 25 to 40 percent rack zone share and 150 to 250 square feet per station. Confirm final rack counts with your equipment supplier and facilities department.
A single cage is not just its frame. One footprint planning guide recommends an 8 foot wide by 9 to 11 foot deep zone for a full cage, covering the frame, 24 to 36 inches of side clearance and a 6 to 8 foot barbell pull-out lane.
Apply that zone to a floor of power racks and cages and you can see immediately why the rack count is lower than a simple division of floor area suggests.
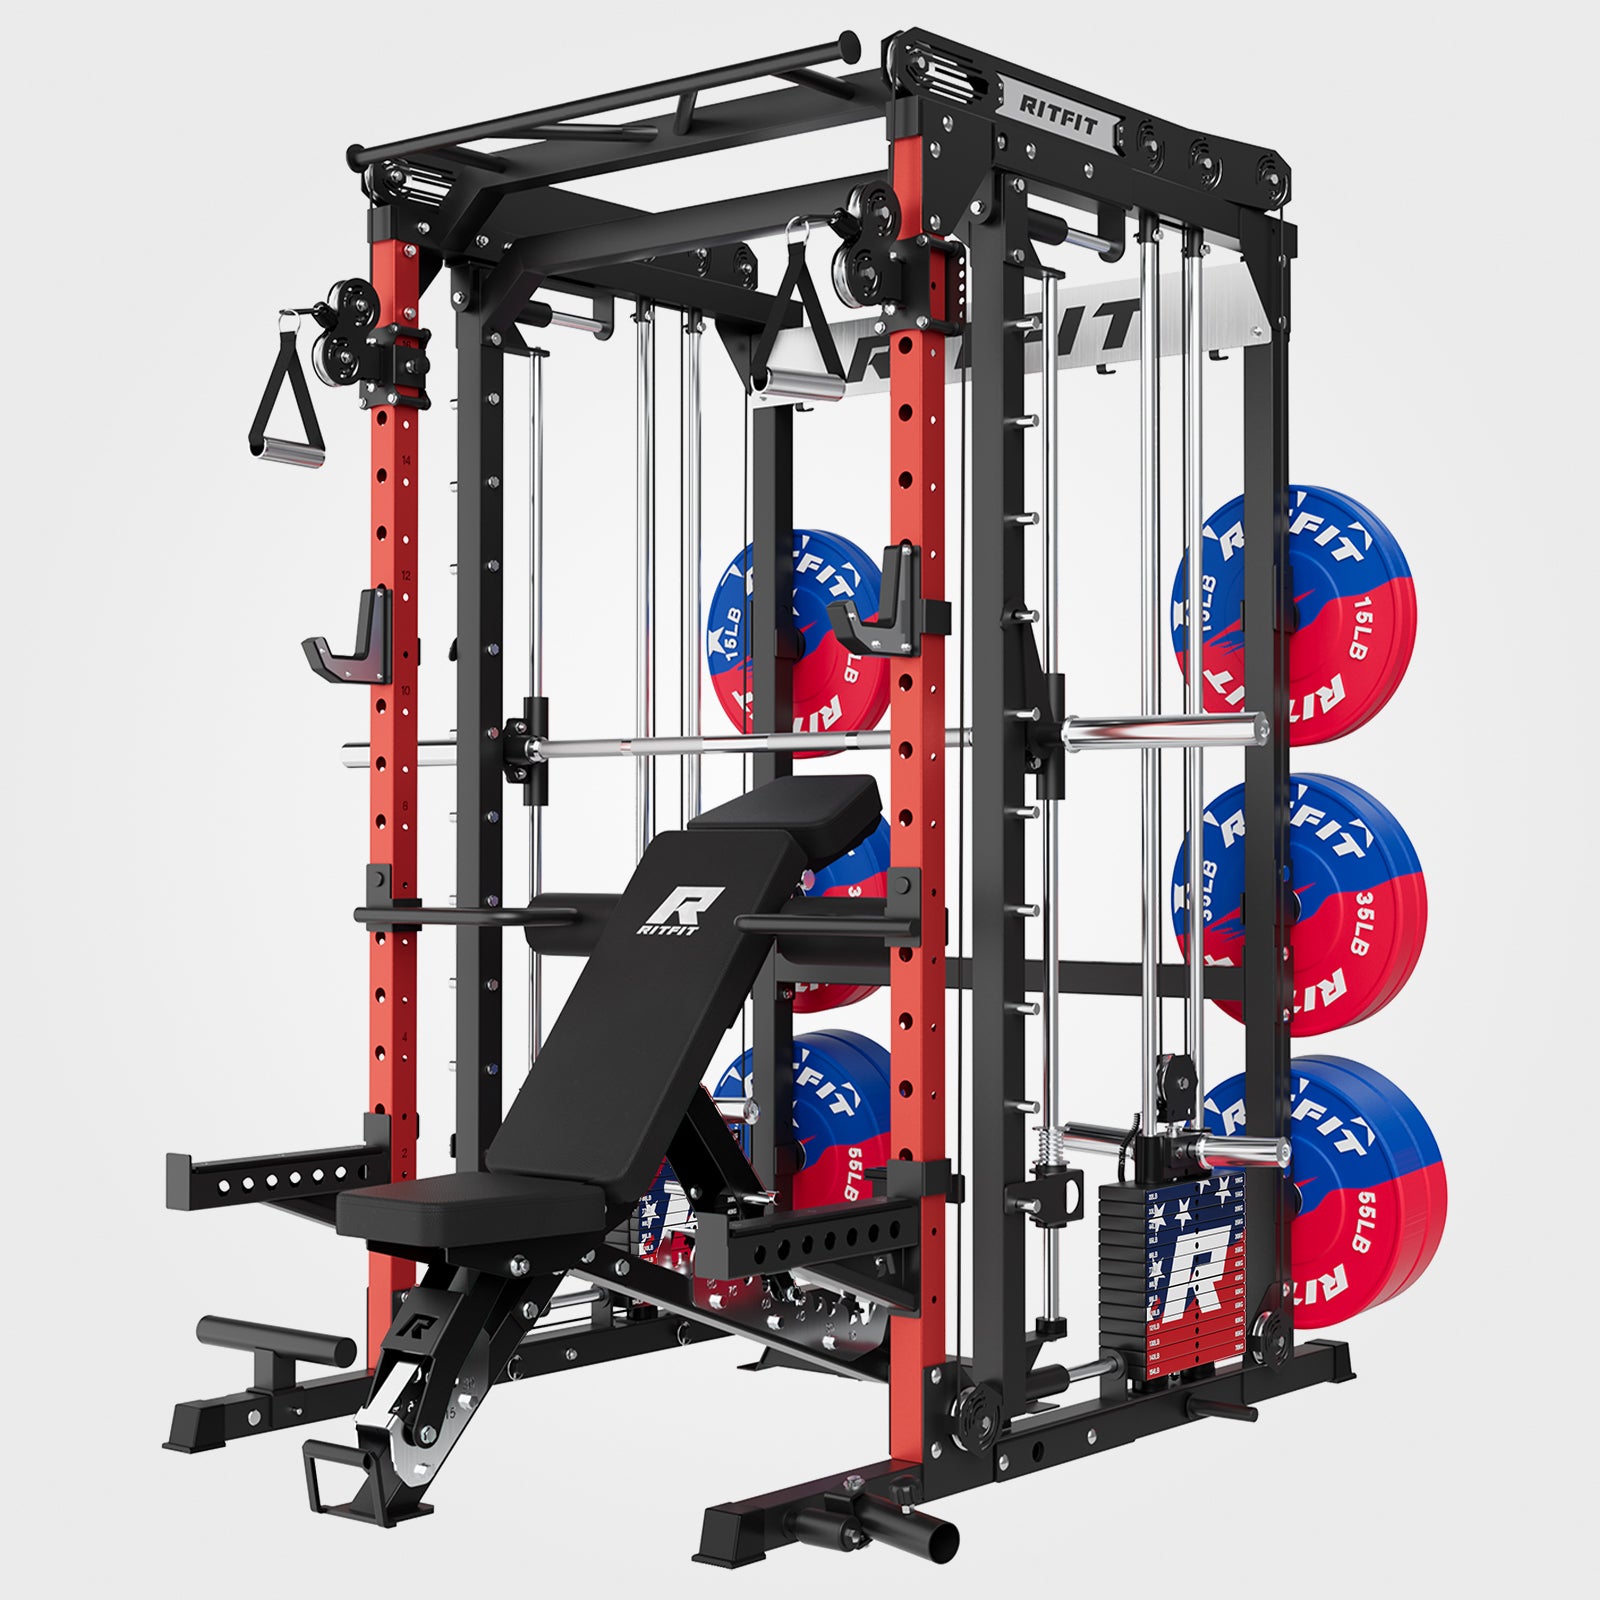
The RitFit P3 Power Cage is a useful worked example, because it is a full cage with an integrated cable system rather than a bare frame. Running the cable station inside the cage footprint keeps accessory work at the same station instead of adding a separate machine to the floor.
Check current pricing on the product page, since prices change.
"Definitely worth the price for what you get. Assembly was easy. I did it by myself. Took around 2 1/2 hours. Will definitely be ordering more equipment from RitFit!"
Darwin, Verified Buyer, RitFit P3 Power Cage 1200lbs with Smooth Cable System & Aluminum Pulleys
How Should You Zone Free Weights, Machines, Cardio, and Warm-Up Space?
A high school weight room works best divided into four zones: free weights, machines, cardio, and warm-up. A facility design field guide offers a starting floor share for each, which you then adjust for the sports your program serves.
| Zone | Planning share of floor |
|---|---|
| Racks, platforms and barbell work | 25 to 40 percent |
| Turf, warm-up and movement | 30 to 50 percent |
| Dumbbells, cables and accessory work | 10 to 20 percent |
| Circulation and coach access | 10 to 15 percent |
| Storage | 5 to 10 percent |
Starting allocation ranges from a facility design field guide, which also notes that the right split depends on the athletes, sports and coaching model. Use them as a first pass, not a fixed rule.
The order in which athletes work through a session should drive the order of the zones. Warm-up and movement space belongs near the entrance, rack and platform work in the middle, accessory work beside it, and storage next to whatever uses it most.
- Flooring: Continuous gym flooring under the rack zone removes trip edges between stations.
- Drop-in tiles: Interlocking rubber flooring tiles let you repair a worn patch without lifting the whole floor.
- Dumbbell area: Keep dumbbell sets and racks close to the benches they feed, which is easier when the rack length is matched to the wall.
- Mirrors and walls: Place mirrors where they help technique checks, and keep them off the wall directly behind a rack where a rolling bar could reach the glass.
- Coach sight lines: A single raised or slightly offset coaching position that sees every rack is worth more floor area than an extra station.
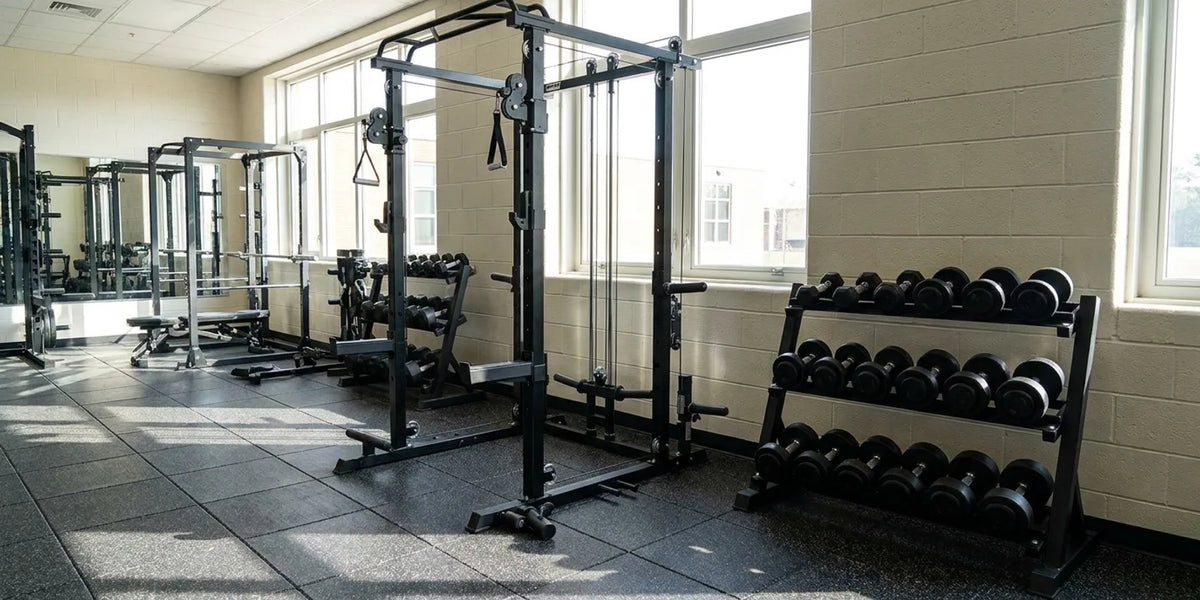
Dumbbell storage is the zone most often underestimated. A RitFit PWR05 dumbbell rack shows the real footprint, because 8 to 10 feet of rack length still needs 8 to 12 feet of open floor in front for the lifter.
Loose RitFit hex rubber dumbbells left on the floor are a traffic hazard, not a storage problem.
Sample Gym Floor Plans for 1,500, 2,500, and 4,000 Square Feet
Room size changes what each zone can be, not just how much fits. A 1,500 square foot room has to share its open floor, while a 4,000 square foot room can give warm-up, speed work and accessory training their own space.
| Planning item | 1,500 square feet | 2,500 square feet | 4,000 square feet |
|---|---|---|---|
| Rack and platform stations | 2 to 4 | 4 to 6 | 6 to 10 |
| Dumbbell and bench area | One short wall | One full wall with benches | Dedicated corner with benches |
| Warm-up and movement | Shared open floor | Compact turf strip | Turf lane with room for sled work |
| Circulation | One 4 to 6 foot loop | Loop plus a cross aisle | Separate aisles between zones |
| Athletes at 50 to 100 square feet each | 15 to 30 | 25 to 50 | 40 to 80 |
Rack counts from the 150 to 250 square feet per station allowance; athlete figures from the 50 to 100 square feet per athlete allowance divided by floor area. Confirm both against your peak group size.
At 1,500 square feet the priority is a single clean loop, so nothing is placed in the middle of the room.
At 2,500 square feet you can split racks from dumbbells and still keep a compact turf strip for warm-up.
At 4,000 square feet the room can support a genuine turf lane plus separated sight lines.
Rack rows are where the floor plan is usually won or lost. A pair of power rack packages placed face to face needs 10 to 12 feet between the bars, and that single number often decides whether a 2,500 square foot room holds four racks or six.
The same discipline applies to the warm-up and equipment overview in fitness equipment for sports facilities.
Common High School Weight Room Layout Mistakes to Avoid
Most layout failures come from counting equipment instead of measuring movement. Each of the mistakes below shows up as a bottleneck during a full session, when the room is at its busiest and least forgiving.
- Filling every square foot with stations: A layout with no open floor leaves nowhere for warm-up, which then happens in the rack lanes.
- Blocking the coach view: Tall storage or a misplaced mirror can hide an entire rack from the coaching position.
- Treating the rack as a frame: Measuring only the footprint ignores the pull-out lane, side clearance and the spotter space the bar needs.
- Crossing lifting zones to reach storage: If athletes must walk through loaded bars to reach plates or bands, the flow is wrong.
- Leaving accessibility to the end: A 36 inch accessible route is hard to add once stations are bolted down.
- Planning for the roster instead of the session: A layout that works for 15 athletes will not work for 40.
Fix these on paper first. Moving a rack on a drawing costs nothing, and moving one after installation costs a crew, a delivery date and a lost training week.
FAQs About High School Weight Room Layout
How much square footage does a high school weight room need?
Published planning guidance suggests about 50 to 100 square feet per athlete training at the same time. A common guide band is 1,200 to 2,000 square feet for a small school, 2,000 to 3,500 square feet for a mid-size school, and 3,500 square feet or more for a large one. Confirm your own target with your facility planner.
How far apart should power racks be in a high school weight room?
One equipment layout guide recommends at least 10 to 12 feet between the bars when two racks face each other, so the loaded bar and a spotter both clear the neighboring station. A full cage should also be planned as an 8 foot wide by 9 to 11 foot deep zone, not just its frame footprint.
What ceiling height does a school weight room need for Olympic lifting?
One industry design guide puts the practical minimum at 12 feet for safe Olympic lifting and prefers 14 to 16 feet for overhead work and jump training. A separate facility guide puts the floor at 9 feet for general athletic use and prefers 10 to 20 feet. Measure your lowest obstruction, including ducts and light fixtures, before finalizing placement.
How many athletes can train at once in a 2,500 square foot weight room?
At 50 to 100 square feet per athlete, a 2,500 square foot room works out to roughly 25 to 50 athletes on paper, but circulation, storage and equipment clearances cut that number, and one facility guide puts peak high school group sizes at 15 to 40. Plan for the group size your program actually fields.
Do high school weight rooms need an accessible route?
Under the ADA standards an accessible route must have a continuous clear width of at least 36 inches, and at least one of each type of exercise machine needs clear floor space of 30 by 48 inches, increasing to 36 by 48 inches when enclosed on three sides. State and local codes can add requirements, so confirm with your facilities department.
Should dumbbell racks go on the short wall?
Placing dumbbell racks and storage on a short wall protects the longer rack and barbell lanes, because dumbbell racks need 8 to 10 feet of rack length plus 8 to 12 feet of open floor in front. Keeping that traffic away from loaded bars is one of the simplest ways to reduce congestion.
Conclusion
A high school weight room layout is decided by a handful of numbers: 50 to 100 square feet per athlete, 150 to 250 square feet per rack station, 10 to 12 feet between face-to-face bars, and a 36 inch accessible route. Measure the room first, then let the measurements set the rack count.
Draw the zones before you order anything, and check the current RitFit discount guide when you are ready to price the rack and dumbbell packages.
Disclaimer
This article provides general layout planning guidance for school weight rooms and is not architectural, engineering or legal advice. Building, fire and accessibility codes vary by state and district, so confirm every dimension and clearance with your facilities department and the applicable local code before construction.
References
1. U.S. Access Board. Chapter 4: Accessible Routes. ADA Accessibility Guidelines. Accessed October 2026.
2. U.S. Access Board. Chapter 10: Sports Facilities. ADA Accessibility Guidelines. Accessed October 2026.
3. Alpha Fitness. How to Design an Athletic Training Facility: A Field Guide. Accessed October 2026.
4. TouchWall. Weight Room Design for High Schools: Layout Ideas, Equipment Lists, and Best Practices. Accessed October 2026.
5. Build A Gym. Commercial Power Rack Footprint and Layout for Small Gyms. 2026.
6. Read D. Strength in Design. Training and Conditioning. Accessed October 2026.