A kneeling glute isolator machine is a hip extension station built for one job: load the glutes while the quads and hamstrings stay mostly out of the rep. You kneel into a fixed frame, brace your hips against a pad, and drive your working leg backward against a lever arm.
This guide explains what the machine trains, how it is built, how to set the pads and pick a starting weight, and what a home gym owner can use instead when a commercial kneeling unit will not fit.
Quick Answer: A kneeling glute isolator machine trains the gluteus maximus through resisted hip extension, and its pads hold the torso still so the lower back does not take over. Most home gyms cannot fit one, so cable kickbacks and a compact hip abductor and adductor machine are the practical substitutes.
Key Takeaways
- Main target: A kneeling glute isolator machine loads the gluteus maximus through resisted hip extension and is shaped to keep the quads and hamstrings out of the rep.
- Position matters: The hip pad sits at the crease of the hip, the knee and shoulder pads lock the torso in place, and the load runs through a lever arm rather than a barbell.
- Start light: Commercial units list a 15 lb starting weight, and the first session should feel easy enough that you could finish 3 or 4 more reps.
- Space is the real cost: A commercial kneeling glute isolator takes a large fixed footprint, which is why most home gyms replace it with a cable station or a seated hip abductor and adductor machine.
- Two muscles, two jobs: Hip extension work builds the gluteus maximus, while hip abduction work builds the gluteus medius, so a complete home plan needs both patterns.
What muscles does a kneeling glute isolator machine train?
The kneeling glute isolator machine trains the gluteus maximus, the largest hip extensor, with gluteus medius contributing to pelvic stability. The frame is deliberately shaped so the quads and hamstrings do less of the work, which is why a modest load feels far heavier here than on a leg press.
- Gluteus maximus: the prime mover. Resisted hip extension is its main job, and this machine loads that action with the torso locked in place.
- Gluteus medius and minimus: these stabilize the pelvis while the hip extends, and they carry the main load in hip abduction rather than in the kneeling push.
- Hamstrings: they assist hip extension, but the kneeling stance and the hip pad limit how much they can contribute.
- Quads: close to idle. The knee does not extend during the movement, so there is very little for the quads to do.
- Lower back: it should stay quiet. The shoulder pad and hip pad exist to stop the spine from taking over the rep.
Published research on hip abduction and hip external rotation exercises shows how wide glute activation can range. A 2015 systematic review of 23 studies found gluteus maximus activity from 4 to 113 percent of MVIC, or maximum voluntary isometric contraction, and gluteus medius activity from 12 to 103 percent of MVIC across those movements.[1]
The same review found that weight bearing positions produced more activity than non weight bearing ones, which is the honest tradeoff of a kneeling machine. You give up peak activation in exchange for a locked torso, a stable path, and loading that is easy to control.
To see how the rest of the machine lineup splits glute work, read this guide to gym machines for glutes.
How does a kneeling glute isolator machine keep the glutes loaded?
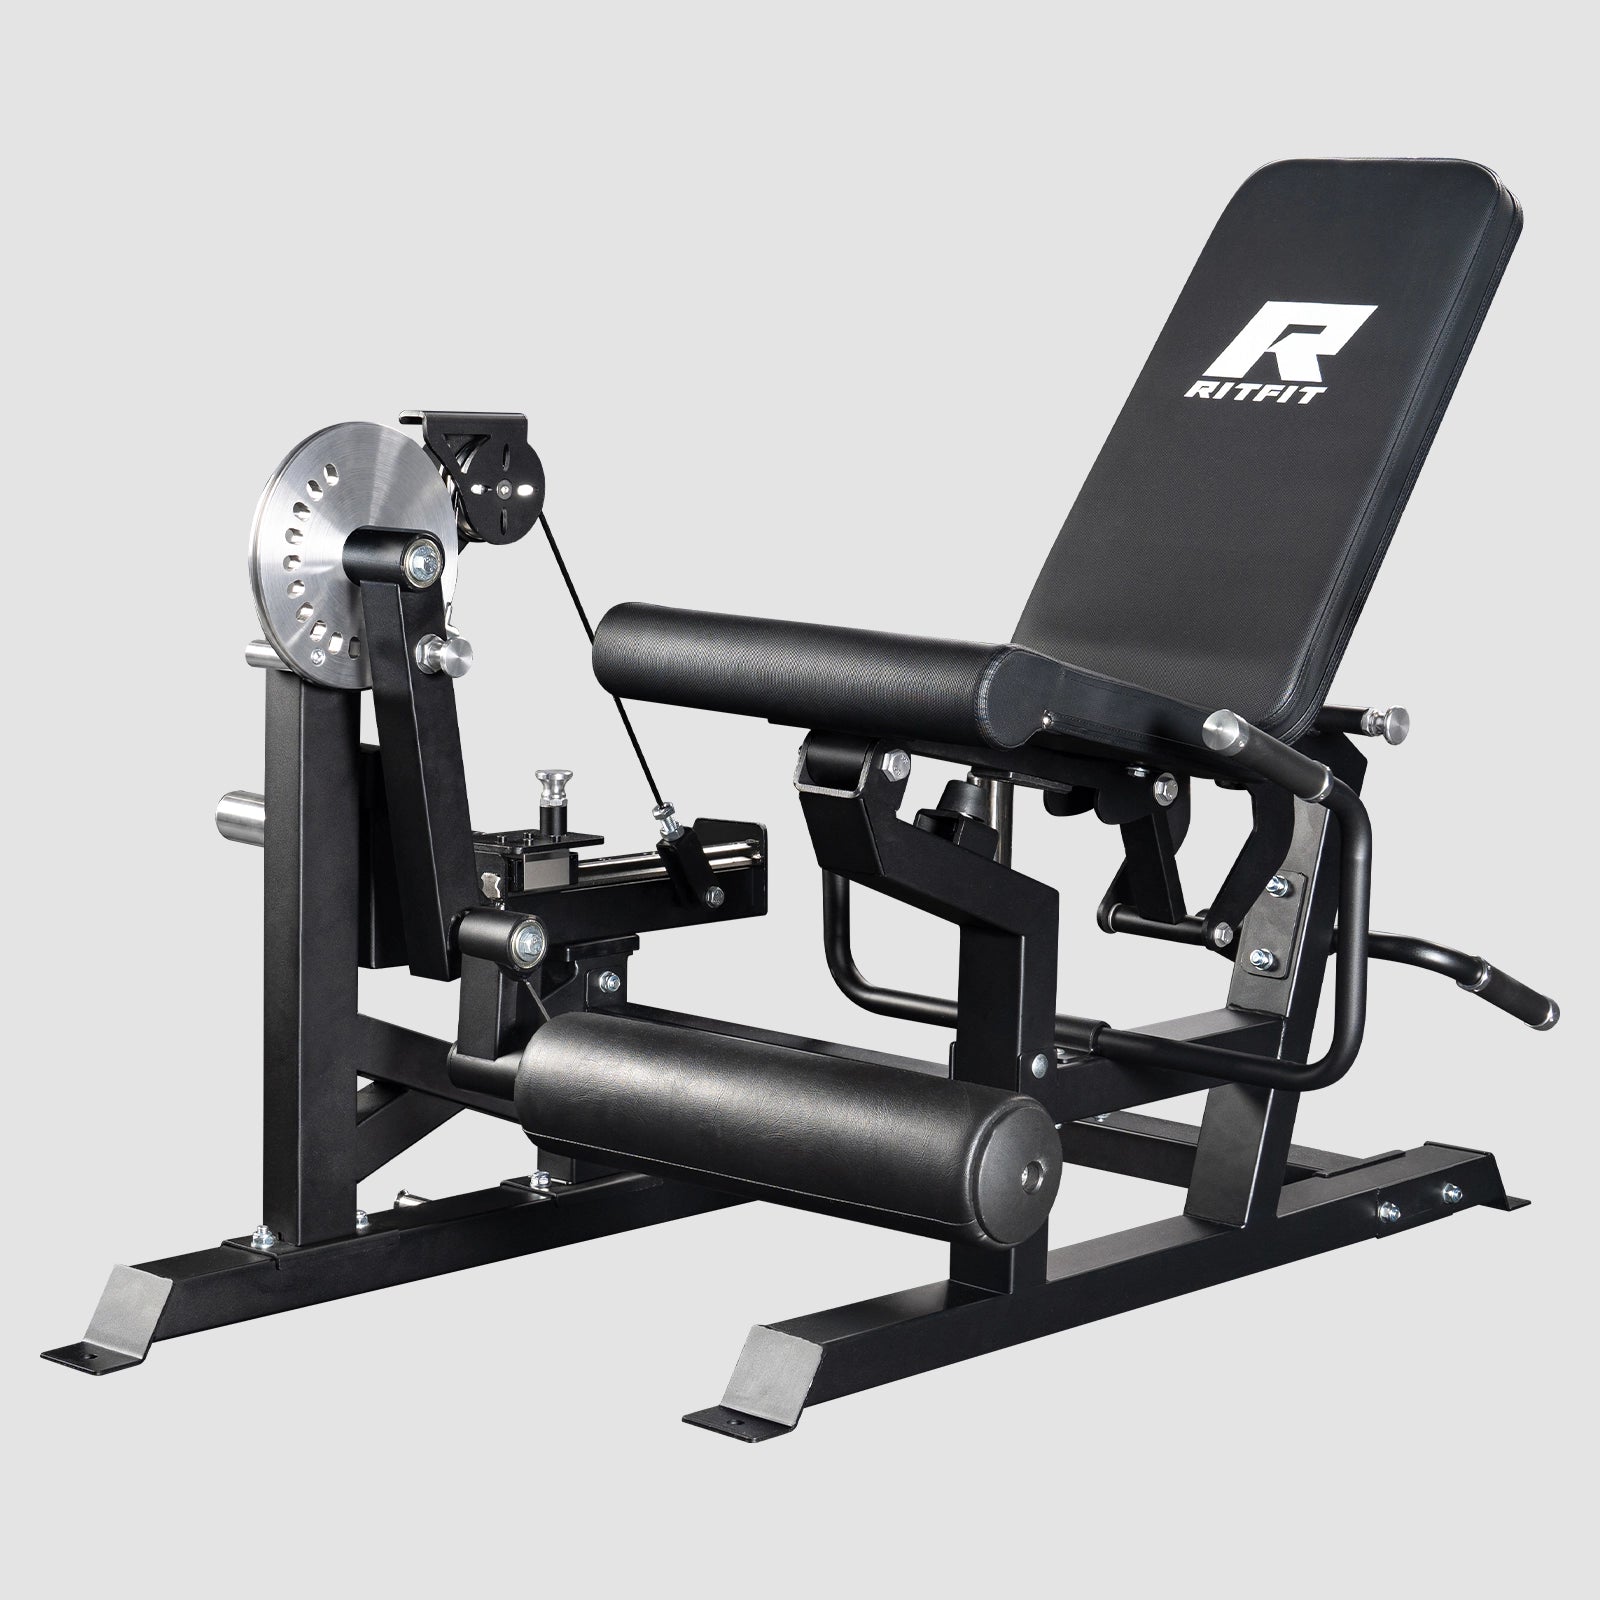
A kneeling glute isolator machine locks the torso against pads so the only joint doing work is the hip. The user kneels on a fixed pad, presses the chest or shoulders into a second pad, and drives the working leg backward through a lever arm loaded with plates or a selectorized stack.
- Knee pad and shoulder pad: they set the distance between your torso and the pivot, so the hip does the moving instead of the spine.
- Hip pad: it presses into the front of the hip and holds the pelvis in place through the extension, which is the part most cheap machines get wrong.
- Lever arm and cam: the arm carries the load, and the cam shape decides how heavy the movement feels at the start versus the end of the range.
- Resistance band pegs: some frames add pegs so a band can be added on top of the plate load for extra resistance at the end of the range.
Published specifications for a commercial kneeling glute isolator list a 65 x 59 x 56 inch frame, a 484 lb machine weight, a 350 lb maximum user weight, a 220 lb maximum load, and a 15 lb starting weight. In other words, this is a floor-standing machine designed for a gym, not a bench that tucks into a corner.
The 2011 electromyography work on glute training points the same way: the exercises that ranked highest for the gluteus medius were free standing or floor based movements rather than a seated machine, with side plank abduction reaching 103 percent of MVIC.[2]
That is why the kneeling isolator earns its place in a commercial gym and rarely earns one at home. If you want the abduction side of glute training in a smaller package, a dedicated hip abduction machine does that job with far less floor space.
How is a kneeling glute isolator different from other glute machines?
A kneeling glute isolator machine is a non weight bearing hip extension machine. Cable kickbacks, hip thrusts, and leg presses all train the same hip extension pattern, but each one loads it from a different body position.
| Setup | Movement | Loading | Body position | Floor space |
|---|---|---|---|---|
| Kneeling glute isolator | Hip extension | Plates or selectorized stack | Kneeling, torso locked by pads | Large fixed footprint |
| Cable glute kickback | Hip extension | Cable stack with an ankle strap | Standing or on all fours | One cable station plus open floor |
| Hip thrust setup | Horizontal hip extension | Barbell or plate loaded sled | Upper back on a bench | Bench plus bar length |
| Hip abduction and adduction machine | Hip abduction and hip adduction | Selectorized stack | Seated or standing | Compact frame |
| Leg press | Knee and hip extension | Sled with plates | Seated or reclined | Large fixed footprint |
Comparison is between machine and movement types, not between brands. Footprint descriptions are general categories rather than measured dimensions.
- Balance demand: the kneeling machine removes balance from the equation, while a standing cable kickback asks your hips and core to hold the line.
- Loading headroom: a hip thrust or leg press accepts far more total load, because the load path runs through a bench or a sled instead of a single lever arm.
- Footprint: a seated hip abduction and adduction machine and a cable station both fit in a small home gym, while a kneeling isolator and a leg press both want a permanent bay.
- What it misses: a kneeling isolator does not train hip abduction or hip adduction at all, which is a gap worth noticing before you plan a leg day.
If you are mapping a full lower body corner rather than a single station, start with the leg machines category and pick the one frame that covers the pattern you cannot train with free weights.
How do you set up a kneeling glute isolator machine?
A kneeling glute isolator machine needs four adjustments before the first rep: hip pad, knee pad, chest pad, and load. Getting the pads right takes about thirty seconds, and that short setup decides whether the set trains your glutes or your lower back.
- Step 1: set the hip pad at the crease of the hip so the pelvis is pinned and the hip can extend without the spine moving.
- Step 2: set the knee pad so the shin is supported and the pad edge sits just below the kneecap rather than on top of it.
- Step 3: set the chest or shoulder pad firmly enough that you cannot rock, but loosely enough that you can still brace and breathe.
- Step 4: start at the lightest plate or the first pin position and treat the first set as a rehearsal of the setup rather than a working set.
- Step 5: check the range so the working leg travels from a flexed hip to full hip extension while your torso stays on the pad.
Plan the space before you plan the set. A commercial unit is listed at 65 x 59 x 56 inches and 484 lb, so it wants a permanent bay rather than a corner, and you should leave roughly 30 to 36 inches of clear floor around the frame for kneeling in and stepping out.
If you are setting up at home instead, the same hip work fits into far less room, which is what this guide to strengthen the hips walks through.
How much resistance should you use and when should you add weight?
A kneeling glute isolator machine should start light, with weight added only after the top reps feel easy. Commercial units list a 15 lb starting weight, and that is a sensible first session even for a strong lifter, because the load sits on one lever arm and your glutes have never moved through this exact path.
- First session: 2 sets of 10 to 15 reps at a load that leaves 3 or 4 clean reps in reserve.
- Once the setup is automatic: 3 working sets of 10 to 15 reps, still stopping short of failure on the early sets.
- When to add load: when you finish the top of the rep range with control in two sessions in a row, add 5 to 10 lb or one pin position.
- How heavy to go: a 2021 systematic review and network meta analysis found that loads at or above roughly 60 percent of one rep maximum drive greater strength gains than lighter loads, so a permanently light setting leaves progress on the table.[3]
- When to stop: end the set when the hip stops extending fully or when the lower back starts the movement.
Consistency matters more than the exact starting plate, because the machine rewards the same thing every other lift rewards: a load that climbs over months while the reps stay honest.
A selectorized stack makes those small jumps easy to track:
"Many gyms have machines that allow for this."
"If you find one that feels right, then go really hard on these and make them a staple movement and go for progressive overload over time."
"The 4-way hip machine can work well."
Bret Contreras, PhD, PhD in Sports Science, known as The Glute Guy, Contreras Strength Institute, in Do More Than Just Squat
What is the best hip abduction and adduction machine for a home gym?
A compact hip abduction and adduction machine is the best home substitute for the abduction side of glute work. It trains the gluteus medius the way a kneeling isolator trains the gluteus maximus, swapping the fixed kneeling bay for a seated position and a selectorized stack.
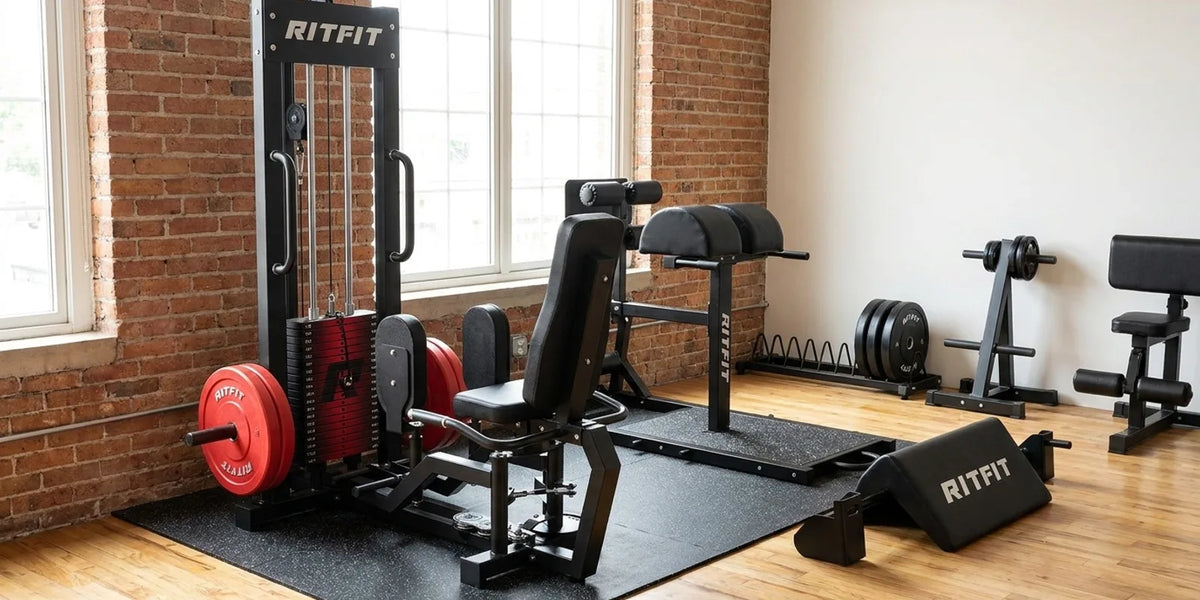
- For hip abduction and hip adduction: the RitFit Panther Home Hip Abductor and Adductor Machine covers both directions on one compact frame, which matters when your only free wall is a few feet wide.
- For hip extension: glute kickbacks with cable are the closest home match to the kneeling machine, because the movement is the same hip extension against a stack instead of a lever arm.
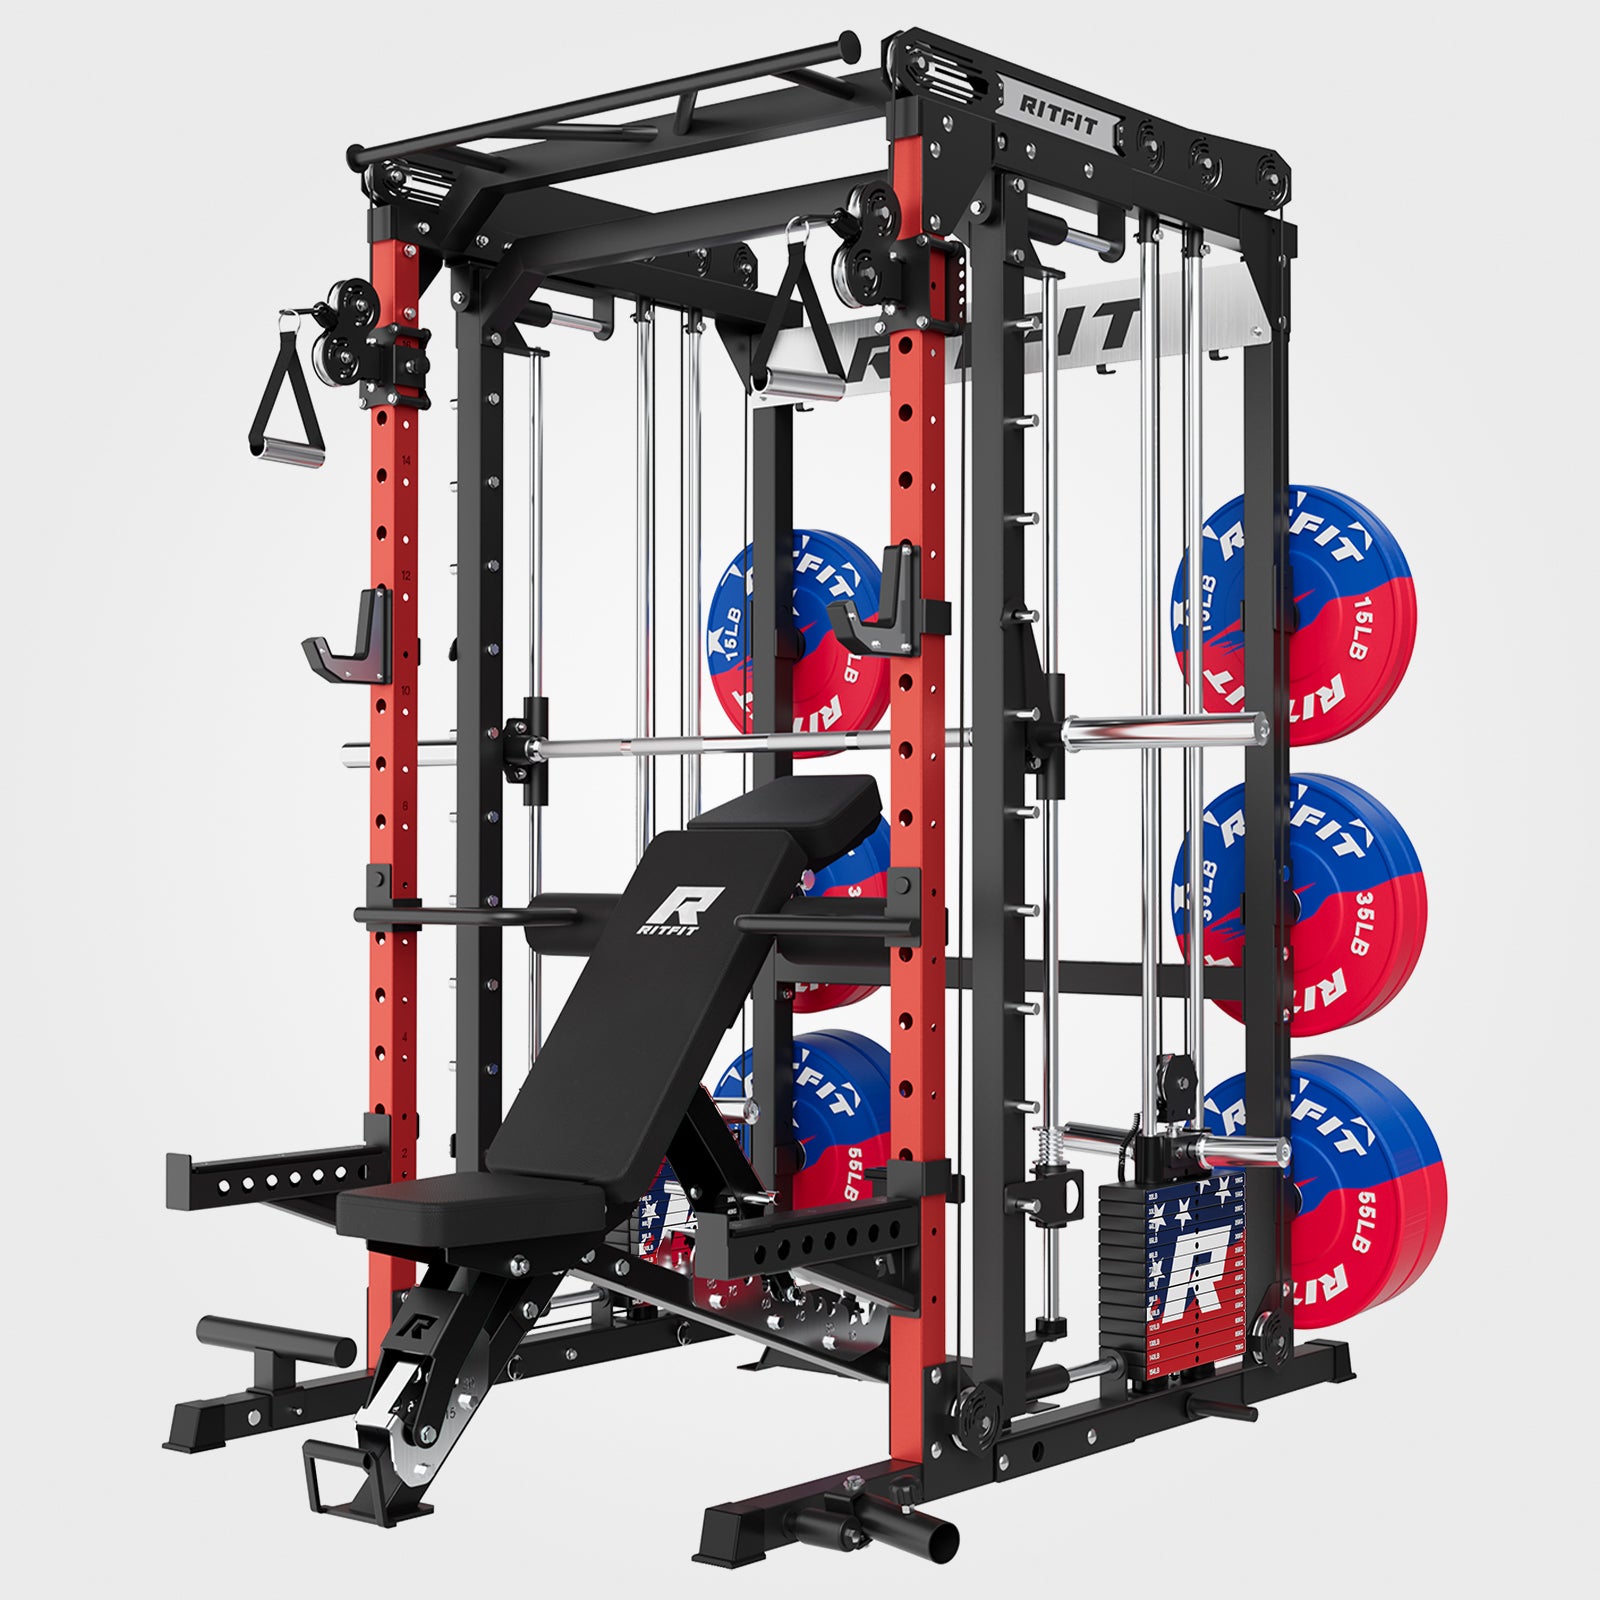
- For both patterns in one bay: a RitFit M1 Smith Machine with Cable Crossover System puts a cable station and a rack on one frame, so kickbacks and squat patterns share a single footprint.
- For a cheap addition: a 2017 study found that a loop band above the knees increased gluteus medius activation during barbell squats without changing squat depth or knee kinematics, which makes band work a useful add-on on squat days rather than a replacement for machine work.[4]
Match the machine to the pattern you are missing rather than to the muscle name. Most home leg days already cover quads and hamstrings, so the real gap is usually hip extension under load and hip abduction under load.
Cable based work needs a low pulley and an ankle strap, so check the cable machine attachments that fit a standard stack and the cable machine stations built to carry them.
A third party walkthrough of a home hip abduction machine in a real garage setup:
"Absolutely love this machine! Perfect fit for my home gym!"
Andrea S. Verified Buyer, RitFit Panther Home Hip Abductor and Adductor Machine
What are the most common mistakes on a kneeling glute isolator machine?
Most problems on a kneeling glute isolator machine come from a mis-set pad or too much load. Both mistakes push the work into the lower back or the quads, and both feel fine until the set is over.
- Hip pad too low: the pelvis is free to rock, so the lower back takes over the extension and the glutes never reach the finish of the range.
- Hip pad too high: the pad digs in above the hip crease, which shifts the pivot point and shortens the usable range of motion.
- Loading up too early: adding plates before the setup is repeatable is the fastest way to turn a glute movement into a lower back movement.
- Swinging the leg: momentum from a fast kick replaces tension with speed, and the end of the range is exactly where the glutes do their best work.
- Cutting the range short: partial reps skip the full hip extension the machine was built to load.
- Holding your breath: brace through the extension and breathe between reps so the set stays controlled.
Stop the set when the lower back starts the movement, when the knee complains about the pad position, or when you can no longer pause at full hip extension. Those signals are about setup and fatigue rather than injury, and they simply mean rep quality has already ended.
For a home routine that covers these patterns without a kneeling frame, work through these hip exercises at home.
FAQs About Kneeling Glute Isolator Machines
What does a kneeling glute isolator machine work?
The kneeling glute isolator works the gluteus maximus through hip extension while the user is locked into a kneeling stance. The hip pad and the shoulder pad hold the torso still so the extension comes from the hip instead of the lower back. The frame is also built to take the quads and hamstrings largely out of the rep, which is why the load feels heavier than a leg press at the same weight.
Is a kneeling glute isolator better than cable glute kickbacks?
Neither one is strictly better, because both train the same hip extension pattern with different tradeoffs. The kneeling machine locks the torso in place and is easier to load heavy without balance work, but it needs a large fixed footprint. Cable glute kickbacks need only a cable station and open floor, yet the standing position asks more from your balance and your core.
How much weight should a beginner use on a glute isolator?
Beginners should start near the machine minimum and treat the first session as a setup rehearsal. Many plate loaded units start at 15 lb, and the goal is a set of 10 to 15 controlled reps that ends with the glutes tired rather than the lower back. Add load only after the top of the rep range feels easy for two sessions in a row.
Can you train glutes at home without a kneeling glute isolator?
Yes. A cable station with an ankle strap covers glute kickbacks, and a compact hip abductor and adductor machine covers the abduction side that a kneeling machine does not train. A barbell or a plate loaded hip thrust setup covers heavy hip extension as well. Those three options together replace the kneeling machine for most home programs.
How often should you train glutes on a machine?
Two sessions per week is a practical starting point for machine based glute work. Glute training responds to quality reps and to a load that keeps climbing over months, not to daily sessions. If glute work sits after squats or deadlifts, two or three sets of 10 to 15 reps per session is usually enough volume for the isolation work.
What is the difference between hip abduction and hip adduction?
Hip abduction moves the leg away from the body midline and is driven mostly by the gluteus medius and gluteus minimus. Hip adduction moves the leg back toward the midline and is driven by the inner thigh muscles, including the adductor group. Machines that train both directions are common in home gyms because one frame covers two movements.
Conclusion
A kneeling glute isolator machine pins the torso and loads hip extension, so the gluteus maximus does the work while the quads and hamstrings sit out. It will not fit a small home gym, and it does not train hip abduction at all.
If you train at home, cover hip extension with cable kickbacks and cover hip abduction with a compact machine, then load both the way you would load any other lift. Check the RitFit discount guide before you order so the setup fits your floor space and your budget.
Disclaimer
This article explains machine function and training setup rather than medical advice, and it is not written for anyone managing an injury, a joint condition, or a rehabilitation program. Speak with a qualified healthcare or fitness professional before starting a new training plan.
References
1. Macadam P, Cronin J, Contreras B. AN EXAMINATION OF THE GLUTEAL MUSCLE ACTIVITY ASSOCIATED WITH DYNAMIC HIP ABDUCTION AND HIP EXTERNAL ROTATION EXERCISE: A SYSTEMATIC REVIEW. Int J Sports Phys Ther. 2015;10(5):573-91. PMCID: PMC4595911
2. Boren K, Conrey C, Le Coguic J, Paprocki L, Voight M, Robinson TK. Electromyographic analysis of gluteus medius and gluteus maximus during rehabilitation exercises. Int J Sports Phys Ther. 2011;6(3):206-23. PMCID: PMC3201064
3. Lopez P, Radaelli R, Taaffe DR, et al. Resistance Training Load Effects on Muscle Hypertrophy and Strength Gain: Systematic Review and Network Meta-analysis. Med Sci Sports Exerc. 2021;53(6):1206-1216. doi:10.1249/MSS.0000000000002585. PMCID: PMC8126497
4. Foley RCA, Bulbrook BD, Button DC, Holmes MWR. EFFECTS OF A BAND LOOP ON LOWER EXTREMITY MUSCLE ACTIVITY AND KINEMATICS DURING THE BARBELL SQUAT. Int J Sports Phys Ther. 2017;12(4):550-559. PMCID: PMC5534145