Smith machine wear points follow a fixed order, and the parts that fail first are the ones you can inspect in a few minutes. Bearings or bushings, guide rails, cables, pulleys, and locking pins carry every rep you perform, so each one wears at a predictable rate.
This guide covers what wears out, what each failure sounds and feels like, which parts are replaceable consumables, and how to screen a used machine before you pay. Every check here is mechanical, and none of it requires special tools.
Quick Answer: The Smith machine wear points that fail first are the carriage bearings or bushings, then the guide rails, then the cables, pulley sheaves, and locking pins. Inspect all four areas monthly, replace bearings and cables as consumables, and treat a bent rail or cracked weld as a stop use condition.
Key Takeaways
- Wear order: Carriage bearings or bushings are the first Smith machine wear points to show symptoms, followed by guide rails, cables, pulley sheaves, and locking pins.
- Symptom to watch: Clicking or grinding at the same point on every rep means the bearing race is contaminated or indented, not merely dry.
- Consumable or structural: Bearings, cables, pulley sheaves, and pins bolt on and can be replaced, while a bent guide rail or a cracked weld cannot.
- Monthly routine: RitFit advises wiping the rails and inspecting cable routing monthly, with light bearing lubrication only when travel feels rough.
- Used machine rule: Worn consumables are a price negotiation and structural damage is a walk away, so inspect the frame before you inspect the bearings.
Which Smith Machine Parts Wear Out First?
Smith machine parts wear out in a predictable order, and the carriage bearings that ride the guide rails go first. Those bearings see the highest cycle count, so they lose smoothness long before the frame does. Cables, pulley sheaves, and locking pins follow because they cycle with every rep.
| Wear point | First symptom | Replaceable part | Usual cause |
|---|---|---|---|
| Carriage bearings or bushings | Clicking, grinding, or drag at the same point in travel | Yes | Abrasive grit past the wipers, or dried lubricant |
| Guide rails | Indent lines, scuffing, or rust near the end stops | The rail is structural, so service the carriage first | Brinelling, humidity, or harsh cleaning solvents |
| Cables and pulley sheaves | Frayed strands, creaking under load, uneven cable tension | Yes | Wear at the sheave groove and the cable end crimp |
| Locking pins and safety catches | Hooks that no longer seat cleanly in the hole | Yes | Bent pins, tired springs, burrs on the hole edges |
Wear order reflects cycle count and load path, not brand or price. Any machine that uses these five components will follow roughly the same sequence.
- Bearings before rails: A bearing is designed to be the sacrificial part, so it should fail before the rail it rides on.
- Rails fail visibly: Look for shiny scuff bands and small indent marks where the balls sit when the bar is parked.
- Cables fail quietly: A cable rarely snaps without warning, but damaged strands hide inside the sheave housing.
- Pins fail suddenly: A locking pin that sticks or misses a notch is a latching problem, not a lubrication problem.
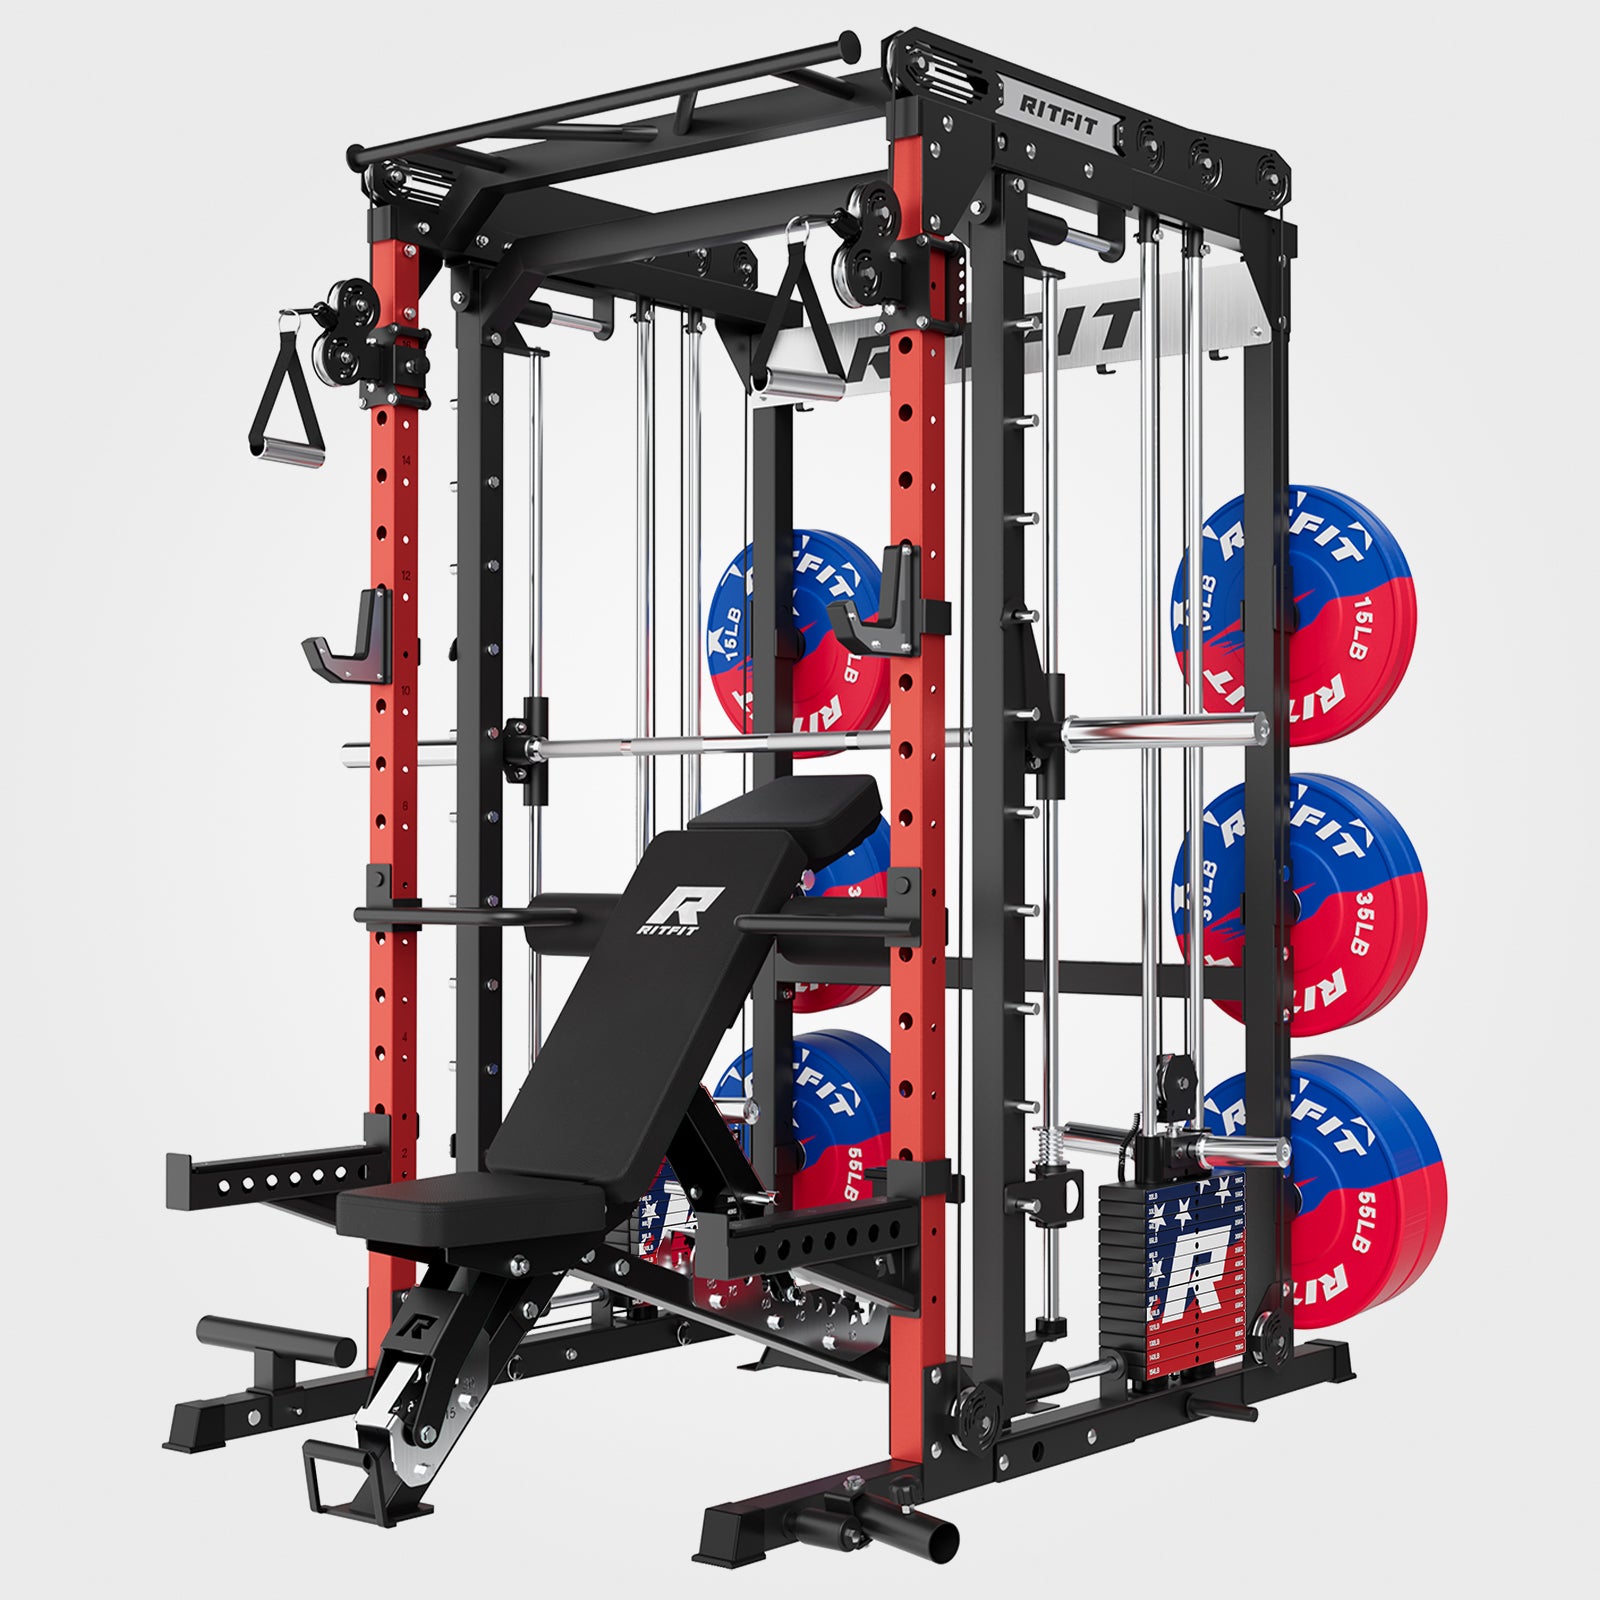
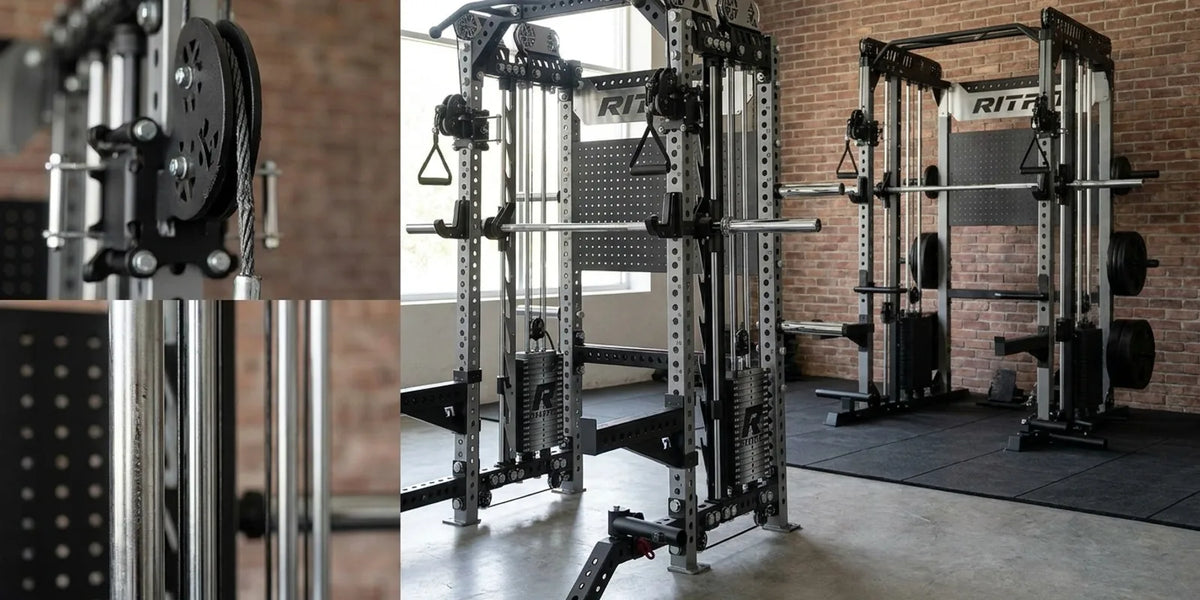
Owners who track these five items usually catch problems a full season before the machine feels bad, and the Smith machines in the current lineup all use the same serviceable architecture. The clip below shows the M1 in ordinary home use, which is the wear cycle this checklist is built around.
Smith Machine Linear Bearings vs Bronze Bushings: Which Wears Faster?
A Smith machine with linear bearings rolls on recirculating balls, while a bronze bushing machine slides along the rail, and that difference decides how each one wears.
Rolling contact feels smoother and lighter when new, but it tolerates grit poorly.
Sliding bushings run with a little more friction and wear more gradually.
- Linear bearings: Low friction and very smooth travel, but the ball circuit is the weak point when dust reaches the race.
- Bronze bushings: Higher friction and a slightly heavier feel, yet they shrug off dust that would damage a rolling element.
- Wear pattern: A linear bearing fails with a click or a rough patch, while a bushing loosens into gradual side to side play.
- Repair cost: Bearings swap as a set, and bushings are usually the cheaper part but take longer to seat properly.
Linear motion engineers describe contamination and brinelling as the leading failure modes for recirculating types, with symptoms of clicking or roughness at repeat positions, visible indent lines on the rail, and rising drag. Preload and alignment matter too, because over tightened carriages bind and sing rather than glide.[1]
RitFit builds the RitFit M1 Multi Functional Home Gym Smith Machine around a linear bearing Smith bar system rated to a 352 lb Smith capacity, so it follows the rolling element pattern rather than the bushing pattern. Machines that add horizontal travel carry extra pivots and bearings, which means more inspection points but no change to the basic rule that grit is the enemy.
How Do You Inspect Smith Machine Guide Rails and Bearings?
Inspect Smith machine guide rails and bearings by moving the carriage slowly through its full travel and feeling for any change in resistance.
Wipe the rails clean first so scuffs, indent lines, and rust become visible.
Then check that the carriage has no side to side play at either end stop.
- Step 1: Unload the bar and wipe both rails with a dry cloth so you can read the surface.
- Step 2: Run the carriage from the bottom pin to the top stop and note any point where it grabs, clicks, or slows.
- Step 3: Look for indent marks, shiny scuff bands, and rust speckling, especially near the parked position.
- Step 4: Grip the carriage and rock it side to side and front to back to feel for backlash in the bearing.
- Step 5: Check that both rails are straight by sighting along them, and confirm the frame bolts are tight.
RitFit advises wiping down the rails and inspecting cable routing once a month, then lightly lubricating the bearings only if needed. Pair that with a torque check on the frame bolts and you have covered the two things that quietly shorten machine life.[2]
The home gym assembly, safety, and maintenance guide walks through the rest of a seasonal check if you want a longer routine.
What Symptoms Tell You a Bearing or Rail Is Worn?
The clearest symptoms are a click or grind that repeats at the same point in travel, a bar that drags instead of gliding, and visible indent lines on the rail where the bearing parks. Side to side play is the other signal, and you can feel it by hand at the carriage before it ever shows up under load.
When Do Cables, Pulleys, and Pins Need Replacing?
Cables, pulley sheaves, and locking pins need replacing when inspection finds damage, not on a fixed calendar.
A cable is done when you find frayed strands or flat spots.
A sheave is done when the groove is scored or the cable jumps.
A pin is done when the bar stops latching cleanly.
| Consumable | Wear signal | Action |
|---|---|---|
| Bearings and bushings | Roughness, clicking, or free play in the carriage | Replace the bearing set, clean the rail, then relubricate lightly |
| Cables and pulley sheaves | Fraying, creaking, or erratic cable tension | Replace the cable and inspect the sheave groove for scoring |
| Locking pins and springs | The bar will not latch at a chosen height | Replace the pin and spring, then deburr the hole edges |
| Frame, welds, and guide rails | Cracks, bends, or deep pitting | Stop using the machine and contact the manufacturer, because this is not a bolt on fix |
Consumables are the parts a manufacturer expects to sell you again. Structural parts are the ones no service kit should be asked to solve.
- Run the cable through your hand: Frayed strands catch on a glove long before they are visible from a distance.
- Listen under load: A creak at the top of the range usually points at the sheave, not the cable.
- Check both sides: On a 2:1 system the two cable runs should feel identical, so compare, do not guess.
- Replace in pairs: Cables and sheaves wear together, so replacing one without inspecting the other wastes the fix.
The cable side of a Smith machine is worth understanding properly, so it helps to know pulley ratio and why aluminum pulleys are the common choice for home cable systems. If you are replacing handles or attachments rather than the cable itself, browse cable machine attachments instead.
Will a RitFit Smith Machine Hold Up Over the Years?
A RitFit Smith machine is built to hold up across years of home use, and its published frame rating and split warranty mark out the wear parts.
The frame is the part you never service, and everything that moves is designed to be swapped.
That split is what makes long term ownership predictable.
- Durability: RitFit publishes a 1,600 lb frame capacity on 2 x 2 inch 14-gauge steel for the M1 PRO, which is the spec that matters when you load the Smith bar heavily for years.
- Warranty: RitFit covers the frame and welding for 3 years and bolts and pulleys for 1 year, so the coverage map matches the wear map.
- Service plan: Because bolts and pulleys carry their own shorter coverage, RitFit treats them as service items rather than structural parts, which is exactly what you want from a machine you plan to keep.
- Versatility: One footprint carries a Smith bar, a cable crossover, and a rack, so a single inspection routine protects three training stations.
- Value: A machine whose wear parts are replaceable keeps its value, because a buyer is pricing consumables rather than a whole unit.
RitFit publishes that 1,600 lb frame capacity for the M1 PRO weight stack package, and the same serviceable architecture carries across to a rack based platform in the M3 Power Rack Cable Crossover Smith Machine. Either way, the annual inspection list stays the same.
Does the RitFit M1 Smith Machine Use Standard Replacement Parts?
The RitFit M1 Smith Machine uses model specific parts rather than a generic universal kit, so you order by machine model instead of by size. RitFit lists compatible add ons such as the 264 lb weight stack set and its attachment range under the M1 family, and the separate warranty on bolts and pulleys confirms those items are serviceable.
Third party reviewers have taken the same long view of this frame, and the clip below covers what changed in the M1 2.0 revision.
"Few pieces of equipment in the home exercise industry are as comprehensive and versatile as this all-in-one gym system. The robust system provides a natural, centered bar path for compound lifts like squats, presses, and rows, and incorporates a dual cable crossover station with a full rack of precision-engineered attachments."
Tom Eskey, CF-L1, CPT, Home Gym Equipment Reviewer, Garage Gym Revisited, RitFit M1 Multi Functional Smith Machine Review
"This smith machine is amazing. Everyone uses it. The ease of going from 1 excesize to the next is great. The weight storage is great. You don't need an extra rack to store the weights. The size was perfect for the location in our home. Thank you for making a great smith machine"
Linda R. Verified Buyer, RitFit M1 PRO Smith Machine Home Gym Package Comprehensive All-In-One Workout System
How Do You Check a Used Smith Machine Before You Buy?
Check a used Smith machine by testing the structure first and the consumables second, because that order tells you whether the machine is worth repairing at all.
Run the carriage, inspect the cables, and look hard at the welds and rail ends.
Then price the parts you expect to replace.
- Step 1: Sight along both guide rails for bends, kinks, or a repaired section.
- Step 2: Inspect every weld at the upright and base joints for cracks, rust bleed, or fresh paint over a repair.
- Step 3: Run the carriage the full length of travel and feel for clicks, drag, or side play.
- Step 4: Pull each cable through a gloved hand and look for fraying near the crimp.
- Step 5: Spin each pulley sheave and listen for a dry bearing rumble.
- Step 6: Latch the bar at three heights to test the locking pins and safety catches.
- Step 7: Check the weight stack guide rods and the carriage for looseness.
- Step 8: Confirm the model number so you can look up whether parts are still sold for it.
A worn bearing set is a weekend job and a strong negotiating point, while a bent rail or a cracked weld ends the conversation. If you are still deciding whether the category fits your training, the is a Smith machine worth it guide covers the wider buying question.
Common Mistakes That Shorten a Smith Machine's Life
The most common mistakes are over lubrication, harsh cleaning, and ignoring a symptom until it becomes damage.
Grease that collects dust turns into grinding paste inside a bearing.
Solvent based cleaners strip rail protection.
Small clicks become scored rails when nobody checks them.
- Over greasing: Excess lubricant traps dust, and dust is what indents a bearing race.
- Harsh solvents: Degreasers strip the protective film from rails and leave bare steel to rust.
- Ignoring the first click: A rough patch becomes a scored rail once the bearing surface is marked.
- Loose frame bolts: A frame that shifts moves the carriage out of alignment, which is what actually kills bearings.
- Storing damp: A humid garage pits rails, and pitting cannot be polished out of a load bearing surface.
- Skipping the cable: A cable is the one part that can fail without a long warning, so it deserves the closest look.
When Should You Stop Using the Machine and Order Parts?
Stop using the machine the moment you find a cracked weld, a bent guide rail, a kinked frame member, or a cable with broken strands, because none of those are user serviceable. For everything else, order the part and keep training on the cable station or a free weight movement while you wait.
FAQs About Smith Machine Wear Points
How often should I inspect a Smith machine for wear?
Inspect the rails, bearings, and cable routing once a month, and check cable tension before every heavy session. RitFit recommends wiping down the rails and inspecting cable routing monthly, then lubricating the bearings lightly only when travel starts to feel rough. Machines stored in humid garages need quicker checks.
What does a worn Smith machine bearing sound like?
A worn linear bearing clicks or grinds at the same spot on every rep, and the bar starts dragging instead of gliding. Linear motion engineers call the indent marks behind that noise brinelling, which usually means abrasive grit reached the bearing race. Smooth travel should feel identical from the bottom pin to the top.
Can you replace the bearings on a Smith machine?
Usually yes, because the carriage bearings, pulleys, and cables bolt on rather than being welded into the frame. RitFit covers bolts and pulleys under a separate one year parts warranty, which tells you those items are meant to be serviced. Order by exact machine model, not by a generic size.
How do I check Smith machine cables for wear?
Run a gloved hand along the full length of each cable and look for frayed strands, flattened spots, or rust staining near the pulleys. Then load the carriage lightly and listen for a snap or creak at the top of the range. A cable that fails inspection should be replaced before the next session.
Should I lubricate Smith machine guide rails?
Lubricate sparingly and only when travel feels rough, because excess grease collects dust that turns into abrasive paste inside a linear bearing. Wipe the rails clean first, then apply a light film of manufacturer approved lubricant. RitFit advises light lubrication of the bearings when needed rather than a fixed monthly schedule.
Is a used Smith machine with worn bearings worth buying?
It can be, if the frame, welds, and uprights pass inspection and only the consumable parts are worn. Bearings, cables, and pulleys are the cheapest items to replace, while a bent guide rail or cracked weld is a walk away signal. Price the parts before you agree.
Conclusion
Smith machine wear points are predictable, which is exactly what makes them manageable. Check the bearings, rails, cables, and pins once a month, replace consumables when inspection finds damage, and a home Smith machine will feel the same in year five as it did in month one.
Start with the five minute version this week: wipe the rails, run the carriage, and pull each cable through a gloved hand. When a part does need replacing, order it by machine model, and check the RitFit discount guide before you buy.
Disclaimer
This article covers mechanical inspection and maintenance only and does not provide medical advice, diagnosis, or treatment. If you are injured or unsure whether you should train, consult a qualified healthcare professional before using this or any strength equipment.
References
1. Armoloy of Illinois. Linear Bearings, Types, Selection, Failures, and Fixes. Armoloy Technical Library. Accessed September 22, 2026.
2. RitFit. M1 PRO Multi Functional Smith Machine with Cable Crossover System and Squat Rack for Home Gym, specifications and maintenance notes. RitFit Sports. Accessed September 22, 2026.