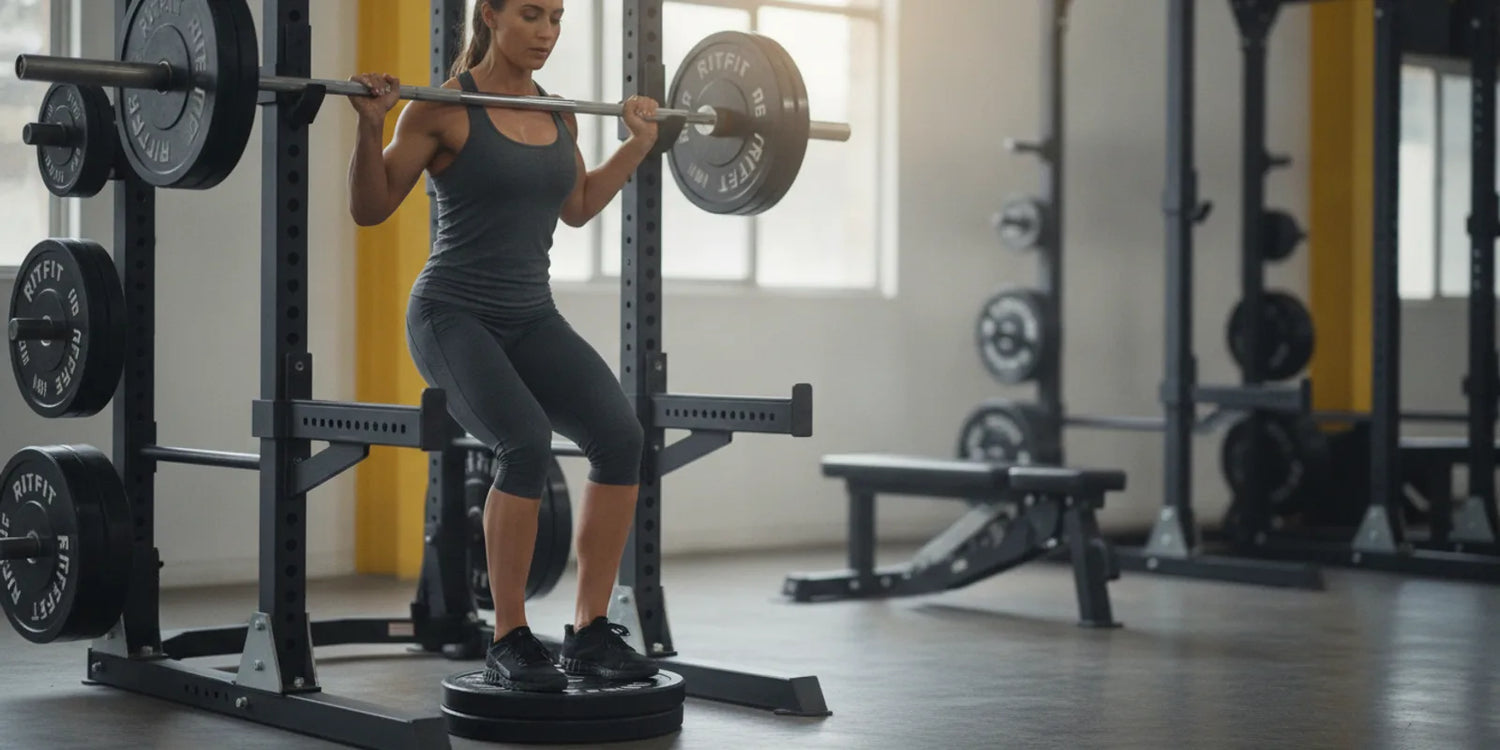
Calf raises with a squat rack give you a true standing calf raise without a dedicated machine. By using your rack's J-cups, a calf block, and the upright for balance, you can load your calves heavily, work through a full range of motion, and drive consistent gastrocnemius growth.
This guide covers every step of the setup, proper technique, science-backed programming, and the best variations you can do directly in your power rack or squat rack.
Quick Answer: To do calf raises with a squat rack, place a calf block inside the rack, set the barbell on J-cups at shoulder height, unrack it across your traps, stand on the block with heels hanging off, lean lightly against the upright for balance, and perform full-range ankle plantarflexion for 3 to 4 sets of 10 to 20 reps.
Key Takeaways
- No machine needed: A squat rack, barbell, and calf block fully replicate a standing calf raise machine and allow for heavy progressive overload.
- Lean into the upright: Pressing your torso lightly against the rack eliminates balance concerns and lets you focus entirely on calf contraction.
- Stretch position is critical: A 2-second pause at the bottom with heels fully dropped below the platform drives the greatest hypertrophic stimulus.
- Standing beats seated for gastrocnemius growth: A 2023 study found standing calf raises produced up to 12.4% lateral gastrocnemius volume growth versus 1.7% for seated over 12 weeks.[3]
- High reps work just as well as low reps: Calf hypertrophy responds similarly to both 6-10 and 20-30 rep ranges when effort is high, so choose the rep range that allows the best technique.
What You Need to Do Calf Raises on a Squat Rack
Performing calf raises on a squat rack requires minimal extra equipment beyond what most home gyms already contain. The rack itself provides the barbell loading, safety structure, and the upright for balance support during each set.
Required Equipment
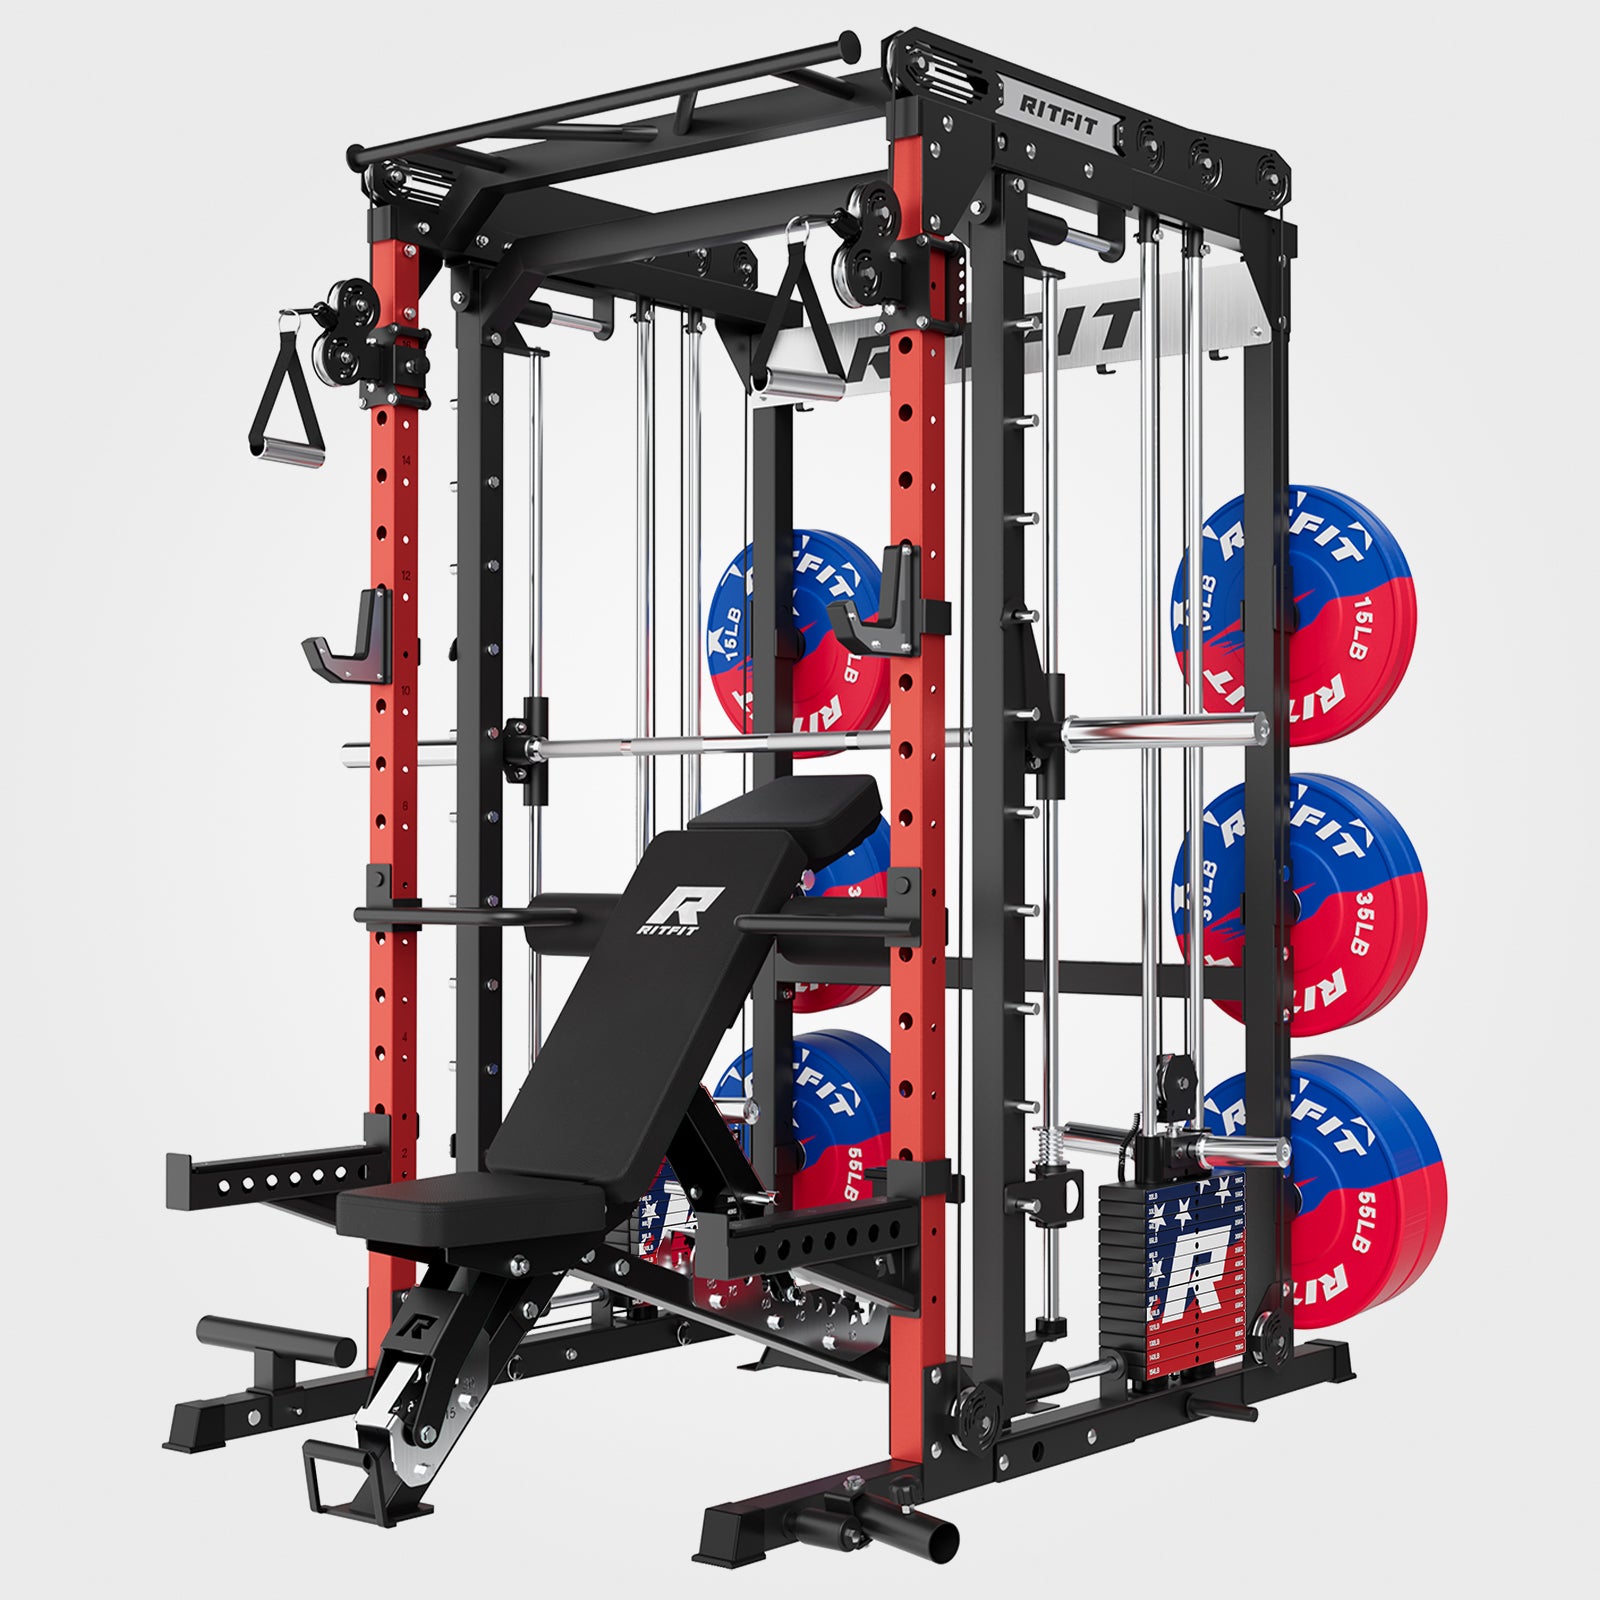
The essential items for this setup are a squat rack or power rack, a standard barbell, weight plates, and a calf block or elevated platform.
- Squat rack or power rack: Any rack with adjustable J-cups works. A power rack vs squat rack comparison shows both accommodate this exercise well, though a full cage offers extra safety rails.
- Barbell and weight plates: A standard 45 lb Olympic barbell plus plates. Start lighter than you think you need to dial in technique before adding load.
- Calf block or elevation platform: A 2-inch to 4-inch wooden block, a bumper plate laid flat, or a dedicated calf raise block. This elevation lets heels drop below forefoot level for a full loaded stretch.
- Flat training shoes or bare feet: Avoid thick-soled shoes that compress underfoot and reduce proprioceptive feedback during the movement.
Optional additions include rack attachments that expand your lower-body training options beyond the basic calf raise setup.
Set the J-cups so the barbell sits slightly below shoulder height when you stand on the calf block, allowing you to unrack cleanly with an upright torso and straight back.
- J-cup height: Aim for the bar to sit roughly 1 inch to 2 inches below your natural shoulder height when standing on the block. Too high forces you onto tiptoes to unrack; too low creates unnecessary strain on the descent.
- Safety bar position: Set safety pins a few inches below your natural standing height as a backup. For lighter calf work, some lifters skip safeties, but pins are recommended when loading heavily.
- Calf block placement: Position the block 4 to 5 inches behind the uprights so you can lean forward into the rack naturally during each rep without your toes hitting the base.
Understanding squat rack dimensions helps you confirm there is enough interior depth to fit the block comfortably without crowding the frame.
How to Set Up for Barbell Calf Raises: Step by Step
The squat rack calf raise setup takes about two minutes once you know the exact sequence and produces a stable, repeatable position for every working set.
- Step 1: Place the calf block 4 to 5 inches behind the rack uprights. Secure it with a heavy dumbbell or kettlebell in front to prevent sliding during the set.
- Step 2: Adjust J-cups to the correct height and load the barbell with your working weight. Keep the load symmetrical on both sleeves.
- Step 3: Step onto the calf block with the balls of your feet on the edge and heels hanging off. Your feet should be approximately hip-width apart with toes pointing forward.
- Step 4: Duck under the bar and position it across your upper traps, the same placement used for a back squat. Grip the bar with both hands just outside shoulder width.
- Step 5: Unrack by rising onto the balls of your feet, step back minimally (the block is already positioned), and lean your torso lightly against the rack upright.
- Step 6: Squeeze your shoulder blades together, brace your abs, and keep your knees fully extended with just a slight soft bend to protect the joint.
Calf raise strength correlates with reactive force production in athletic movements,[1] so treating this setup with the same care you give a squat pays dividends well beyond aesthetics.
Proper Calf Raise Form on a Squat Rack
Correct barbell calf raise form centers entirely on controlled ankle plantarflexion through a full range of motion, with the knees staying extended and the torso braced and upright throughout each rep.
Muscles Worked
The standing barbell calf raise primarily targets the gastrocnemius, which forms the two-headed visible shape of the calf, with the soleus providing secondary support throughout the movement.
- Gastrocnemius (primary): A biarticular muscle crossing both the ankle and knee joints. Its knee-extended position during standing raises places it in a lengthened, maximally activated state during each plantarflexion rep.
- Soleus (secondary): Located beneath the gastrocnemius. The soleus is primarily a slow-twitch, endurance-oriented muscle that benefits from higher rep ranges and consistent progressive loading.
- Tibialis anterior (stabilizer): Engages during the eccentric (lowering) phase to control the descent and protect the ankle joint under load.
Execution: The Full Range of Motion
Each rep should travel from a deep heel drop below the platform to a full peak contraction at the top, with deliberate control through both phases.
- Starting position: Let your heels drop as far as comfortable below the level of the platform. This loaded stretch is where gastrocnemius growth potential is highest.
- Concentric phase: Drive through the balls of your feet and extend the ankle as high as possible, aiming to get your heels well above the platform height. Push into the rack upright as you rise to maintain stability.
- Peak contraction: Hold the fully raised position for 1 second, actively squeezing the calf muscles at the top before beginning the descent.
- Eccentric phase: Lower your heels slowly over 2 to 3 seconds, resisting gravity rather than dropping quickly. Control in this phase significantly increases time under tension.
The 2-Second Stretch Pause and Why It Matters
Pausing for 2 seconds at the bottom of each rep with heels fully dropped creates a loaded stretch that maximizes mechanical tension on the gastrocnemius fibers.
- Avoids bounce momentum: A controlled pause eliminates the elastic energy stored in the Achilles tendon, forcing the calf muscles to generate force from a dead stop.
- Increases time under tension: Adding a 2-second bottom pause and a 1-second top hold turns a 1-second rush into a 5-plus-second rep, meaningfully increasing hypertrophic stimulus per set.
- Reduces Achilles overload: Smooth, controlled transitions at the stretch position protect the Achilles tendon better than rapid bouncing reps under load.
For a visual walkthrough of the full technique, this tutorial demonstrates the barbell calf raise with proper tempo and range of motion:
Compare this approach with the alternative in our guide to how to do Smith machine calf raises to understand the balance and stability differences between the two setups.
Why Standing Calf Raises Beat Seated for Gastrocnemius Growth
Standing calf raises produce significantly greater gastrocnemius hypertrophy than seated variations because the knee-extended position places the gastrocnemius at a longer muscle length, increasing its activation and mechanical tension during plantarflexion.
- Biarticular advantage: The gastrocnemius crosses both the ankle and knee joints. Training it in a knee-extended (standing) position keeps it in a stretched, lengthened state where it generates more force and receives a stronger hypertrophic signal per rep.
- Research evidence: A 2023 study published in Frontiers in Physiology found that standing calf raises produced 12.4% lateral gastrocnemius volume growth and 9.2% medial gastrocnemius volume growth over 12 weeks, compared to only 1.7% and 0.6% respectively for seated calf raises, large effect sizes (Cohen's d = 0.88 to 1.58).[3]
- Soleus is similar between conditions: Both standing and seated variations produced comparable soleus growth in the same study, so adding seated raises is worthwhile if you want dedicated soleus development.
- Squat rack advantage: Because the rack allows you to maintain a fully extended knee under a loaded barbell, it delivers the same mechanical advantage as a dedicated standing calf raise machine.
This mechanical principle also explains why the hack squat rack attachment guide matters when planning a lower-body training system around a single rack.
Squat Rack Calf Raise Variations
The squat rack supports several calf raise variations that target different muscle heads, increase difficulty, or shift emphasis between the gastrocnemius and soleus without requiring any additional machines.
Single-Leg Barbell Calf Raise
The single-leg barbell calf raise doubles the load on each calf by supporting the full barbell weight on one foot at a time, making it significantly more demanding than the bilateral version.
- How to execute: Perform the standard setup, then shift weight onto one foot and cross the other ankle behind. Lower through a full stretch and drive to peak contraction on the working leg only.
- Best for: Addressing left-right strength imbalances, improving single-leg stability, and progressing once the bilateral version becomes easy with moderate load.
- Safety note: Use a lighter total barbell load than bilateral work. The instability is substantially higher, so keep one hand lightly touching the upright throughout.
For a progression sequence, see our guide on single-leg calf raises for stronger calves.
Toes-In and Toes-Out Variation for Head Emphasis
Rotating foot position during squat rack calf raises shifts emphasis between the two heads of the gastrocnemius, which one guide notes can help address visible calf symmetry imbalances.
- Toes in (internally rotated): Turning toes slightly inward emphasizes the lateral head of the gastrocnemius. The lateral head is typically smaller and underdeveloped in most lifters.
- Toes out (externally rotated): Pointing toes slightly outward shifts more activation toward the medial gastrocnemius head for balance between the inner and outer calf contours.
- Neutral (toes forward): The default position activates both heads approximately equally and is the best choice for general calf development when no imbalance exists.
Slow-Tempo Pause Calf Raise
The slow-tempo variation uses a 3-second eccentric, a 2-second bottom pause, and a 1-second top hold to maximize time under tension and intensify the stretch-mediated hypertrophic signal.
- Load adjustment: Reduce barbell weight by 20% to 30% when switching to slow tempo. The added time under tension creates a training stimulus that more than compensates for the lower absolute load.
- Rep count: 6 to 10 reps per set is sufficient with this tempo. More than 10 reps at full slow tempo becomes very challenging and risks form breakdown late in the set.
- When to use it: Include 1 slow-tempo set as the final set of a calf training session, after completing heavier standard-tempo sets, for a targeted intensification technique.
"The results also indicate that the triceps surae muscles respond robustly to regimented exercise, and the associated adaptations are independent of load used in the training program provided that sets are performed with a high level of effort."
Brad Schoenfeld, PhD, CSCS, Professor of Exercise Science, CUNY Lehman College, Calves Do Respond to Strength Training ↗
How to Program Calf Raises on a Squat Rack
Effective calf programming on a squat rack follows simple principles: consistent effort, full range of motion, and gradual progressive overload applied two to three times per week.
Sets, Reps, and Load Selection
Begin with 3 sets of 15 to 20 reps using a weight that makes the final 3 to 4 reps genuinely difficult, then build volume and load over time as strength improves.
- Beginner starting load: An empty barbell (45 lb) is appropriate for the first session while learning setup and technique. Many lifters are surprised how difficult controlled reps feel with no added weight initially.
- Rep range flexibility: According to Schoenfeld's research, calves respond similarly whether trained with high or low rep ranges provided sets are performed with high effort, so choose the rep range that allows the cleanest technique and deepest stretch.
- Inter-set loaded stretch: A study found that adding a 20-second loaded stretch between sets may enhance soleus growth over 8 weeks of training.[2] Holding a light calf stretch on the block between sets costs no extra time and may accelerate lower leg development.
- Rest between sets: 60 to 90 seconds is sufficient for lighter sets of 15-plus reps. Take 90 to 120 seconds for heavier sets of 8 to 12 reps.
Training Frequency and Progressive Overload
Calves recover faster than larger muscle groups, making two to three sessions per week the most productive approach for consistent hypertrophy over time.
- Frequency: Train calves 2 to 3 times per week on non-consecutive days. The soleus, being primarily slow-twitch, recovers quickly and benefits from frequent stimulus.
- Volume progression: Start at 3 sets per session and add 1 set every 2 to 3 weeks until you reach 5 to 6 sets per session across all calf exercises combined.
- Pairing: Calf raises fit naturally at the end of a leg day or as a standalone accessory movement after any lower-body session. Avoid placing them before squats or deadlifts where calf fatigue could compromise ankle stability.
When to Add Weight
Add weight to the barbell when you can complete all target reps in all sets with full range of motion, a controlled 2-second eccentric, and the 2-second bottom pause for two consecutive sessions.
- Increment size: Add 5 lb to 10 lb per progression. Calf exercises are sensitive to form breakdown under excessive load, so smaller jumps preserve technique longer.
- Deload signal: If the bottom stretch shortens noticeably or you begin bouncing to initiate reps, the load is too heavy. Drop back 10% and rebuild with full range of motion before progressing again.
Explore the RitFit AT03 Belt Squat Attachment as a complement to barbell calf work for added lower-body training variety, or the RitFit AT02A Hack Squat Rack Attachment for hack squat and alternative lower-body loading patterns on the same rack.
Common Mistakes and How to Fix Them
Most calf training errors on the squat rack share the same root cause: prioritizing load over technique, which consistently produces worse results than lighter weight with a full range of motion and controlled tempo.
- Bouncing at the bottom: The most common mistake. Dropping into the stretch and immediately springing back uses tendon elasticity instead of calf muscle force. Fix: pause fully for 2 seconds at the bottom of every rep before driving up.
- Short range of motion: Limiting the movement to a small ankle travel reduces both the stretch signal and peak contraction. Fix: let heels drop as far as comfortable below the block before each rep and rise as high as possible at the top.
- Leaning too far back from the rack: Moving away from the upright forces you to balance the barbell instead of focusing on calf contraction. Fix: keep your torso in light contact with the rack throughout the set.
- Knee bending during reps: Allowing the knees to flex during the raise shifts work away from the gastrocnemius toward the soleus. Fix: keep knees extended throughout. A soft, unlocked knee is fine, but visible bending defeats the purpose of standing over seated.
- Loading too heavy too soon: Excessive load forces partial reps and momentum. Fix: perform a full set at your target weight with perfect tempo before adding load. If technique breaks before rep 10, the weight is too heavy.
- Sharp Achilles or heel pain: Any sharp, localized pain in the Achilles tendon or heel during the stretch position is a stop signal. Reduce range of motion or load immediately and consult a qualified professional before continuing.
If you are weighing alternatives for your home gym setup, our comparison of Smith machine vs squat rack and the best squat rack for small space guide can help you choose the right foundation for this and every other lower-body exercise.
FAQs About Calf Raises With a Squat Rack
Can you do calf raises on a squat rack without a calf raise machine?
Yes. Place a calf block inside the rack for heel elevation, set the barbell across your traps at shoulder height, and lean lightly against the upright for balance. This approach replicates the standing calf raise machine and supports heavy progressive overloading without any dedicated equipment.
What is the best rep range for barbell calf raises on a squat rack?
Calves respond to both high and low rep ranges when effort is high. Most coaches recommend 10 to 20 reps per set for hypertrophy, using a slow 2 to 3 second eccentric and a 2 second pause at the bottom stretch to maximize time under tension and gastrocnemius growth.
How high should the barbell be set in the rack for calf raises?
Set the J-cups so the barbell sits slightly below your shoulders when you stand on the calf block. This lets you unrack the bar with a straight back, maintain an upright torso, and access a full ankle range of motion without the bar being too high or too low for safe execution.
Do you need a calf block for squat rack calf raises?
A calf block or raised platform is strongly recommended because it allows your heels to drop below forefoot level, creating a deep loaded stretch at the bottom of each rep. Performing calf raises flat on the floor limits ankle range of motion significantly and reduces the hypertrophic stimulus for the calf muscles.
How often should you train calves with a squat rack?
Two to three sessions per week is appropriate for most lifters. Calves recover faster than larger muscle groups because the soleus is primarily slow-twitch and tolerates frequent stimulus well, so consistent effort and progressive overload two to three times per week drives the most growth over time.
Why are standing calf raises better than seated for building calves?
Standing calf raises place the gastrocnemius in a lengthened, knee-extended position that maximizes its activation. A 2023 study published in Frontiers in Physiology found standing calf raises produced up to 12.4% lateral gastrocnemius growth over 12 weeks, compared to just 1.7% for seated, a large effect difference.
Conclusion
Calf raises with a squat rack are one of the most effective and accessible ways to build bigger, stronger calves in a home gym. The combination of a barbell for loading, a calf block for heel elevation, and the rack upright for balance stability replicates a dedicated standing calf raise machine with no additional cost.
Focus on a full range of motion, a 2-second bottom pause, and consistent progressive overload two to three times per week. Explore squat rack packages to find the right foundation for your full lower-body training program.
Disclaimer
The information in this article is intended for general fitness and educational purposes only and does not constitute medical, physical therapy, or rehabilitative advice. Consult a qualified healthcare or fitness professional before beginning any new exercise program, particularly if you have existing ankle, knee, Achilles, or lower back conditions.
Save on your next RitFit order
Tap the button to copy your code, then paste it at checkout.
References
1. Ruf L, et al. Association between Sprint and Jump Performance and Maximum Strength in Standing Calf Raise or Squat in Elite Youth Soccer Players. Sports. 2024;12(4):87. doi:10.3390/sports12040087. pmc.ncbi.nlm.nih.gov/articles/PMC11054242/
2. Van Every DW, Coleman M, Rosa A, et al. Loaded inter-set stretch may selectively enhance muscular adaptations of the plantar flexors. PLOS ONE. 2022;17(9):e0273451. doi:10.1371/journal.pone.0273451. pmc.ncbi.nlm.nih.gov/articles/PMC9495960/
3. Maeo S, Nishizaki S, Yoshitake Y, et al. Triceps surae muscle hypertrophy is greater after standing versus seated calf-raise training. Front Physiol. 2023;14:1272106. doi:10.3389/fphys.2023.1272106. pmc.ncbi.nlm.nih.gov/articles/PMC10897576/