
You can do a decline bench press on a Smith machine by locking a decline bench inside the rack, anchoring your legs at the bench end, and pressing the bar along the fixed vertical rails. The rails remove the sideways drift that makes a free-weight decline press feel unstable, which is exactly why this variation fits a guided machine.
This guide covers the bench position, angle, press technique, and how the decline differs from flat and incline work. It also covers load, frequency, and when to stop a set.
Quick Answer: A decline bench press on a Smith machine works when you place a decline bench inside the rack, hook your legs under the pads, and press along the fixed rails. Set the bench to roughly 15 to 30 degrees, keep the bar over your lower chest, and treat the movement as an accessory rather than a replacement for flat pressing.
Key Takeaways
- It fits the rails: A decline press already travels close to vertical, so a Smith machine guide rail matches the movement instead of fighting it.
- Bench angle: Most lifters set the bench between 15 and 30 degrees of decline, because steeper angles shift the load toward the shoulders.
- Lower chest expectations: A 2020 study of 30 trained adults found the middle and lower portions of the pectoralis major were more active on a flat bench than on inclines, so treat the decline as a different angle rather than a proven shortcut.
- Setup rules: Anchor your legs under the pads, set the safety arms below your bottom position, and load the bar before you lie down.
- Programming: Use it as an accessory once or twice a week after your main press, and start lighter than your flat Smith machine bench press.
Can You Do a Decline Bench Press on a Smith Machine?
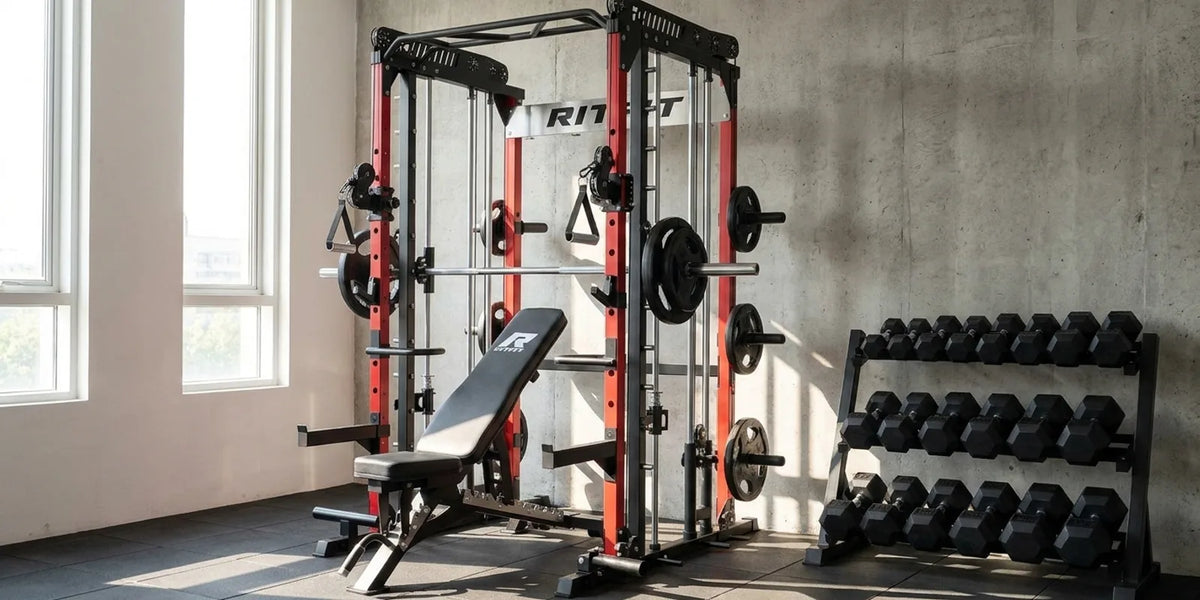
A decline bench press works on a Smith machine because the fixed rails already match the near-vertical bar path of the movement. Set a decline bench inside the frame, hook your legs under the pads at the bench end, and the bar travels straight down to your lower chest and straight back up.
- Bar path match: A decline press moves the bar close to vertical, so the guide rail does not fight your natural line of travel.
- Stability: The rails hold the bar over your lower chest, so it cannot drift toward your head or your belly the way a free barbell can.
- Solo training: The J-hooks let you rack the bar at any point, so you are not dependent on a spotter when you train alone at home.
- Bench fit: A standard decline bench sits inside a full Smith machine frame, but measure the space between the uprights before you commit to the setup.
The flat version follows the same setup logic and is worth reading first if you are new to pressing on rails. If you still wonder whether a guided bar is a compromise, the honest answer is that it changes the stability demand rather than the muscles being trained.
Read the flat Smith machine bench press guide for the baseline movement, and the breakdown of whether Smith machines are bad for bench press for the safety trade-offs.
"You only need a power rack, barbell, bench and (ideally) some dumbbells to run this program. You could replace the bench work in this program with dips, dumbbell press, smith-machine press or machine chest press."
Jeff Nippard, Science-Based Natural Bodybuilder and Powerlifter, JeffNippard.com, Powerbuilding Phase 2.0
How Do You Set Up a Decline Bench Inside a Smith Machine?
Setting up a decline press on a Smith machine takes four steps: position the bench, set the hook height, anchor your legs, and load the bar. The order matters, because the bar should already be racked and loaded before you lie back into a decline.
- Step 1, position the bench: Slide the decline bench inside the frame so your lower chest ends up directly under the bar, with the high end of the bench facing the front uprights.
- Step 2, set the hook height: Choose a hook height that lets you unrack with a short reach while your shoulder blades stay pulled back, and set the safety arms just below your bottom position.
- Step 3, anchor your legs: Hook your legs under the leg pads at the high end so your body cannot slide toward the head end during the press.
- Step 4, load and settle: Load the plates first, then lie back, set your shoulder blades into the pad, and grip the bar before you rotate it out of the hooks.
A bench with a real decline setting and a leg-hold attachment makes this far easier than a flat bench propped on blocks. Look at the adjustable benches category and the guide to choosing an adjustable bench before you buy, because a bench that locks firmly is the difference between a stable press and a moving platform.
What Decline Angle Should You Set on the Bench?
Most lifters set a decline bench between 15 and 30 degrees, because a steeper angle starts loading the shoulders instead of the chest. A shallow decline keeps the bar over the lower chest and keeps the shoulder joint in a comfortable position.
One exercise guide recommends 15 to 30 degrees and notes that a steeper angle reduces chest activation and makes unracking harder. A 15 to 20 degree decline is often described as enough to shift the emphasis without turning the setup into a head-down balancing act.
Angle research on the bench press points in the same cautious direction. A 2020 study tested five bench angles at 60 percent of one-rep max in 30 trained adults and found the middle and lower portions of the pectoralis major were more active at a flat 0 degree bench than at inclined angles, while inclinations above 45 degrees produced significantly higher anterior deltoid activity and reduced pectoralis major performance [1].
- Start shallow: Set the bench to a small decline first and judge it by how the bar sits over your lower chest, not by how dramatic the angle looks.
- Skip the steep setting: Once the head drops well below the hips, the shoulder joint carries more of the load and reracking becomes awkward.
- Write the angle down: Note the hole you use on the bench so you can repeat the same setup every session.
How Do You Grip and Press the Bar on a Smith Machine Decline Press?
Perform the Smith machine decline press by unracking to a locked-out position, lowering the bar to your lower chest, and pressing back along the rails. The rails control the path, so your job is to keep the shoulder blades set and the elbows under the bar.
- Grip: Take a grip slightly wider than shoulder width and keep your wrists stacked over your forearms.
- Bottom position: Touch the bar to the lower chest, just below the nipple line, without bouncing it off your body.
- Lockout: Press until the elbows are straight, then pause briefly before the next rep instead of rushing the descent.
- Legs: Stay hooked under the pads the whole set, because losing the anchor is how you slide toward the head end.
- Breathing: Inhale and brace before you lower, then exhale through the press once the bar clears the sticking point.
The range of motion is shorter than a flat press, so the decline feels easier at the same load even though the working muscles are the same. Browse the full Smith machine lineup if you want to compare rail systems before committing to one frame.
Decline vs Flat vs Incline Bench Press on a Smith Machine
The flat, incline, and decline angles train the same muscles but place the shoulder in different positions. The practical difference is how much load you can handle and how the movement feels at the bottom, not which angle unlocks a hidden muscle.
A 2017 study of 12 competitive bench press athletes found no significant differences in pectoralis major activation between the flat, inclined, and declined bench positions with a wide grip, although the 6RM loads were 18.5 percent to 21.5 percent lower on the incline than on the flat and declined positions [3].
Across the wider literature, a systematic review of 14 surface electromyography studies of the bench press found the pectoralis major and triceps were similarly active and both more active than the anterior deltoid, with exercise intensity mattering more than the angle itself [2].
- Flat: The baseline press, the heaviest of the three for most lifters, and the angle most chest programs are built around.
- Incline: Shifts the demand toward the upper chest and the anterior deltoid, and usually costs you load on the bar.
- Decline: Shortens the range of motion, which makes the same weight feel lighter and can suit lifters whose shoulders complain in a flat or incline position.
Treat the decline as a complement rather than a replacement. Rotating all three angles across a training block covers more positions than repeating one press every session.
Common Mistakes and Safety Limits on a Smith Machine Decline Press
The most common mistakes are a bench set too steep, a missing leg anchor, and a bar that drifts toward the neck instead of the lower chest. Each one turns a controlled press into a setup problem you have to fix mid-set.
- Setting the decline too steep: A steep angle reduces chest activation and makes unracking and reracking more dangerous inside the frame.
- Skipping the leg anchor: Without your legs locked under the pads, your body slides toward the head end and the bar no longer lands over the lower chest.
- Unracking with loose shoulders: Reaching too far for the hooks pulls the shoulder blades apart, so set the hooks where a short reach gets the bar out.
- Skipping the safeties: The safety arms exist so a failed rep stops above your chest, so set them instead of trusting a good day.
- Training through warning signs: Sharp shoulder pain, numbness in the arm, or dizziness in the head-down position are reasons to stop the set and get cleared by a professional before continuing.
If you train alone, the fixed rails plus the safety arms do most of the work a spotter would do. They do not replace good judgment about load and position.
Is the RitFit M2 Smith Machine the Best Choice for Decline Bench Press?
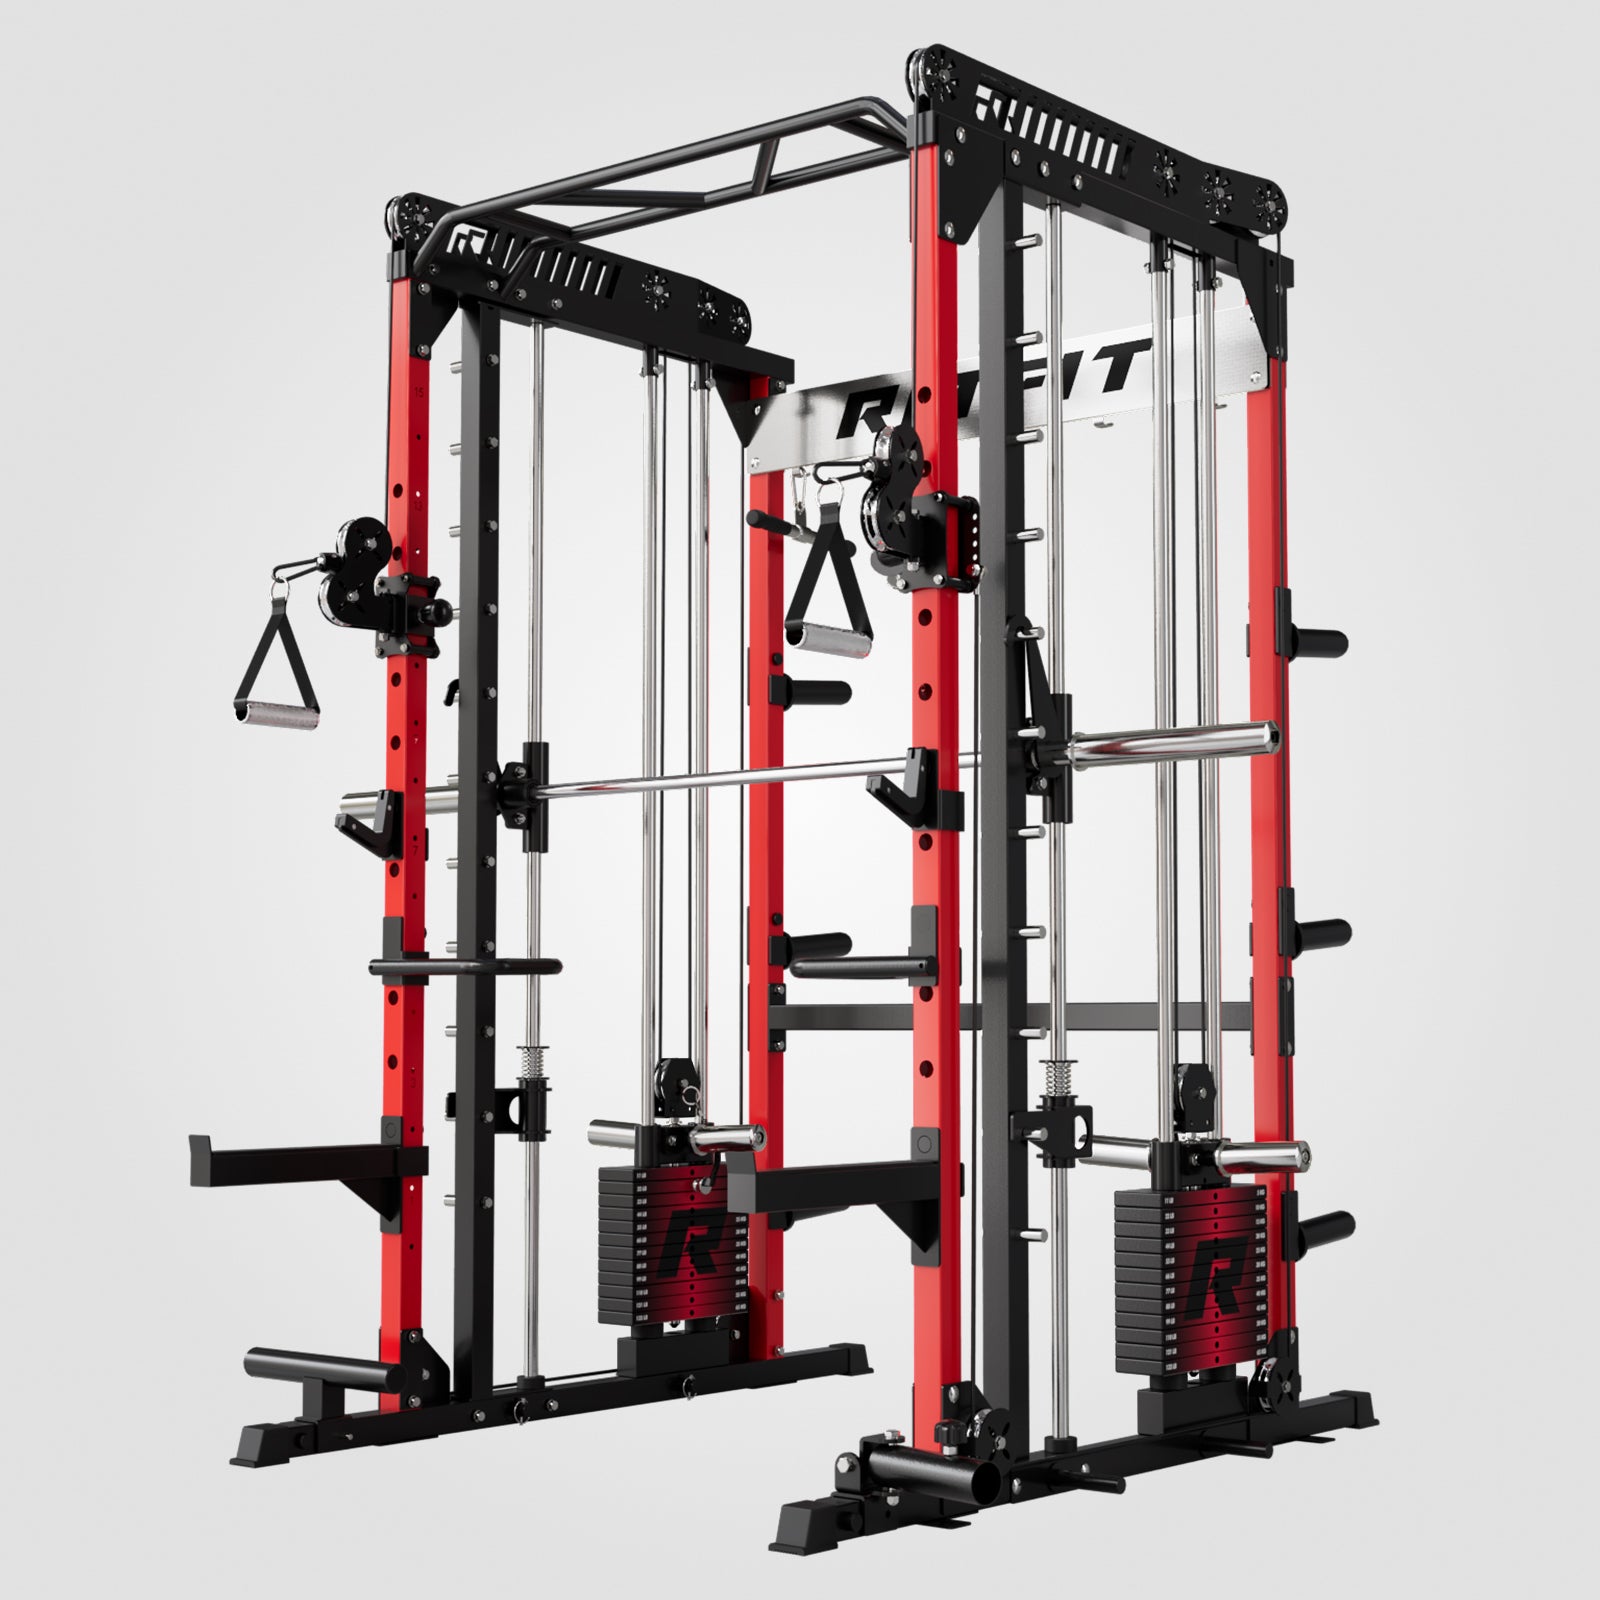
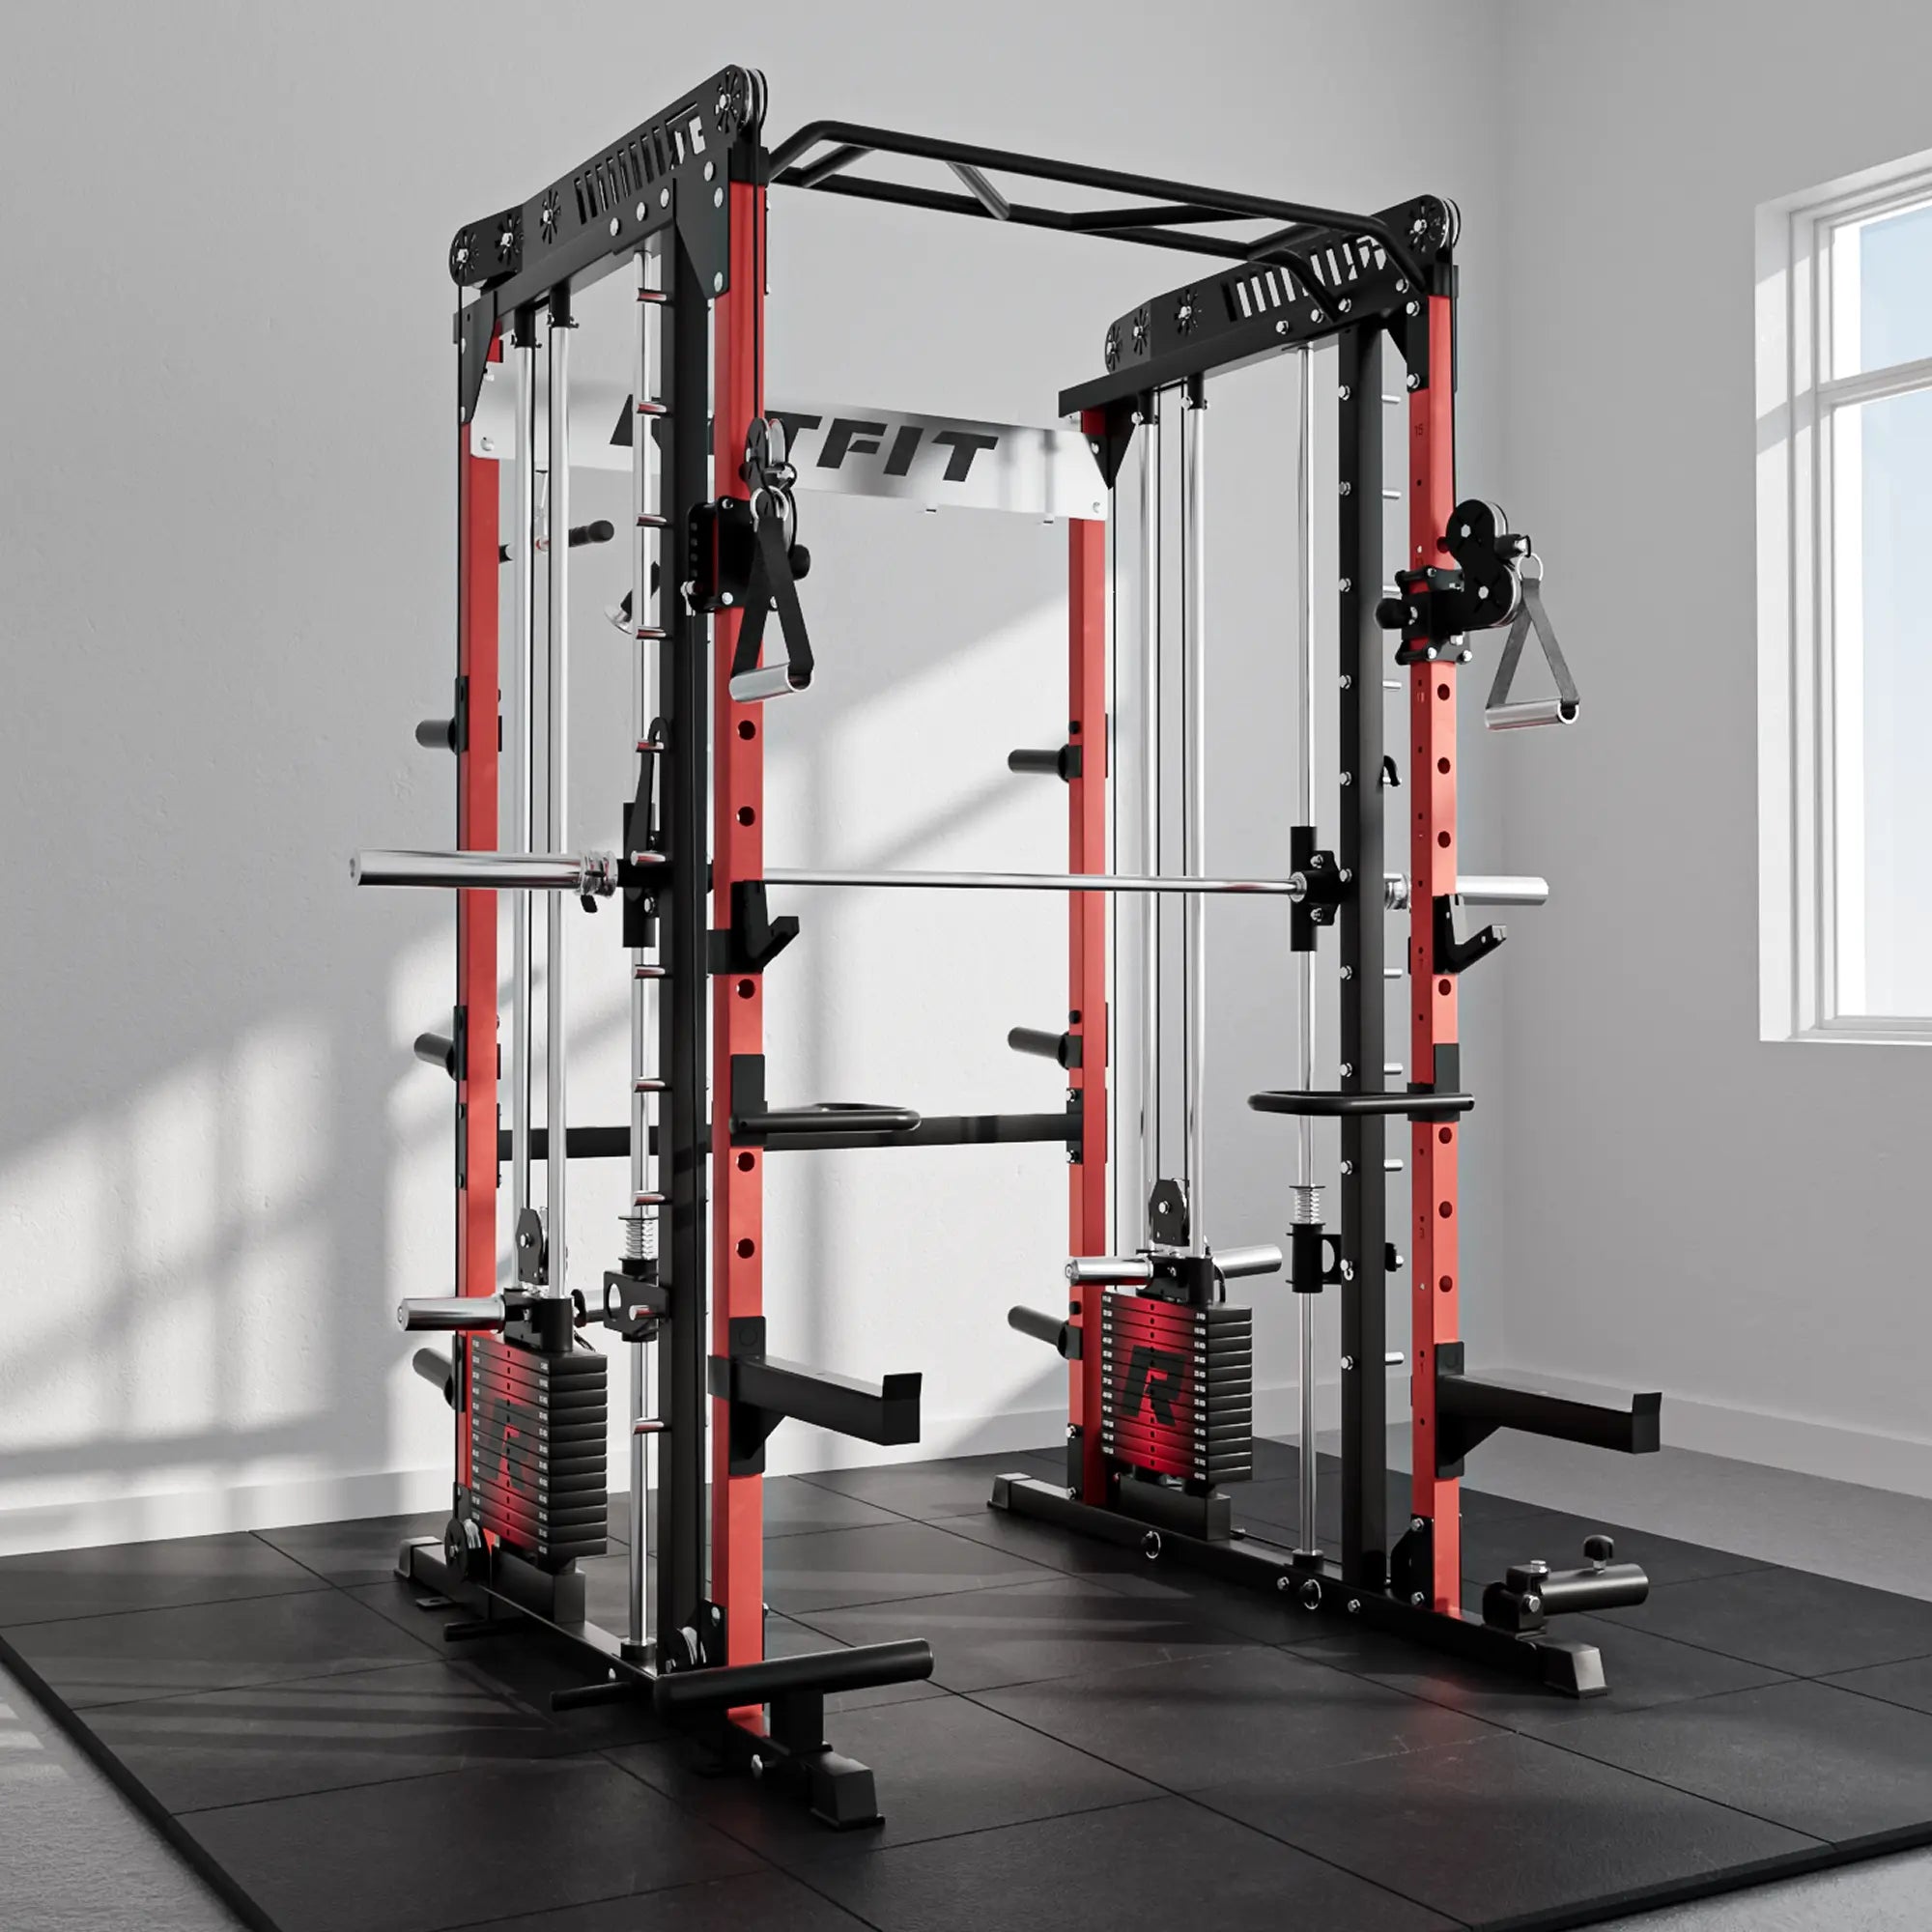
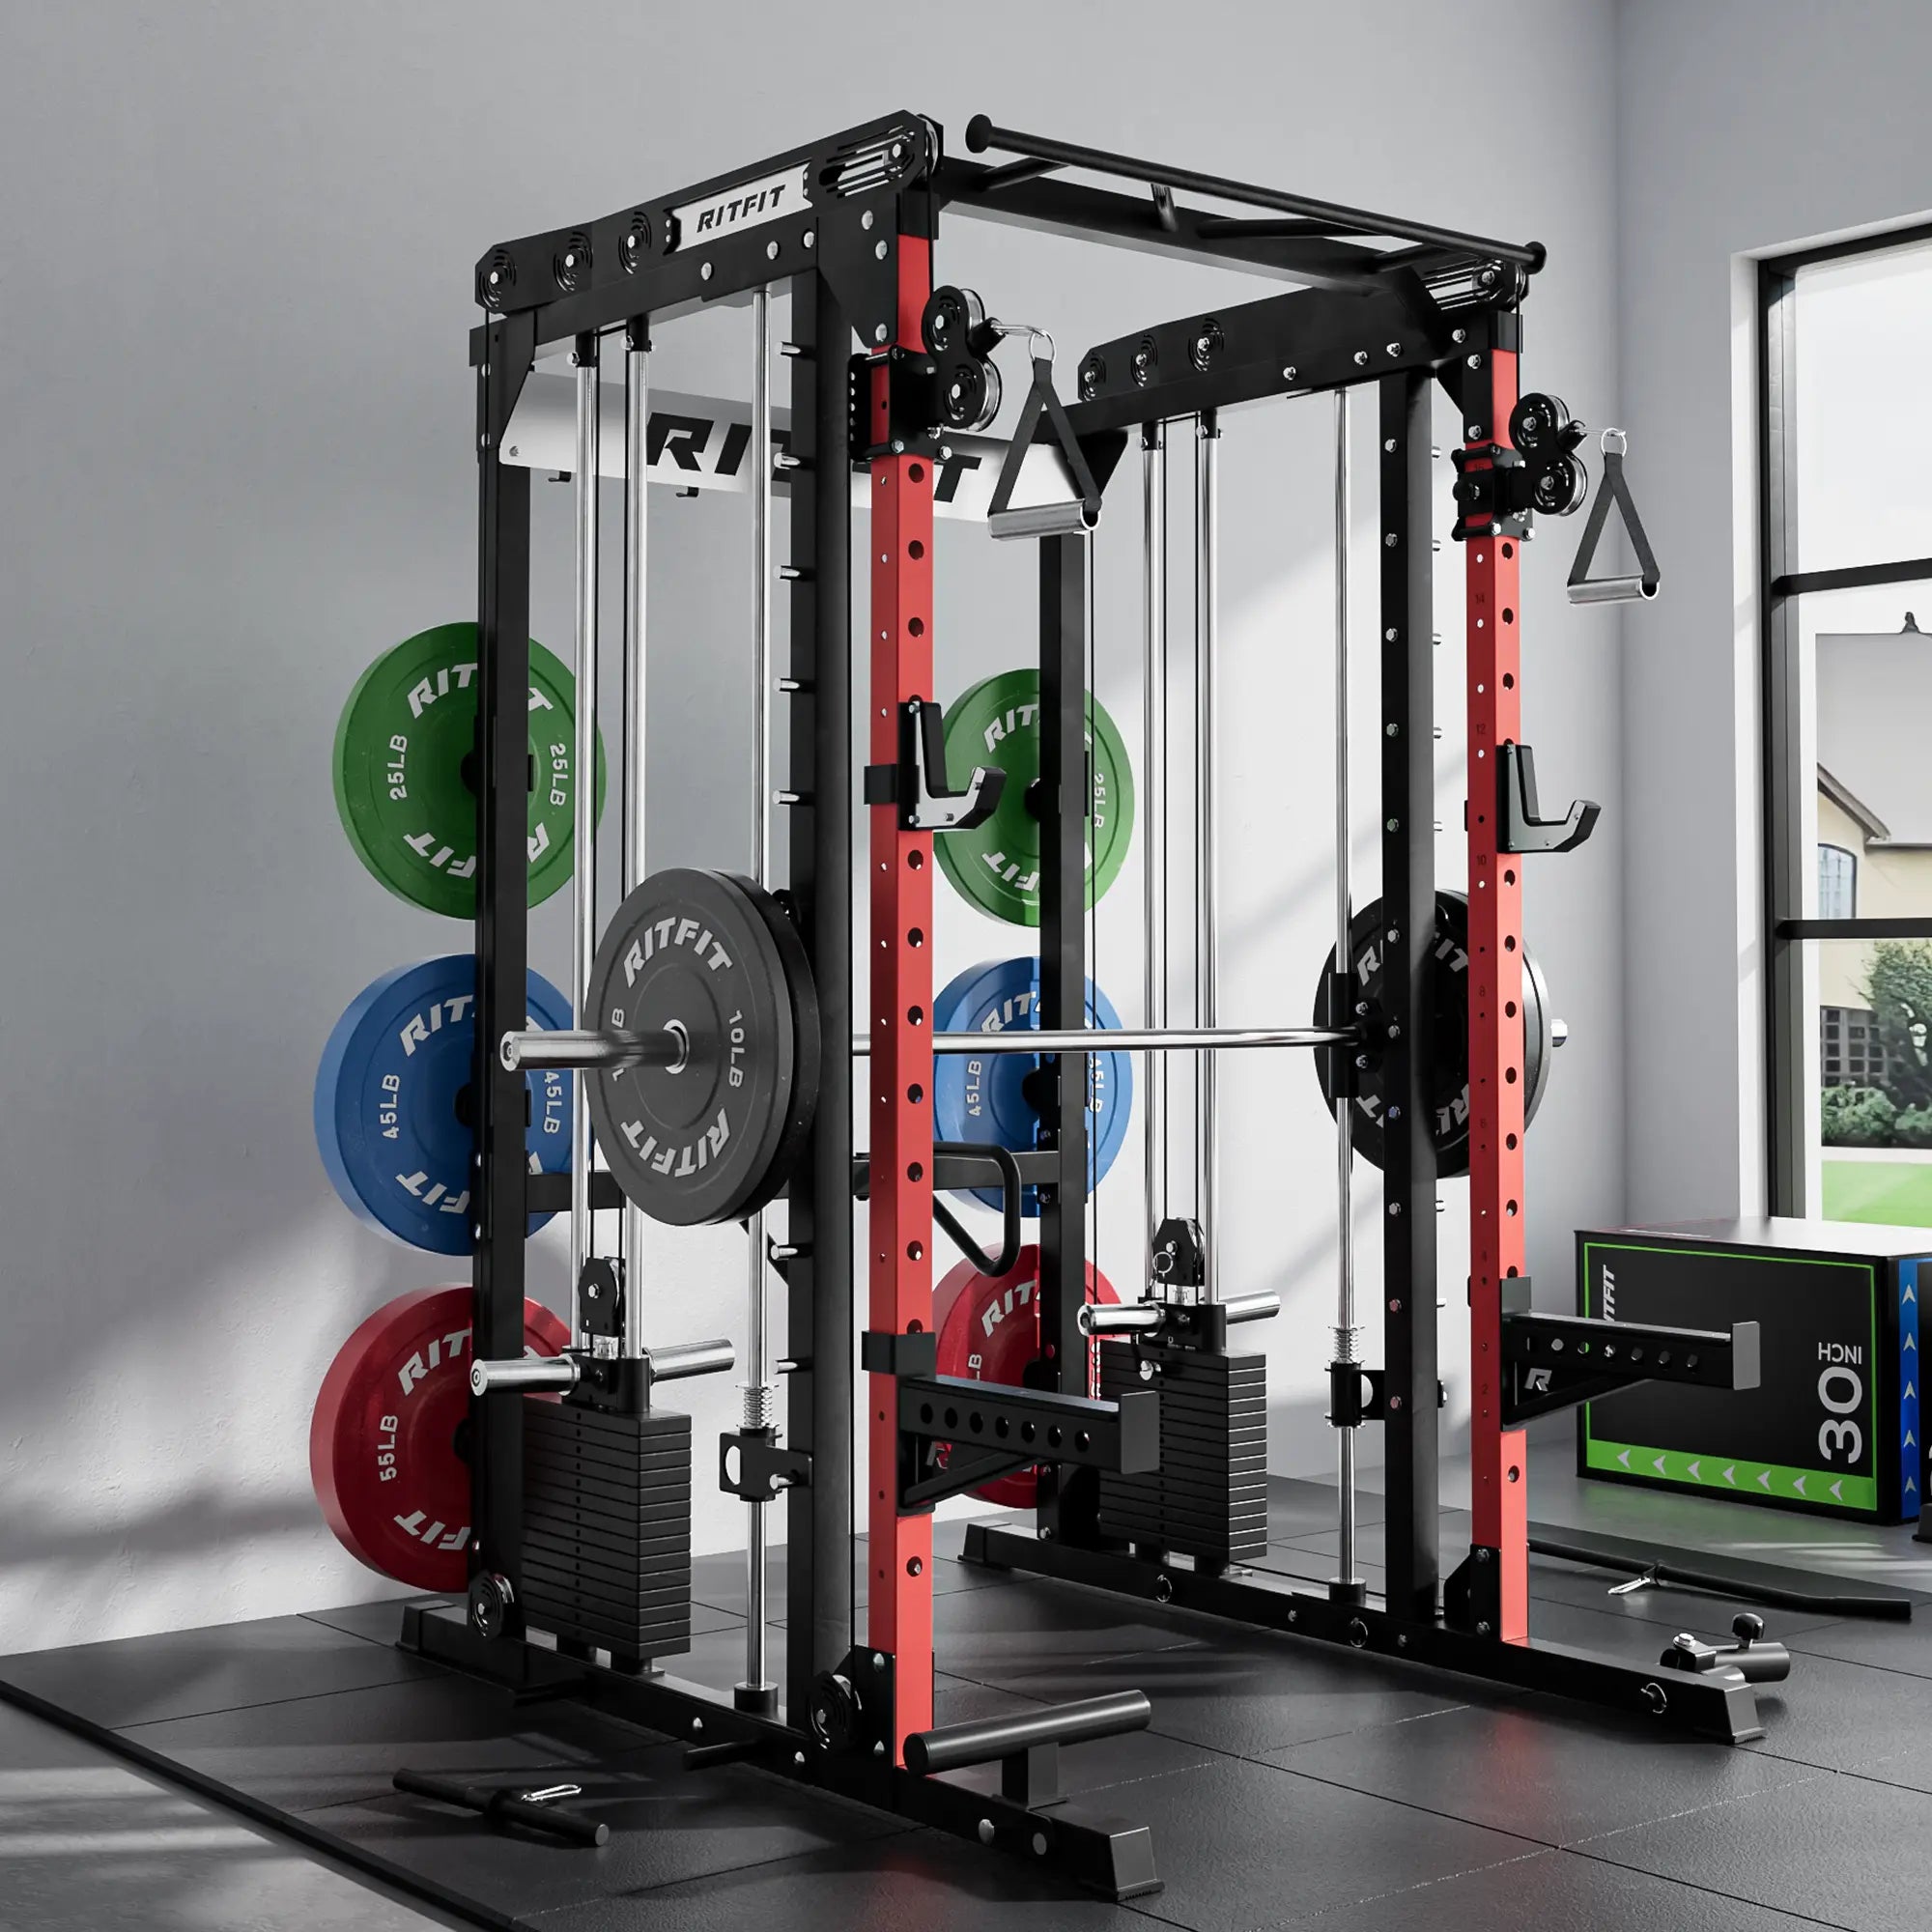
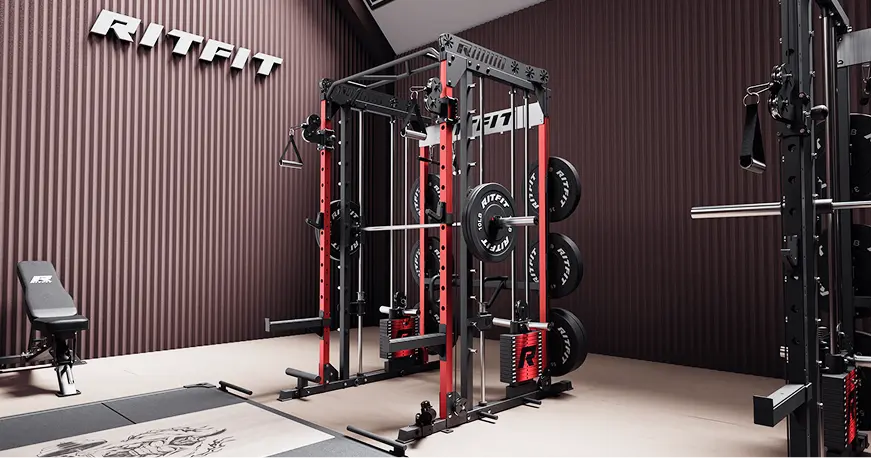
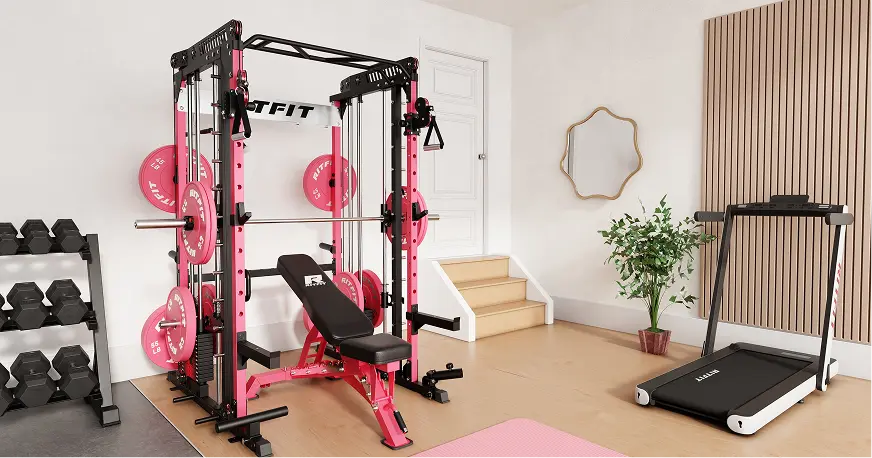
The RitFit M2 supports a decline press because it is a full rack with a Smith bar, adjustable J-hooks, and safety arms below your bottom position. The bar stays on the rails while you set up, so the bench position and hook height are the only variables you manage.
The RitFit M2 Multi-Functional Smith Machine is sold as a modular system that combines a Smith machine, power rack, cable crossover, pull-up station, low row, and landmine. For a home gym, that means a decline bench setup does not require a second rack or a separate pressing station.
- Precise bar height matters: The official page lists 16 adjustment holes on the main and fly slider uprights, which lets you fine-tune the hook height you unrack from in a reclined position.
- Safety margin: RitFit lists a 2000 lb maximum weight rating, a 660 lb safety arm static capacity, and a 330 lb J-hook static capacity on the M2, with 2.36 by 2.36 inch 13-gauge steel uprights and a 33 lb Smith bar.
- 3D movement: On the M2 3D, the bar moves vertically and horizontally, which gives you room to follow a slight natural arc during the press instead of fighting a strictly fixed line.
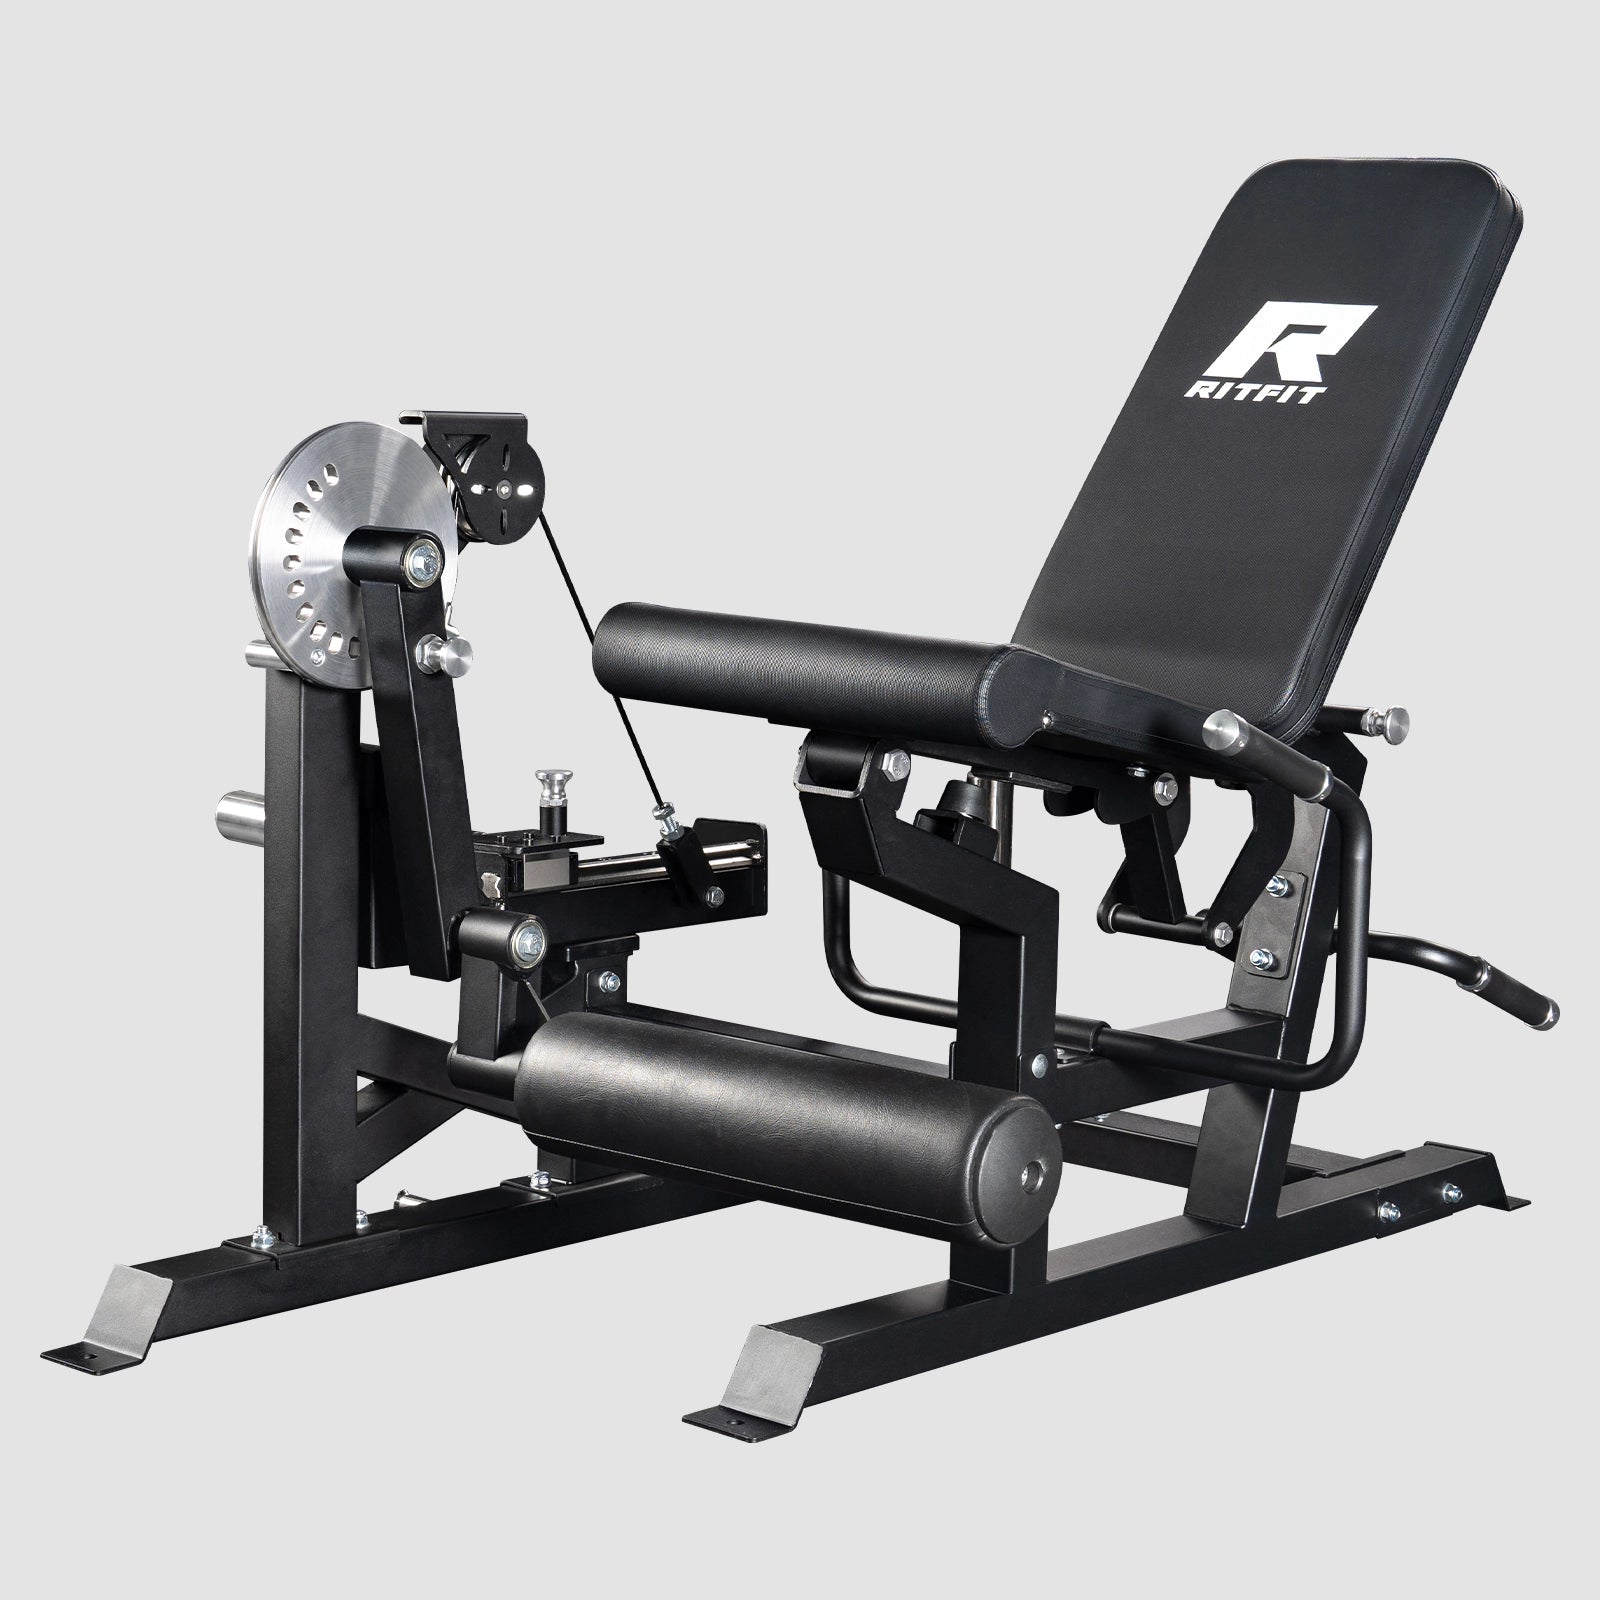
- Room to grow: Attachment modules such as the LEM2 leg extension and the LPM2 high row pulldown share the same frame, so the rack can keep pace as your training expands.
| Model | Frame capacity | Smith bar positions | Safety arm | Price on the official page |
|---|---|---|---|---|
| M2 3D | 2000 lb | 10 | 660 lb | $2,199.99 |
| M2 Pro | 2000 lb | 11 | 660 lb | $2,799.99 |
| M1 PRO | 1600 lb | 11 | 575 lb | $1,299.99 |
Specifications and prices taken from the RitFit M2 product page and its comparison chart. Confirm current pricing and configuration on the product page before ordering.
If you want the same ecosystem at a lower frame capacity, the RitFit M1 PRO Multi-Functional Smith Machine is the smaller sibling. The RitFit PSR05 2.0 Multifunctional Smith Machine covers a similar decline setup when you want lat pulldown and cable work in the same footprint.
"We love our 3d smith machine. It took me and my wife a few hours to put it together. Pretty straight forward. Great machine and products."
EVAN E. Verified Buyer, RitFit M2 Multi-Functional Modular Home Gym Smith Machine Tailored to All Fitness Levels
How Much Weight and How Often Should You Train the Decline Press?
Start lighter than your flat Smith machine bench press and add load only when every set moves with the same bar path. The shortened range of motion will let you handle more weight quickly, and that is exactly why the first few sessions should stay conservative.
One exercise guide lists hypertrophy programming for the decline bench press as 3 to 4 sets of 8 to 12 reps at 65 to 75 percent of one-rep max. That is a reasonable starting point for an accessory movement rather than a fixed rule.
- Frequency: Train the decline once or twice a week after your main press, not as the centerpiece of a chest session.
- When to add weight: Add a small increment once you complete every prescribed set with full lockout and the same control on the last rep as the first.
- When to back off: If the bar starts bouncing off your chest or your shoulders roll forward at the bottom, drop the load instead of chasing the number.
- When to rotate: If the decline stalls for several weeks, rotate back to flat or incline pressing and return to the decline later.
Heavier frames make this easier to program over years rather than months. The RitFit M3 Power Rack Cable Crossover Smith Machine is the higher-capacity option in the same family if you plan to push loads over time.
FAQs About the Smith Machine Decline Bench Press
Can you do a decline bench press on a Smith machine?
Yes. Place a decline bench inside the Smith machine frame, anchor your legs under the pads, and press the bar along the fixed rails. The bar path stays vertical, which matches the decline angle and removes the sideways drift that makes free-weight decline pressing awkward for many lifters.
What decline angle should you use for a Smith machine decline press?
Most lifters set the bench between 15 and 30 degrees of decline. A shallow angle shifts emphasis toward the lower chest without moving your shoulders into an awkward position. Going steeper than that tends to load the shoulders harder and makes unracking and reracking more difficult inside the frame.
Does the decline bench press build the lower chest more than a flat press?
The evidence is mixed and smaller than most lifters expect. One study of competitive bench press athletes found no significant difference in pectoralis major activity between flat and declined positions. Treat the decline as a different angle and a different feel rather than a guaranteed shortcut to a stronger lower chest.
How much weight should a beginner use on a Smith machine decline press?
Start lighter than your flat Smith machine bench press, because the shortened range of motion and the unfamiliar angle change your leverage. Begin with a load you can control for three sets of eight to twelve reps, then add small increments only after you complete every set with the same bar path.
Is a Smith machine decline press safe to do without a spotter?
The fixed rails let you rack the bar at any point, so you are never trapped under it the way you can be with a free barbell. Even so, set the safety arms just below your bottom position and lock the bench in place before you unrack, because sliding down the bench is the main risk in a decline position.
How often should you train the decline bench press?
Once or twice a week is enough for most lifters. Use it as an accessory after your main flat or incline pressing rather than as a primary movement, because the shortened range of motion limits how much total chest work it can carry. Rotate the angle every few weeks if it stalls.
Conclusion
A decline bench press on a Smith machine is straightforward once the bench sits inside the frame, your legs are anchored, and the safety arms are set below your bottom position. The rails handle the bar path, which is the part that makes a free-weight decline feel unstable.
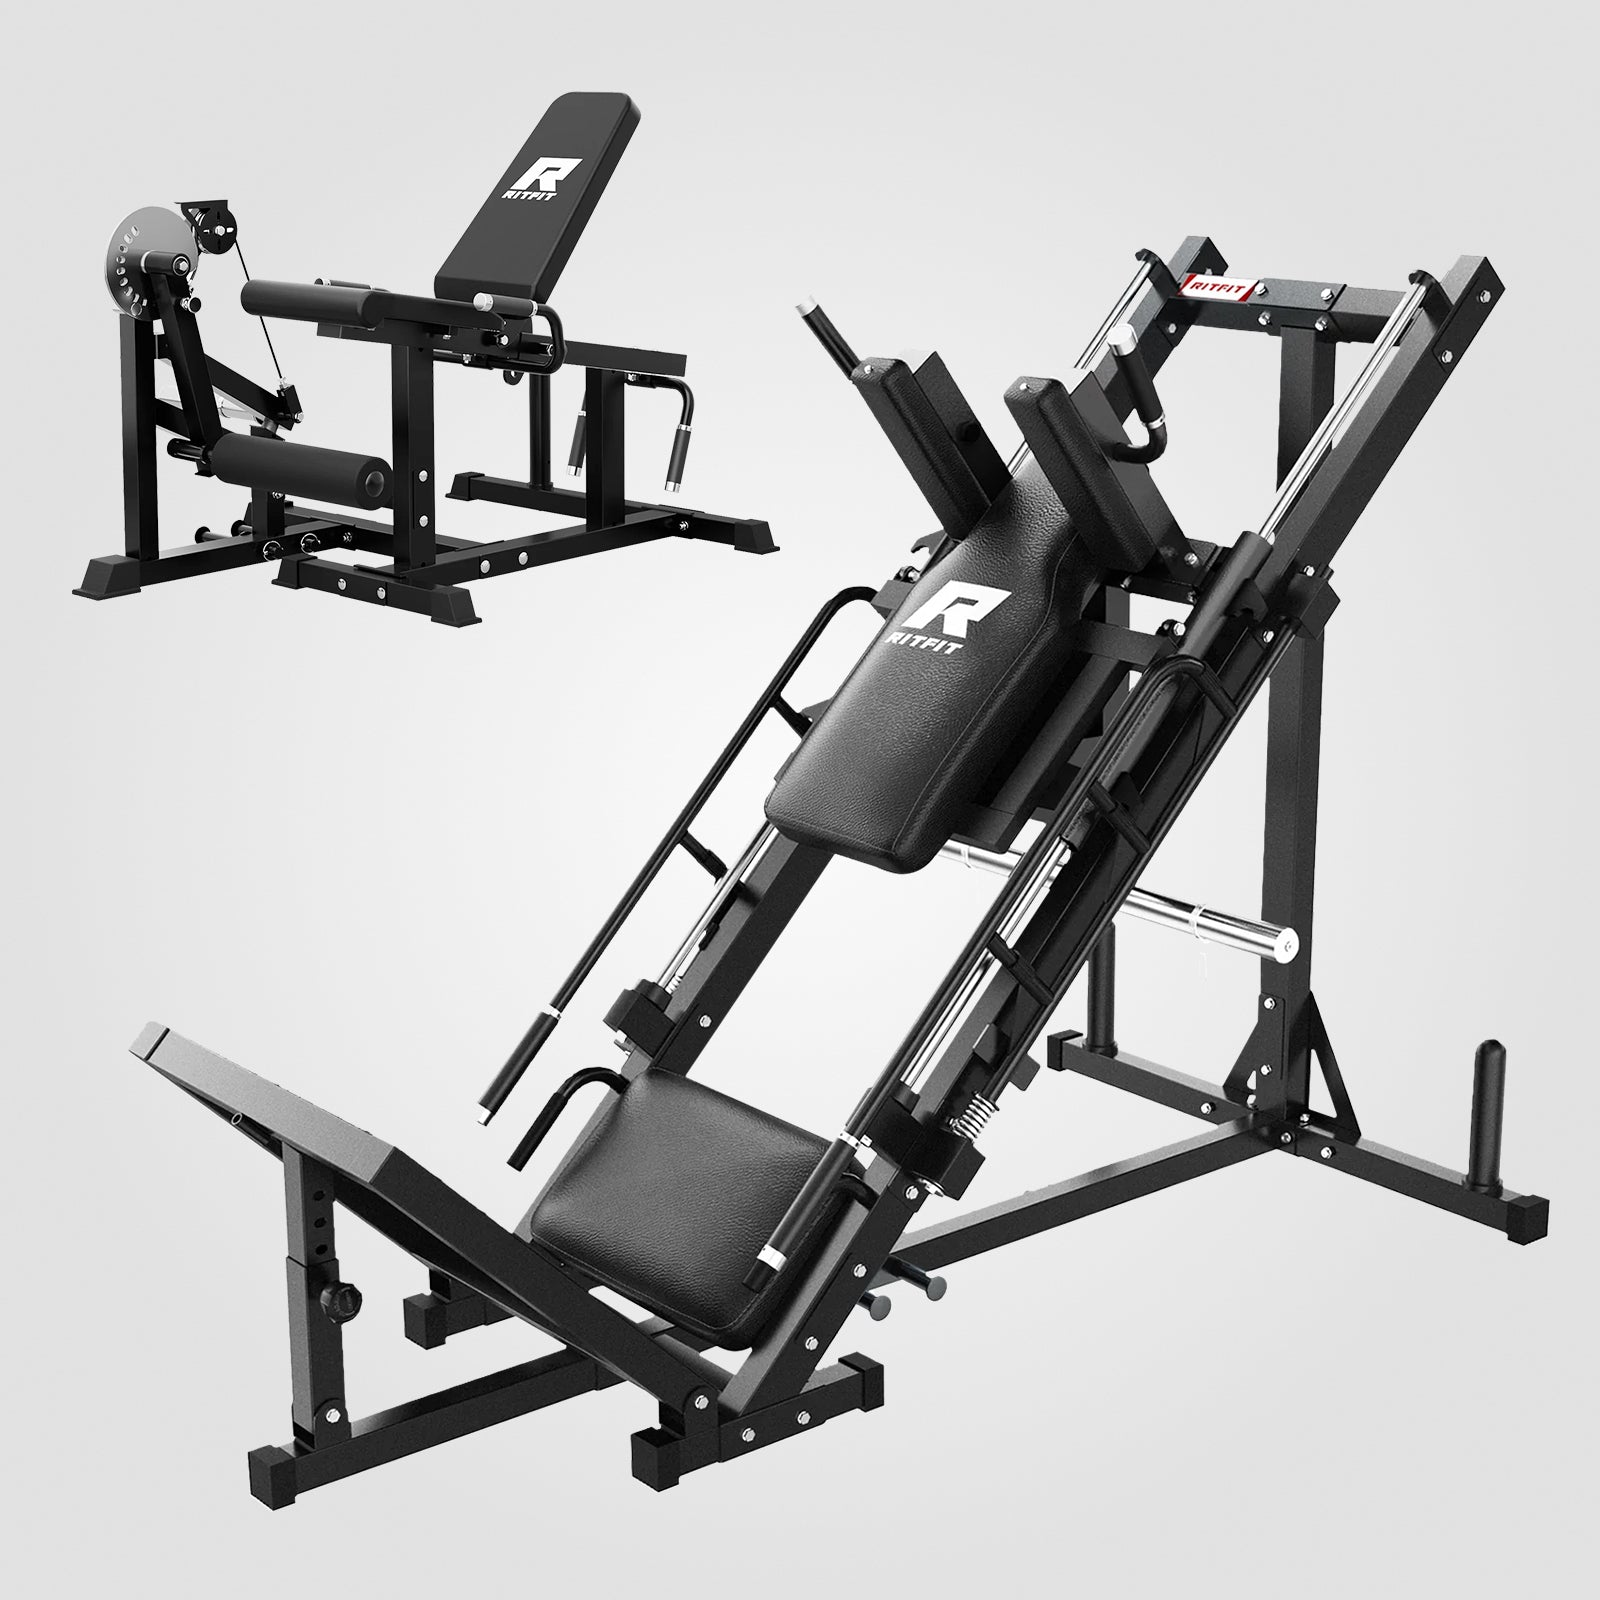
Set the bench shallow, add the press as an accessory after your main chest work, and judge it by feel rather than by how steep it looks. For a fixed pressing path at home, compare the RitFit Gorilla 2-in-1 Chest and Shoulder Press Machine.
Disclaimer
This article provides general fitness information about the Smith machine decline bench press and is not medical advice. Consult a qualified healthcare or fitness professional before starting a new training program, especially if you have a shoulder, chest, or back condition.
References
1. Rodríguez-Ridao D, Antequera-Vique JA, Martín-Fuentes I, Muyor JM. Effect of Five Bench Inclinations on the Electromyographic Activity of the Pectoralis Major, Anterior Deltoid, and Triceps Brachii during the Bench Press Exercise. Int J Environ Res Public Health. 2020;17(19). doi:10.3390/ijerph17197339. PMCID: PMC7579505
2. Stastny P, Gołaś A, Blazek D, et al. A systematic review of surface electromyography analyses of the bench press movement task. PLoS One. 2017;12(2):e0171632. doi:10.1371/journal.pone.0171632. PMCID: PMC5295722
3. Saeterbakken AH, Mo DA, Scott S, Andersen V. The Effects of Bench Press Variations in Competitive Athletes on Muscle Activity and Performance. J Hum Kinet. 2017;57:61-71. doi:10.1515/hukin-2017-0047. PMCID: PMC5504579