


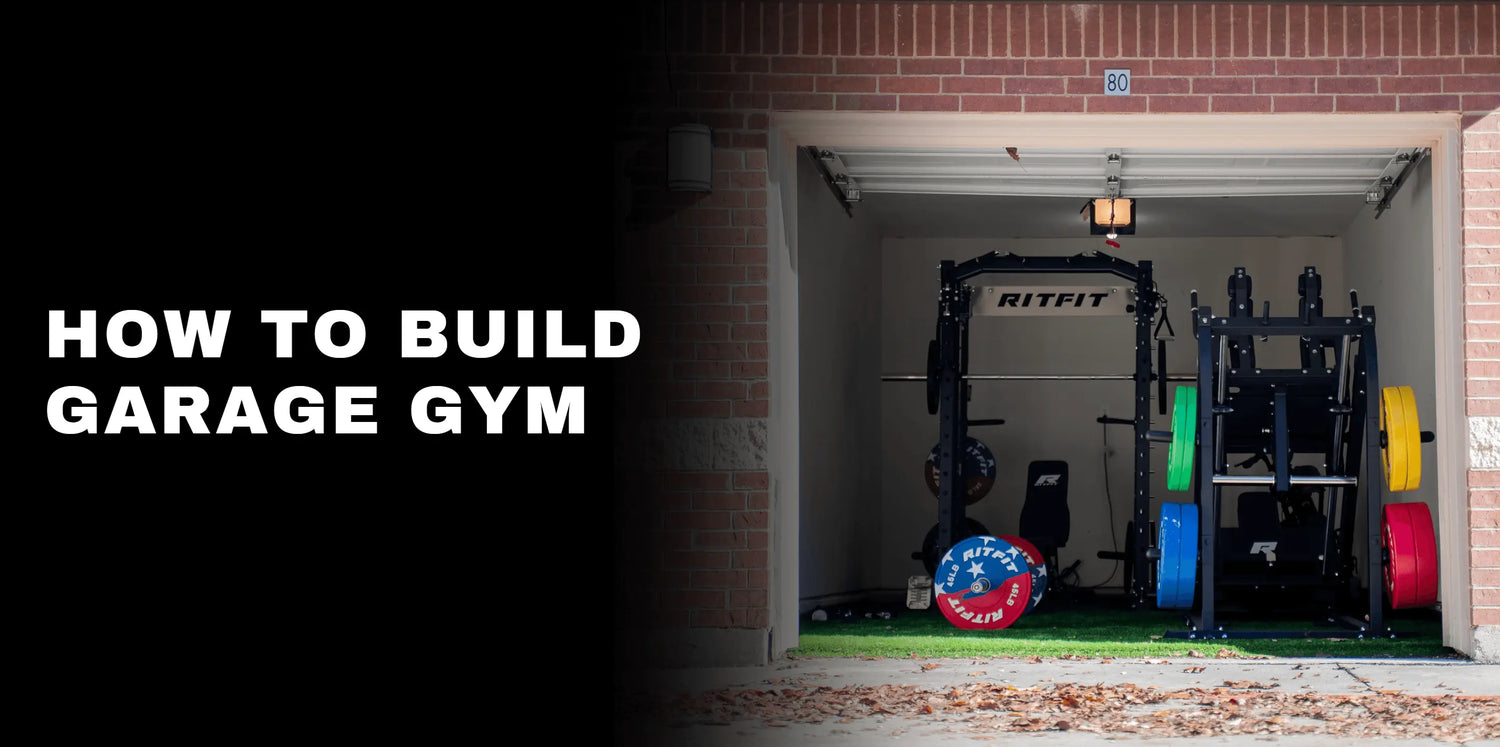
Building a garage gym is one of the smartest ways to make training more consistent because it removes commute time, crowded floors, and equipment wait times. A well planned setup also gives you more control over safety, workflow, and long term value.
This guide shows you how to plan layout, flooring, climate control, gear, storage, and budget without wasting space or money. It also helps you decide when a compact all in one setup makes more sense than buying several separate pieces.
Key Takeaways
- Start with the room, not the equipment, because floor space, ceiling height, and shared use decide what will actually work.
- Protect the floor early, because rubber coverage and a clear lifting lane improve safety, noise control, and long term durability.
- Choose one main strength station first, then add a bench, loading options, and storage in phases.
- Climate control matters more than most people expect, because humidity, heat, and poor lighting reduce consistency and speed up wear.
- A great garage gym is not the one with the most equipment, it is the one that stays easy to use every week.
Step 1: Planning Your Layout and Safety Zones
Your layout should solve movement and safety before it solves aesthetics. The fastest way to waste money is to buy equipment first and discover later that the room does not work around it.
- Measure the training zone: Start with usable floor space, ceiling height, door swing, outlets, and lighting before you compare machines. Many barbell based setups work better with roughly a 10 by 10 foot zone, but the real requirement is a clear lane for loading, lifting, and stepping away safely.
- Leave side clearance: Keep enough room on both sides of your main station to load plates without twisting into walls or shelves. This matters even more if you plan to use a power rack collection or a full barbell setup.
- Plan shared use early: If the garage still needs to hold a car, storage bins, or tools, design around that from day one. A compact footprint often works better than several separate machines, which is why many small spaces lean toward the RitFit M1 multi functional home gym Smith machine or the wider smith machine collection.
- Declutter first: A clean room is easier to train in and easier to maintain. Remove low value storage before you bring in new equipment so the garage gym layout stays intentional instead of cramped.
- Keep the center lane open: In a one car garage or half garage build, the best layout usually keeps the middle open for lifting, bench movement, and warm ups. Put the main station on one side, keep storage vertical, and park the bench back under or beside the station when you are done.
Quick Goal Filter
Your goals should decide the first version of the room, because a strength focused garage gym does not need the same footprint or buying order as a convenience focused setup.
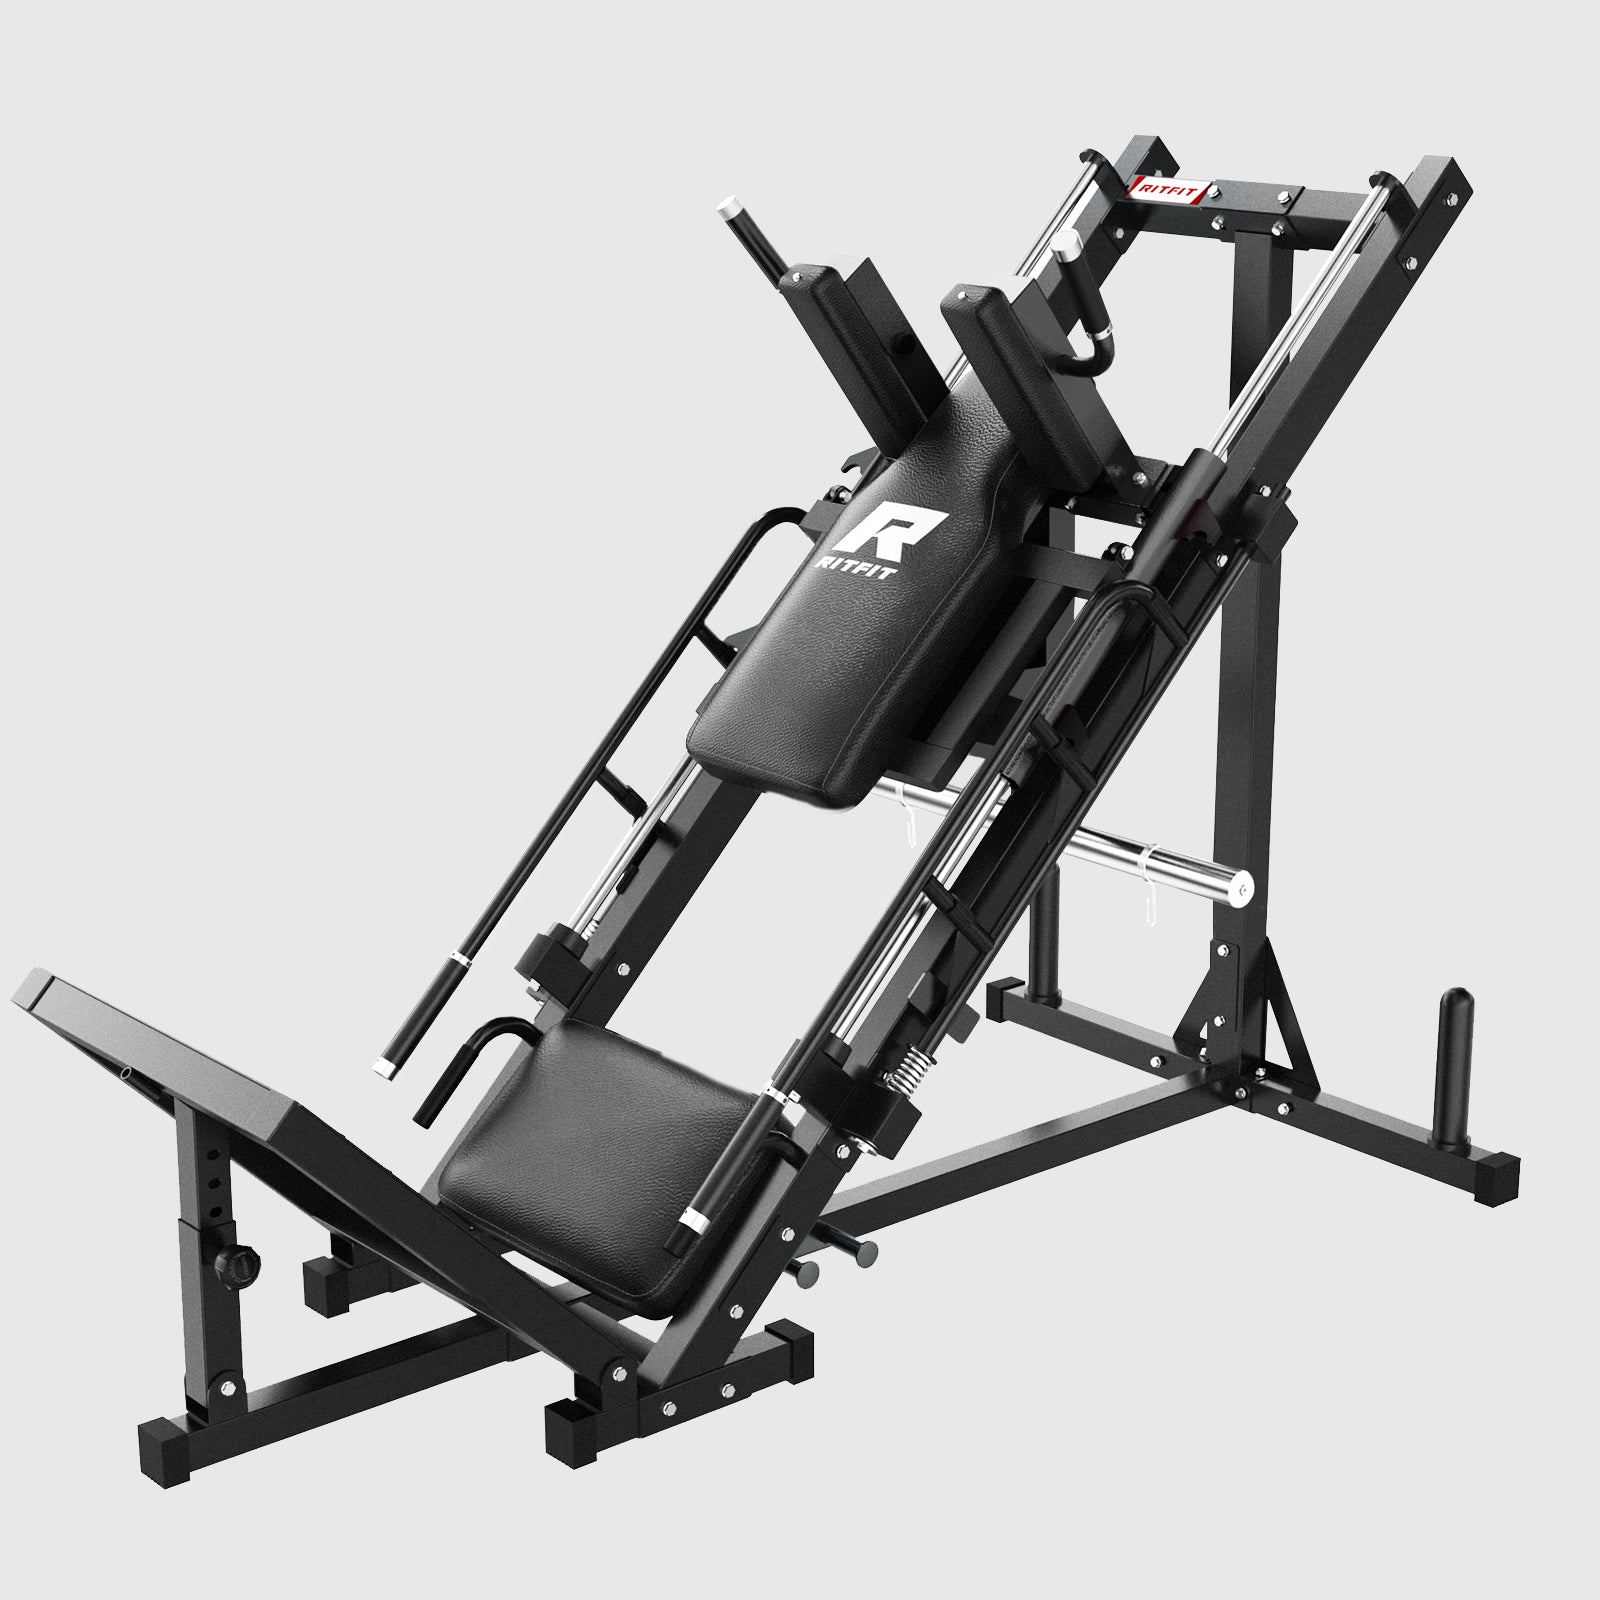
- If strength is the priority: Build around one stable main station, a bench, and adjustable loading. That usually means a rack or Smith style setup plus barbell or dumbbell progression.
- If convenience is the priority: Favor fast setup, fast plate changes, and equipment that is always ready to train. The easier the room is to use, the more often it gets used.
- If the garage is shared: Favor compact stations, foldable options, and vertical storage. Space usually becomes the limiting factor faster than budget in home gym builds.
Step 2: The Foundation, Choosing the Best Garage Gym Flooring
Flooring is not optional, because it protects the concrete, reduces noise, and makes training feel more stable underfoot. It also gives you a more usable surface for benches, dumbbells, and general movement.
- Choose dense rubber first: Rubber is the most practical garage gym flooring for most people because it improves grip and helps absorb impact. It also works well under benches, racks, and free weight areas where concrete alone feels harsh and loud.
- Match thickness to use: General training areas can often use lighter rubber coverage, while heavy barbell zones usually need thicker protection. If you plan to deadlift, drop dumbbells, or run a heavy leg setup, protect that section more aggressively than the rest of the room.
- Buy low odor mats: Low quality rubber can smell bad in enclosed garages, especially in hot weather. Look for dense mats with lower odor claims and let them air out before final installation.
- Protect only the zones that matter first: You do not need to cover the entire garage on day one to get started. Begin with the primary lifting lane, then expand flooring coverage as the gym grows.
Step 3: Climate Control and Lighting
Climate control matters because a garage gym only works when the space is comfortable enough to use regularly. Home based activity is easier to maintain when the setup is practical, accessible, and supported by the home environment.[2]
- Upgrade the lighting: Bright LED shop lights make the room feel safer and easier to use. Good visibility also helps you check bar position, bench angle, and general room organization at a glance.
- Control airflow: A fan does more than make the room feel cooler, because it also improves comfort and helps moisture leave the space faster. That matters in garages that trap summer humidity.
- Manage humidity: Humidity is usually a bigger long term problem than temperature alone because it speeds up surface rust and makes the room feel stuffy. If your garage stays damp, add a dehumidifier and wipe steel parts down after sessions.
- Prepare for winter and summer: Cold garages need longer warm ups, while hot garages reduce comfort and consistency. You do not need a perfect climate, but you do need a space that feels easy to enter and easy to finish a session in.
Step 4: What You Need, Choosing Your Gear
Choose equipment that matches your goals, room dimensions, and upgrade path, not just the lowest sticker price. Resistance training consistently improves muscle mass, strength, and physical function, and home based resistance training can be feasible when access and instruction are clear.[1][3]
Main Strength Station
Your main station should cover the lifts you care about most while fitting your ceiling height, floor plan, and comfort level when training alone.
- Power rack: A rack is best for lifters who want maximum barbell freedom and clear safety options. If that is your priority, start with the power rack collection and plan your safeties before you plan accessories.
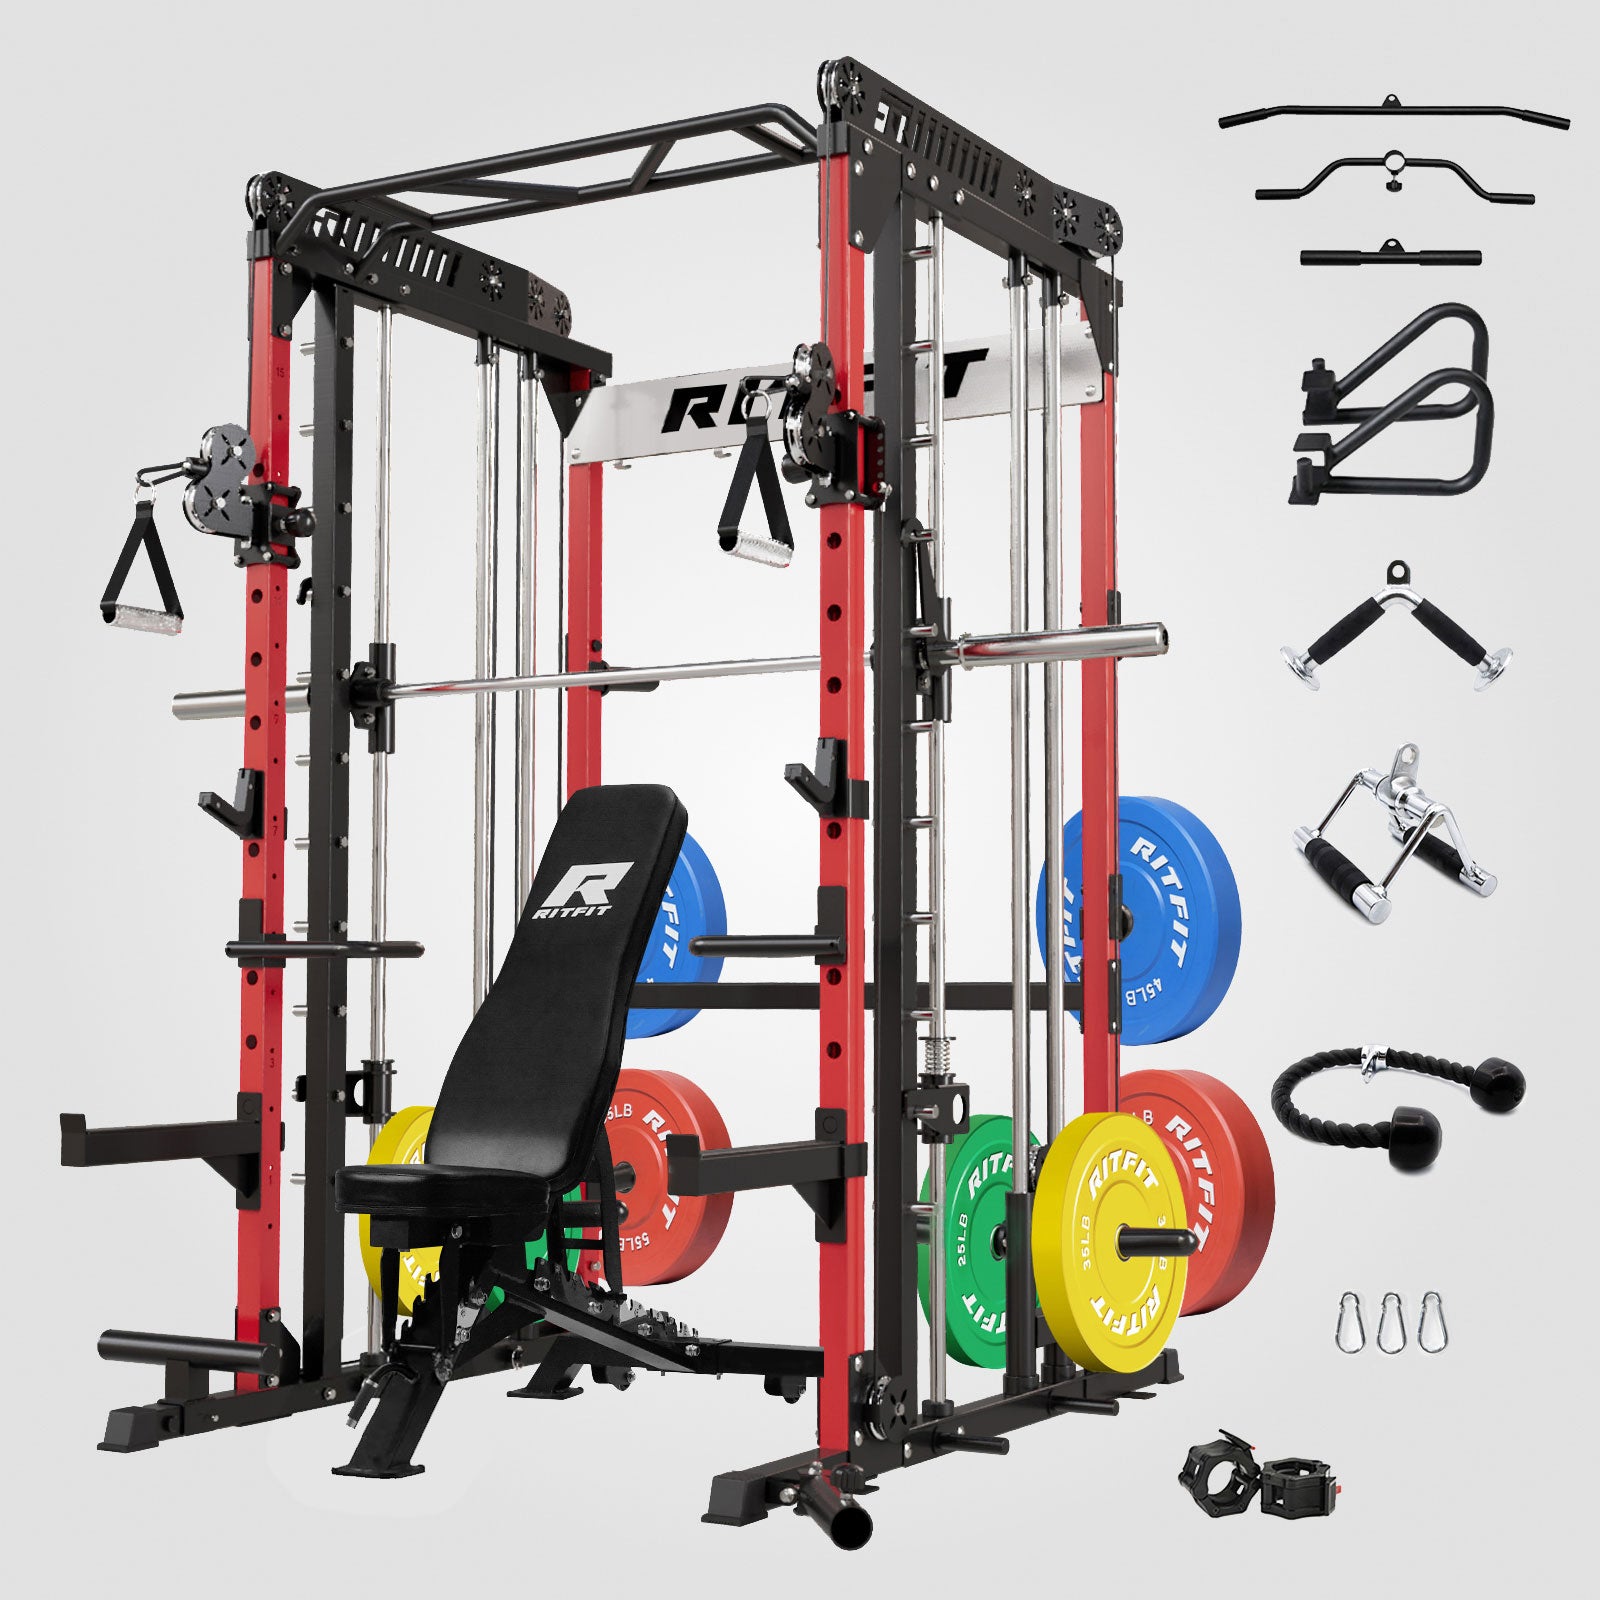
- Smith machine: A Smith style build works well for guided lifts, solo sessions, and compact home gyms that still want cable style versatility. The smith machine collection is often easier to fit into a shared garage than several separate stations.
- All in one station: An all in one layout is often the cleanest answer for half garage setups and tight footprints. It can combine bar work, cable work, pull work, and safer solo training inside one main lane.
Bench
An adjustable bench adds far more exercise variety than most people expect, so it should be an early purchase rather than a late upgrade.
- Prioritize stability: Look for a bench that feels planted at flat and incline settings, not just a bench with many angles. A stronger option like the RitFit adjustable weight bench or the wider adjustable weight benches category can cover pressing, rows, split squats, and more without taking over the room.
Plates and Dumbbells
Your loading options should support progression without turning the floor into a mess. The simplest answer for most garage gyms is one plate system plus one dumbbell solution.
- Barbell setup: If you are building around compound lifts, start with barbells and weight plates that match the station you chose. Rubber coated and bumper style options are often quieter and easier on flooring than bare metal plates.
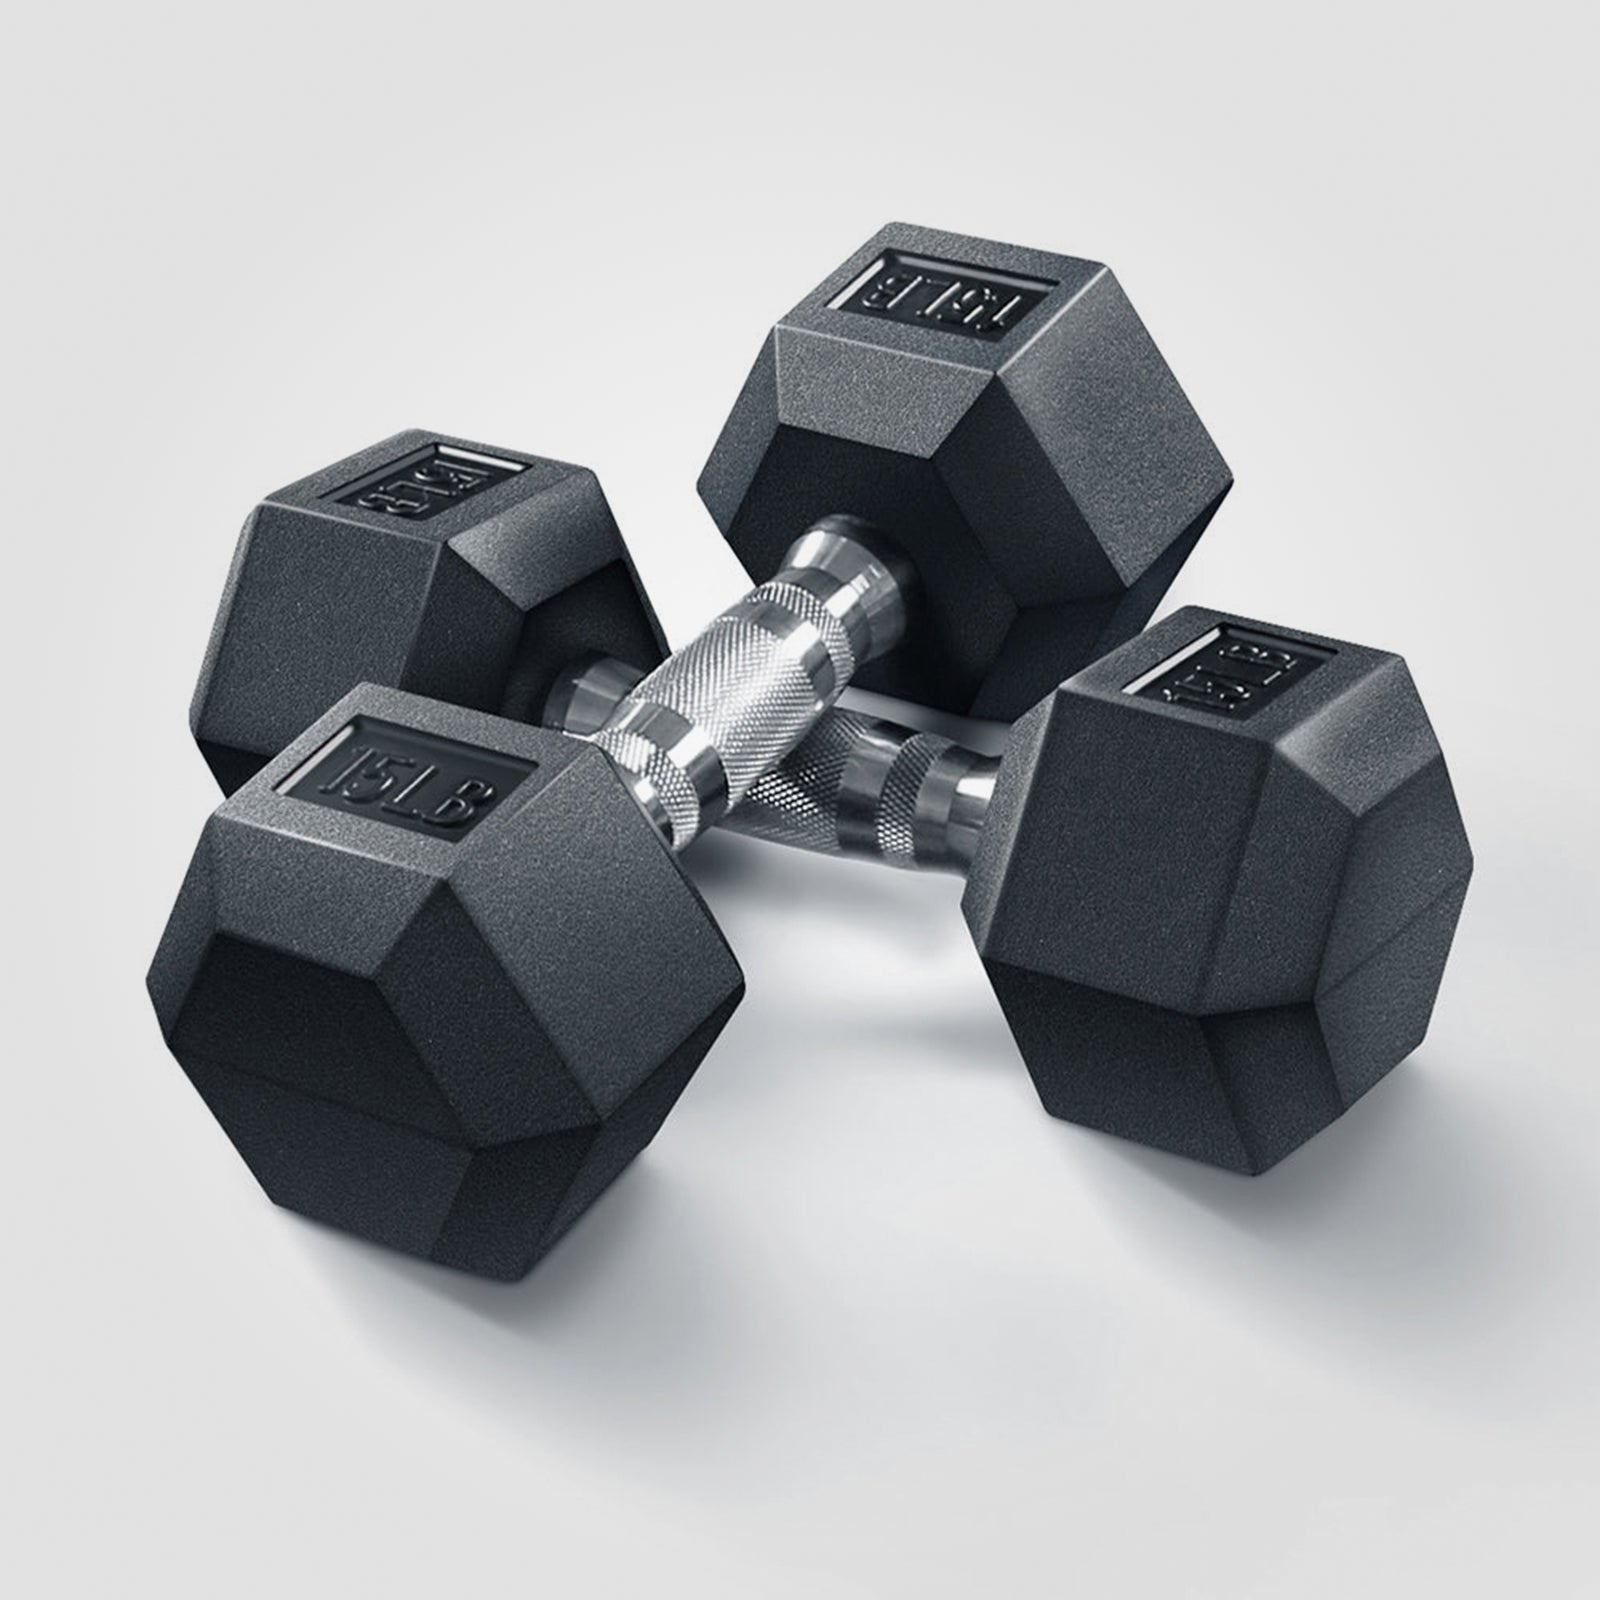
- Dumbbell setup: If space is tighter, dumbbells can cover a lot of accessory work with less setup friction. Pair them with a dedicated rack early so the floor stays clear.
Good, Better, Best
The smartest buying path is phased, because most people do not need a fully loaded garage gym on day one.
- Good: Main station, bench, and one loading path.
- Better: Main station, bench, plates, dumbbells, and partial flooring coverage.
- Best: Compact all in one station, bench, full loading options, full storage plan, and better room control for lighting and airflow.
Step 5: Organization and Storage
Organization matters because clutter steals usable space and creates avoidable trip hazards. Home based resistance exercise habits are easier to maintain when the setup stays simple, flexible, and easy to track from session to session.[4]
- Store plates vertically: Vertical storage opens floor space and makes loading faster. The weight storage solutions category is useful when the room needs better workflow more than more equipment.
- Rack your dumbbells properly: A real rack protects both the floor and your routine. A dedicated option like the RitFit 3 tier dumbbell rack keeps accessory work ready without leaving the lane cluttered.
- Give small items a home: Collars, handles, bands, and attachments should never live in random piles. One shelf, one bin system, or one pegboard wall saves more frustration than most accessory upgrades.
Atmosphere
Your garage gym should feel like a place you want to enter, because consistency improves when the room feels finished and personal rather than temporary.
- Mirrors: Mirrors can help with setup awareness and general room brightness. They should support positioning, not encourage you to crowd the space.
- Decor: A whiteboard, a timer, and simple visual cues usually help more than over decorating. The goal is a room that feels motivating without getting busy.
Garage Gym Build Checklist
Use a simple checklist before you buy anything, because planning errors are cheaper to fix on paper than after freight delivery.
- Room check: Measure floor space, ceiling height, and clearance around doors and shelves.
- Safety check: Confirm a clear lifting lane and plate loading room on both sides.
- Flooring check: Decide which zones need immediate protection first.
- Gear check: Pick one main station, one bench, and one loading path before accessories.
- Storage check: Decide where plates, dumbbells, collars, and small parts will live.
Noise and Neighbors
Noise control starts with impact control, not with wishful thinking. Dense rubber, controlled lowering, smarter training hours, and less floor contact usually solve more noise problems than buying another accessory.
Garage Gym Budget, How Much Does It Really Cost?
Most garage gyms do not need to be built all at once, because phased buying usually produces a better room than impulse buying. The most useful budget is the one that covers your main station, safe floor area, and realistic progression first.
Setup A, Starter Garage Gym
A starter garage gym should cover full body strength basics with the smallest practical footprint. This level works best for first builds, shared garages, and buyers who want to prove the routine before expanding.
- Typical setup: Compact rack or Smith style station, adjustable bench, basic loading, partial flooring, and simple storage.
- Common budget: About 700 to 1500 dollars, depending on what you already own and how much used equipment you can source safely.
- Best next upgrade: More plates, better storage, or adjustable dumbbells.
Setup B, Mid Tier Garage Gym
A mid tier build is the sweet spot for most people because it balances versatility, workflow, and long term value. This level usually supports more serious strength and hypertrophy training without filling the entire garage.
- Typical setup: Full rack or Smith system, adjustable bench, stronger loading options, more flooring, and better storage.
- Common budget: About 1500 to 3500 dollars, depending on footprint, attachments, and shipping.
- Best next upgrade: Cable attachments, specialty bars, or a more complete accessory wall.
Setup C, Premium Garage Gym
A premium garage gym is mostly about convenience, durability, and reduced training friction, not just owning more equipment. It works best for advanced lifters, multi user households, and people treating the room as a long term training base.
- Typical setup: Premium rack or all in one station, high quality bench, full flooring solution, better airflow and lighting, and dedicated storage.
- Common budget: About 3500 dollars to 8000 dollars or more.
- Best next upgrade: Specialty implements, cardio support, or more specific attachments for your training style.
Common Garage Gym Mistakes and How to Avoid Them
- Buying too much too soon: Start with the essentials, because unused machines waste both money and floor space.
- Ignoring ceiling height: Plan for pull ups, overhead work, and attachment travel before ordering tall equipment.
- Skipping safeties: Solo lifting demands proper safeties, not confidence alone.
- Underestimating humidity: Airflow, wipe downs, and rust prevention should be part of the setup, not an afterthought.
- No storage plan: A messy room makes a good garage gym feel smaller and less safe than it really is.
- Overbuilding for the room: Buy for your actual footprint, not for an imaginary larger garage.
Frequently Asked Questions
How much space do I need for a garage gym?
Most people can build a useful garage gym in a compact zone, but you need enough room to lift, load plates, and move safely around your main station. A clear training lane matters more than filling every corner, especially if the garage also holds storage or a car.
Can I build a garage gym in half a garage?
Yes. A half garage gym can work very well if you choose compact equipment, store plates vertically, and keep the center lane open for movement. The biggest mistake is buying large machines before mapping storage, parking needs, and bench parking when the workout is over.
What should I buy first for a budget garage gym?
Start with flooring for the main training zone, one primary strength station, and one loading option such as a bar with plates or adjustable dumbbells. That combination covers the most movements per dollar and gives you a solid base before you spend on accessories or decor.
How do I protect a garage gym from humidity and rust?
Control moisture first, because humidity usually damages equipment faster than heat or cold alone. Use airflow, wipe sweat off steel after training, keep small metal parts off the floor, and add a dehumidifier if the garage feels damp or you notice early surface rust.
Is a Smith machine or power rack better for a garage gym?
No. The better choice depends on your space, training style, and comfort lifting alone. A power rack gives maximum freedom and barbell practice, while a Smith machine can reduce setup friction and add guided work, especially in compact garage gyms with limited equipment.
How do I make a garage gym quieter for family or neighbors?
Reduce impact first, because noise usually comes from contact with the floor, not from the plates alone. Dense rubber flooring, controlled lowering, bumper plates, and reasonable training hours make a bigger difference than trying to solve everything with one accessory.
Ready to Build in 2026?
A strong garage gym does not need to be huge, but it does need to be deliberate. Start with the room, protect the floor, choose one main station that fits your goals, and build the rest in phases.
Disclaimer: This guide is for general educational purposes and does not replace professional advice on building structure, electrical work, medical limitations, or supervised exercise instruction. Always confirm room safety, equipment assembly, and training suitability for your own situation.
References
- Mcleod JC Currier BS Lowisz CV Phillips SM. The influence of resistance exercise training prescription variables on skeletal muscle mass, strength, and physical function in healthy adults: an umbrella review. J Sport Health Sci. 2024;13(1):47-60. doi:10.1016/j.jshs.2023.06.005
- Noori-Sistani M Allahverdipour H Vahedian-Shahroodi M Eskandarnejad M Pashazadeh F Javadivala Z. Home-based physical activity strategies for healthy adults: a scoping review. J Educ Health Promot. 2025;14:424. doi:10.4103/jehp.jehp_814_24
- Vikberg S Björk S Nordström A Nordström P Hult A. Feasibility of an online delivered, home-based resistance training program for older adults: a mixed methods approach. Front Psychol. 2022;13:869573. doi:10.3389/fpsyg.2022.869573
- Alsowail AT Malkova D Ryde GC Gray SR. Enablers and barriers toward home-based resistance exercise among older adults who completed a structured program: qualitative study using reflexive thematic analysis. BMC Geriatr. 2026;26(1):231. doi:10.1186/s12877-026-06986-x
