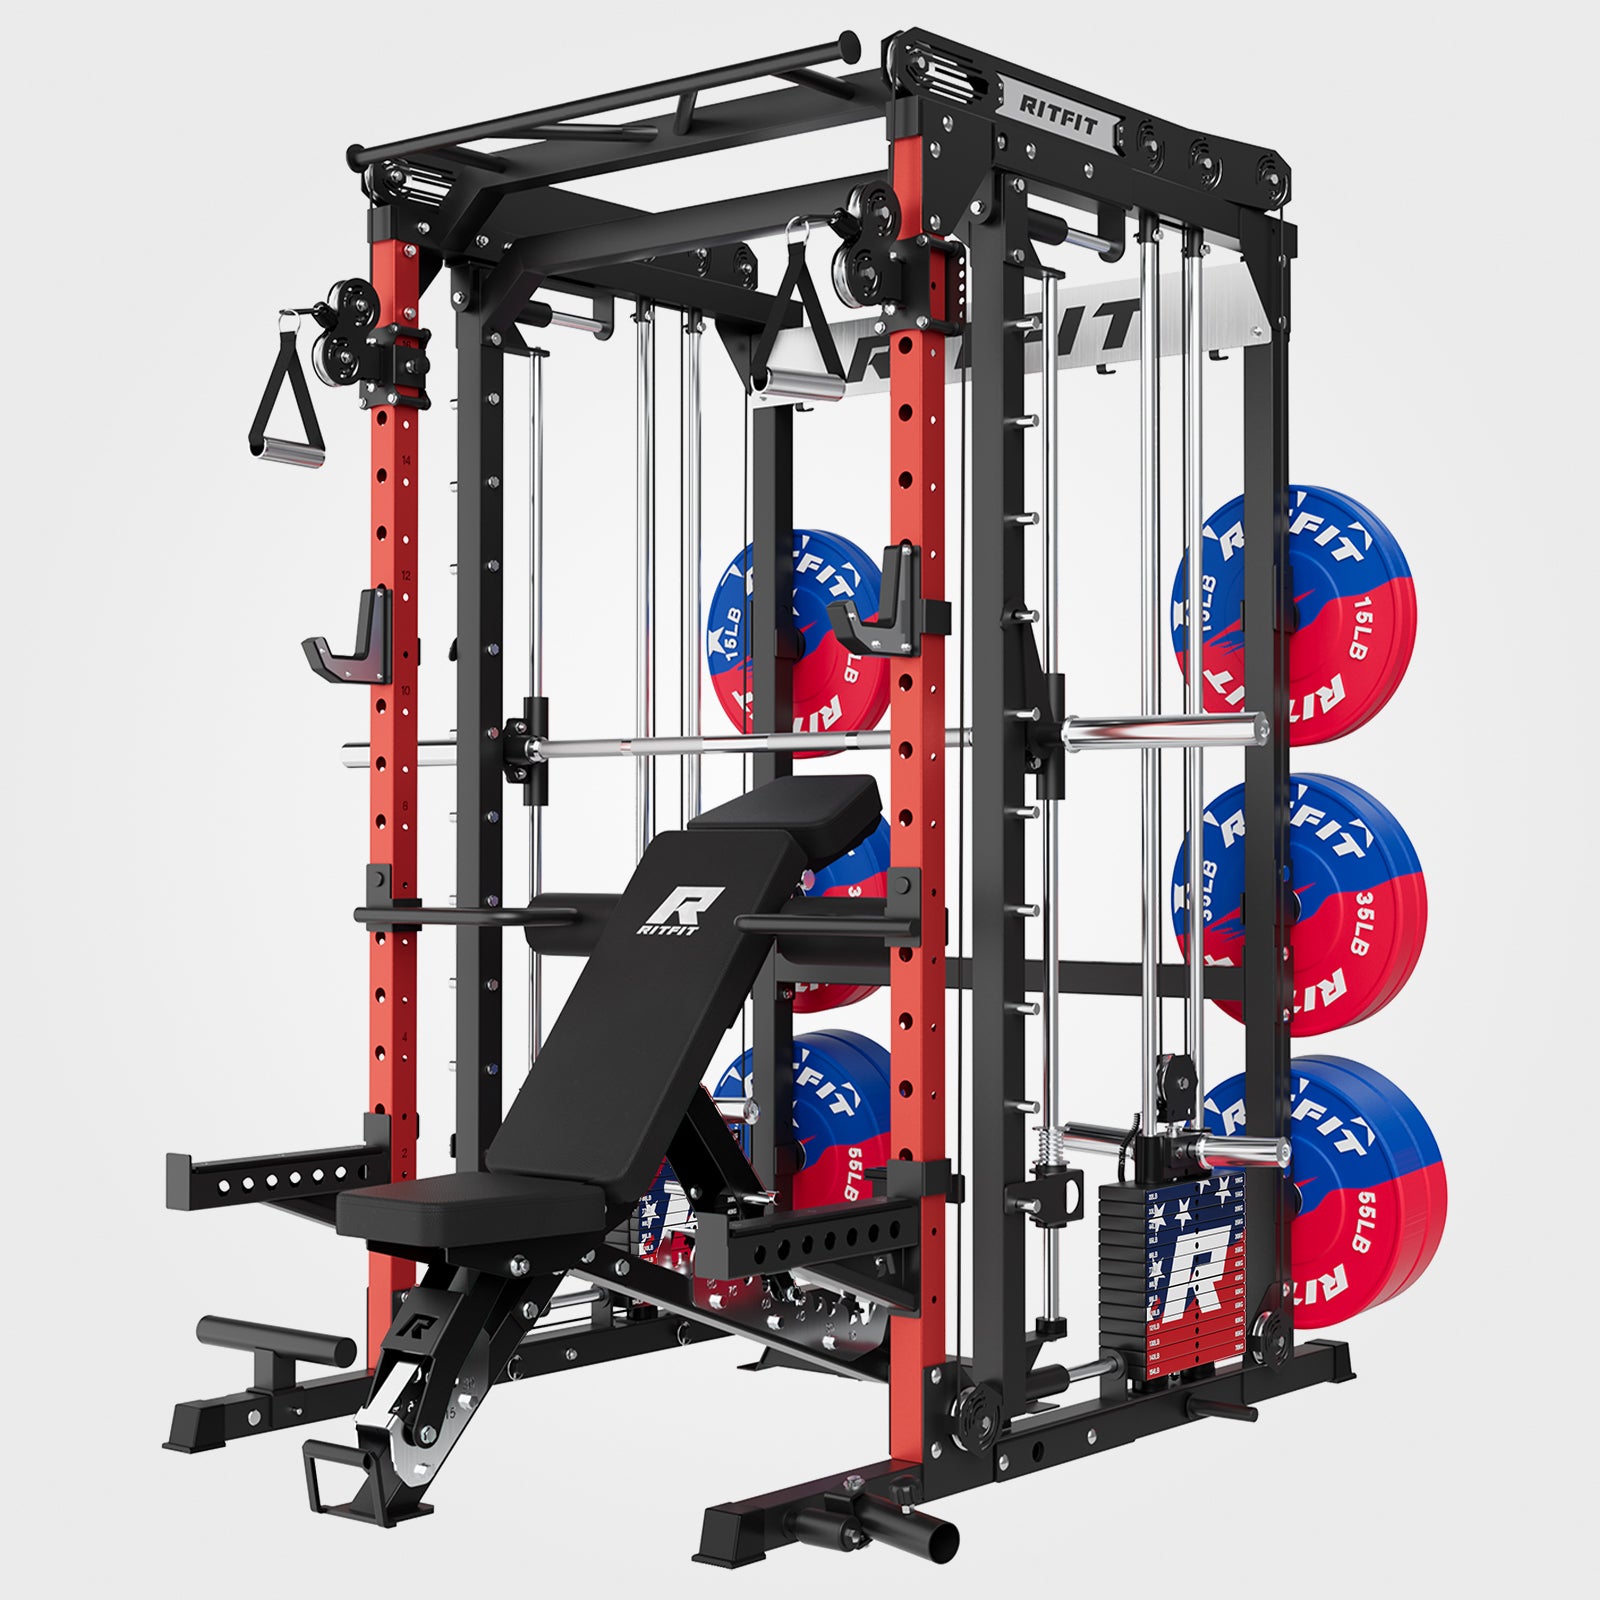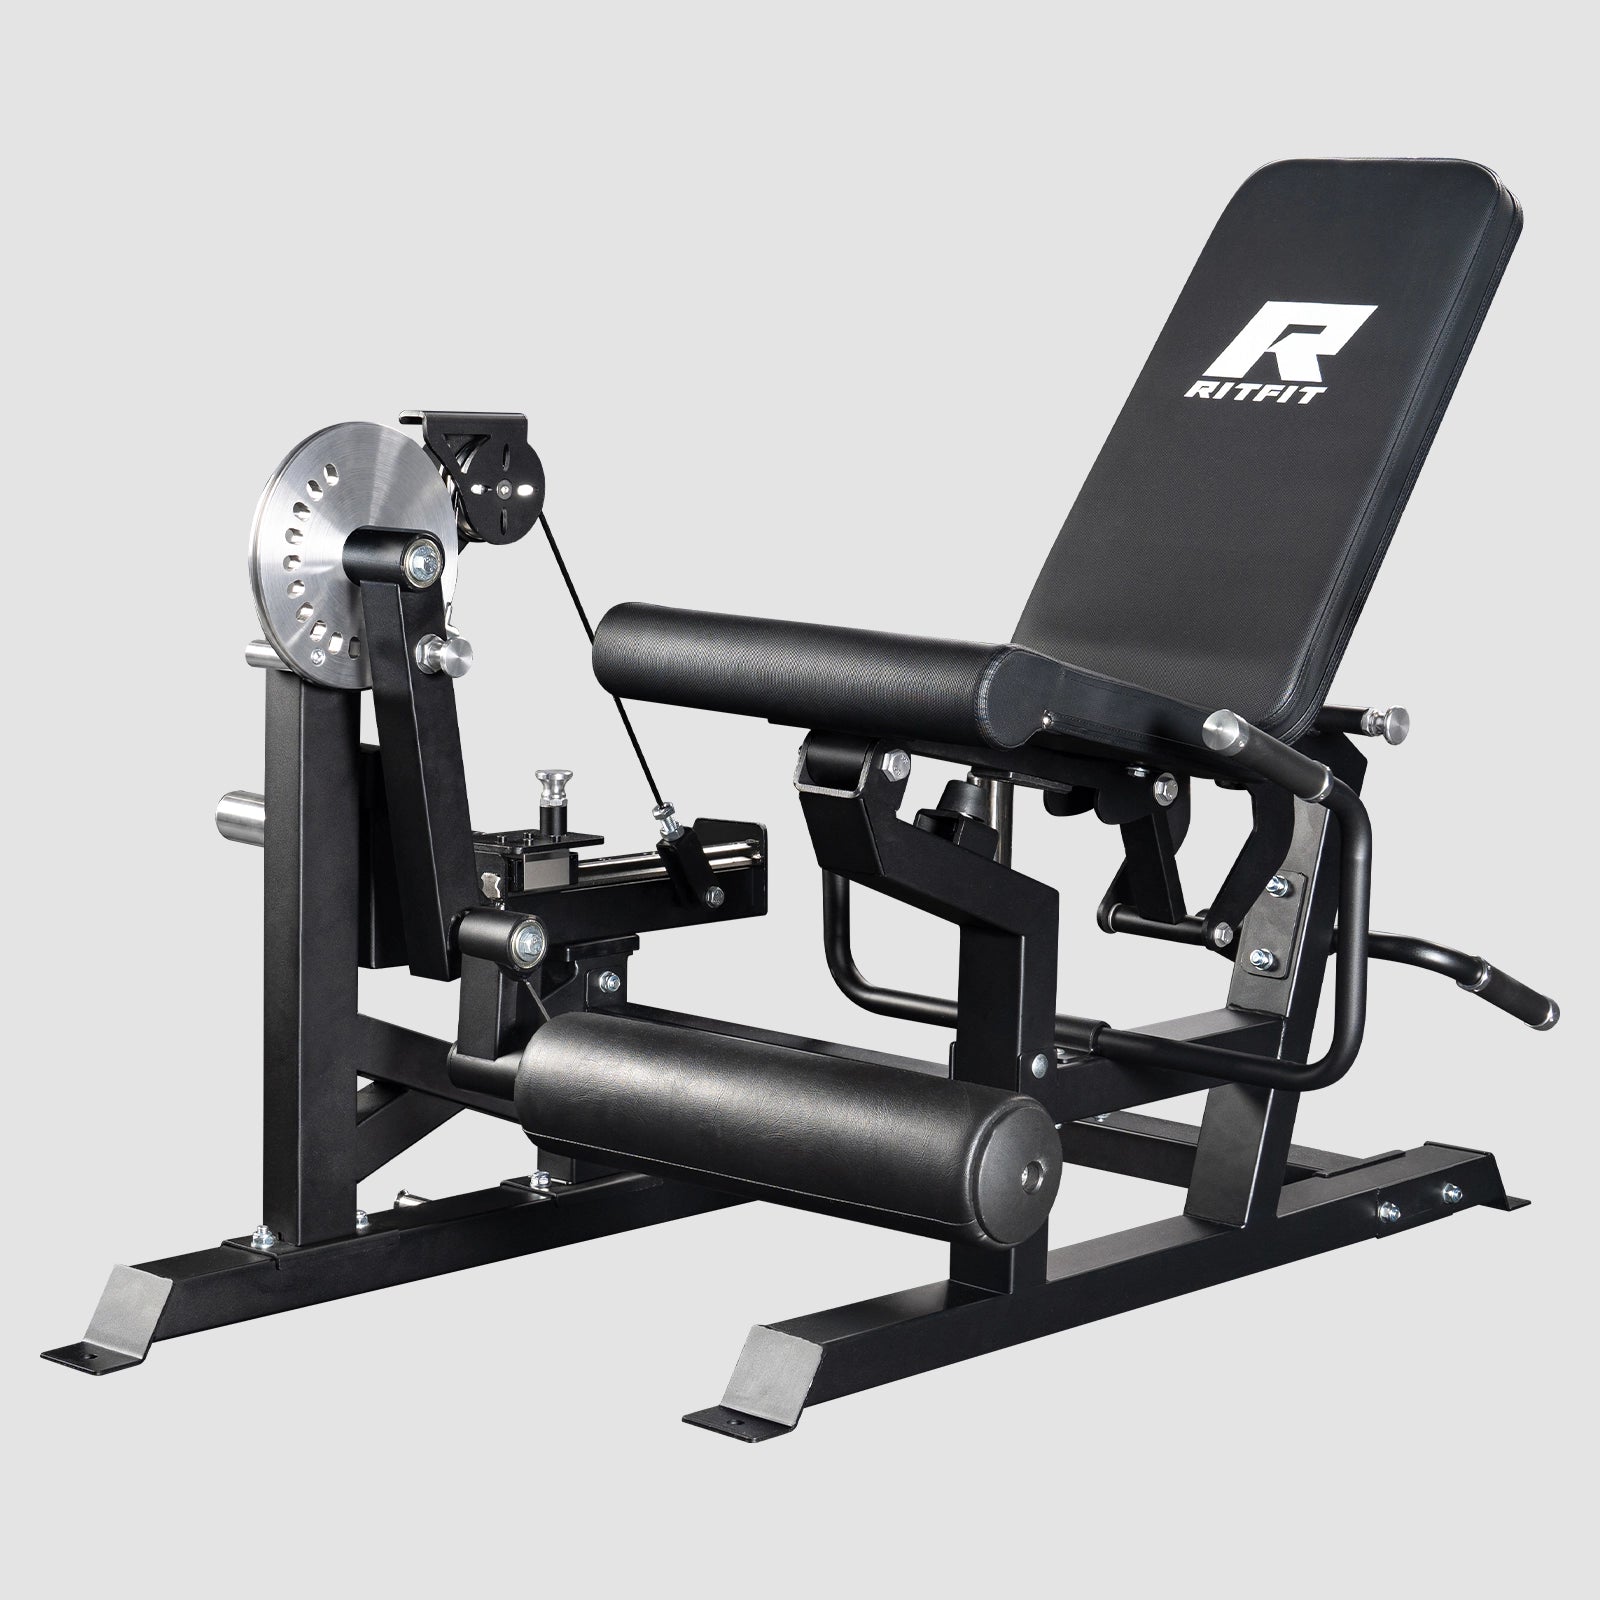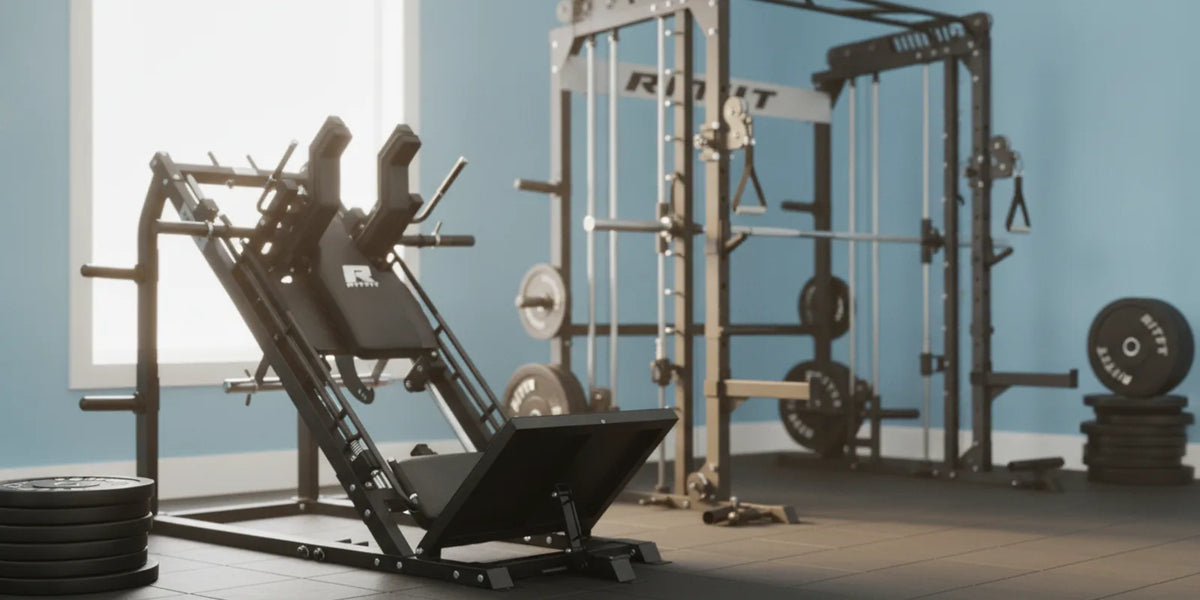
A leg press attachment for your squat rack lets you train your quads, hamstrings, and glutes with a dedicated pressing motion without buying a separate machine. For home gym owners who already own a power rack, a quality lever-arm attachment can unlock full leg press training in the same footprint they already use.
This guide covers choosing the right attachment, installing it step by step, proper form, and an honest comparison with standalone leg press machines.
Quick Answer: A leg press attachment for a squat rack mounts to your rack's lever arms via quick pins, converting your cage into a functional leg press station with no extra floor space. Verify upright compatibility, complete a dry-run before loading, and keep loads within the lever arm's rated capacity. Quality 11-gauge steel attachments support up to 1,200 lbs on the footplate.
Key Takeaways
- Compatibility first: Verify upright tube dimensions, hole size, and pin spacing before purchasing any lever-arm leg press attachment.
- Weight capacity: Quality lever-arm attachments built from 11-gauge steel are rated for up to 1,200 lbs on the footplate, but your rack's own lever arm rating may be the lower limit.
- Dry-run is non-negotiable: Complete several bodyweight-only reps after installation to confirm stability and full range of motion before loading any plates.
- Foot placement drives muscle targeting: Lower foot position increases quadriceps activation; higher placement shifts emphasis to glutes and hamstrings.
- Attachment vs. machine trade-off: A rack attachment adds virtually no floor space and costs far less than a standalone sled, but a dedicated machine delivers a truer 1:1 resistance feel and smoother linear bearing glide.
What Is a Leg Press Attachment for a Squat Rack?
A leg press attachment for a squat rack is a lever-arm accessory that mounts directly onto your existing power rack uprights, converting your cage into a functional leg press station without requiring any additional floor space. Most designs use a diamond-plated footplate secured to a pivot arm that slides onto the rack's built-in lever arm posts and locks with two quick pins.
How Does a Lever Arm Work vs. a Plate-Loaded Sled?
A lever-arm attachment pivots from a fixed point on the rack uprights, so the resistance arc follows the lever's geometry rather than a straight linear track. One equipment guide explains that many rack-attached leg press levers use a 2:1 mechanical ratio, so loaded plate weight does not equal the actual resistance felt, unlike a dedicated sled where the load-to-force relationship is essentially 1:1.
Who Is This Best For?
This attachment is best suited for space-constrained home gym owners who already own a compatible power rack and want to add lower-body pressing volume without purchasing a second piece of equipment.
- Home gym owners with a compatible rack: If you own a 2x2 or 3x3 inch upright power rack with standard hole spacing, a lever-arm attachment gives you leg press capability at a fraction of the cost of a standalone machine.
- Budget-focused lifters: Quality attachments cost significantly less than dedicated leg press machines and require no additional floor space.
- Those who prefer combined training: A rack-based attachment lets you superset squats, leg press, and other rack movements without leaving your station.
- Intermediate home gym builders: Lifters who are not yet ready to invest in a full standalone sled can develop strong legs with proper attachment form before upgrading.
How to Choose the Right Leg Press Attachment for Your Rack
Choosing the right leg press attachment for your rack requires verifying three physical compatibility factors before looking at weight capacity or price: upright tube dimensions, hole size, and pin spacing must all match your specific rack model.
Compatibility Checklist: Upright Width, Hole Size, and Pin Spacing
Mismatched dimensions are the single most common purchasing mistake, and an ill-fitting attachment will wobble under load even at moderate weights.
- Upright tube dimensions: Most lever-arm attachments are designed for either 2x2 inch or 3x3 inch uprights. Measure your rack's upright cross-section before purchasing and confirm the attachment's listed compatibility.
- Hole size: Standard hole diameters are 5/8 inch or 1 inch. An attachment pinned through the wrong-diameter hole will not seat securely under load.
- Pin spacing (hole spacing): Common spacing is 1 inch (Westside hole pattern) or 2 inches. Verify your rack's specification to ensure the footplate can be set at a comfortable height with full range of motion.
- Lever arm compatibility: Some racks have proprietary lever arms; confirm the attachment mounts to your rack's existing lever arm posts rather than requiring a separate lever arm purchase.
If you are unsure about your rack's specifications, measure upright width and hole diameter with calipers, then cross-reference against the attachment's listed compatibility. Also review our squat rack dimensions guide and the comparison between power rack vs. squat rack to confirm which rack type you own before buying.
Weight Capacity and Build Quality
Build quality directly determines how much load you can safely press and how long the attachment will last under regular use.
- 11-gauge steel construction: Quality lever-arm attachments made from 11-gauge steel are rated for up to 1,200 lbs on the footplate. Always verify your specific rack's lever arm rating before loading heavy, as that rating may be the binding constraint rather than the attachment itself.
- Diamond-plated footplate: A textured diamond-plate surface provides reliable foot grip during heavy pressing without requiring straps or special footwear.
- Pivot hardware and weld quality: Inspect welds at the pivot point and footplate bracket. Smooth, consistent welds with no visible gaps indicate quality construction that will handle heavy cycling without fatigue cracking.
- Quick-pin locking system: Two-pin locking systems that engage fully into the upright holes are preferable to single-pin or friction-only designs for heavy loading.
Attachment vs. Dedicated Leg Press Machine: Which Should You Choose?
The right choice depends on your available space, budget, and the training experience you want to achieve.
- Choose an attachment if: You already own a compatible power rack, floor space is limited, and your primary goal is quad and hamstring development at a lower price point.
- Choose a dedicated machine if: You want a true 1:1 sled-feel, plan to train at heavier loads where linear bearing smoothness matters, or your rack is not compatible with a lever-arm attachment.
- Hybrid option: The RitFit BLP01 3-in-1 Leg Press and Hack Squat Machine and the RitFit Gazelle Pro Leg Press and Hack Squat Machine offer standalone sled performance with multiple training positions, making them the preferred upgrade path for lifters who outgrow a rack attachment.
How Do You Install a Leg Press Attachment on a Squat Rack Step by Step?
Installing a leg press attachment on a squat rack is a straightforward process that takes under 30 minutes with the right tools, provided you have already confirmed compatibility between the attachment and your rack's upright dimensions, hole size, and pin spacing.
Tools and Pre-Installation Safety Check
Before unpacking the attachment, gather the tools you need and run through the following safety checks.
- Tools needed: A tape measure, calipers or a caliper app, a level, and the quick pins supplied with the attachment (or matched replacements).
- Inspect rack uprights: Check for any visible cracks, bent sections, or damaged welds on the uprights where the attachment will mount. Do not install on a rack with structural damage.
- Clear the work area: Remove all plates and accessories from the rack before installation. A bare rack is far safer to work around when positioning a lever arm.
- Confirm floor level: Place a level on the rack's base frame. An unlevel rack will bias the lever arc to one side and create uneven loading through the attachment pivot.
- Read the manufacturer's instructions: Step through the manufacturer's specific torque specs and any model-specific alignment requirements before you begin.
Attaching the Lever Arm to Your Rack Uprights
Slide the attachment's pivot sleeve over the rack's lever arm posts and align the pin holes with the nearest matching holes in the uprights.
- Seat the pivot sleeve fully: Push the sleeve all the way onto the lever arm post until it contacts the upright face. A partial seat will allow lateral movement under load.
- Insert both quick pins: Drive both pins through the upright holes and the attachment's corresponding holes simultaneously. Both must be fully seated before any weight is applied.
- Check lateral play: With the pins inserted, grip the footplate and attempt to move it laterally. Any play greater than about 1/8 inch indicates a dimension mismatch that must be resolved before use.
- Verify pin lock engagement: Many pins include a spring-loaded ball or clip. Confirm that the locking mechanism is engaged on both pins after insertion.
Setting Footplate Height and Confirming Full Range of Motion
Sit in the pressing position and adjust the footplate to a height where your knees reach approximately 90 degrees at the bottom of the movement without your lower back lifting off the support surface.
- Target starting knee angle: A 90-degree knee bend at the bottom position is a practical starting point for most lifters. Adjust pin position up or down in the rack to achieve this without forcing range of motion.
- Check for frame contact: Move through the full pressing arc by hand before sitting down. The footplate should travel through its full range without striking the uprights, safety bars, or any other attached accessories.
- Confirm footplate angle: The footplate face should be roughly perpendicular to your shin angle at the mid-point of the press. A severely angled footplate shifts shear forces toward the knee joint. You can also refer to the RitFit leg press foot plate specifications for footplate angle guidance.
Dry-Run Stress Test Before Loading Weight
Complete at least five bodyweight-only repetitions through the full range of motion before adding any plates to the attachment.
- Listen for creaking or popping: Any unusual sounds during the dry run indicate metal-on-metal contact, a loose pin, or misalignment that must be resolved before loading.
- Check pin position after reps: After five reps, inspect both pins to confirm neither has shifted. Pins should remain fully seated throughout the movement cycle.
- Verify back support contact: Your lower back should remain in contact with the support surface throughout the movement. If it lifts before your knees reach 90 degrees, raise the footplate position by one hole.
- Start conservatively: When you are satisfied with the dry run, begin with a conservative starting weight on your first loaded set to allow the attachment to settle under load before progressing.
How Do You Use a Squat Rack Leg Press Attachment with Proper Form?
Using a squat rack leg press attachment with proper form requires placing your feet flat on the footplate at a comfortable width, keeping your lower back pressed against the support surface throughout the movement, and pressing through your heels to full knee extension without locking out aggressively.
Foot Placement Variations and Muscle Targeting
Foot position on the footplate directly determines which muscles bear the greatest share of the load during each repetition.
- Low foot placement (lower third of footplate): Places the knee in a deeper flexion angle at the bottom, increasing quadriceps activation. A 2020 systematic review found that vastus lateralis and vastus medialis showed the greatest muscle activation during leg press, with activity increasing as knee flexion angle deepened.[1]
- High foot placement (upper third of footplate): Reduces knee flexion at the bottom and shifts emphasis toward the glutes and hamstrings, which must work harder to extend the hip through the movement.
- Narrow stance (feet 6-10 inches apart): Emphasizes the outer quad sweep (vastus lateralis) and is preferred for targeting the lateral quad.
- Wide stance (feet shoulder-width or wider, toes flared): Recruits more of the inner thigh (adductors) and glutes alongside the quadriceps.
- Toes slightly flared (15-30 degrees): Allows a more natural knee tracking path for most anatomical structures. Forcing toes straight forward can create internal knee stress on some lifters.
Watch the video below for a demonstration of lower-body training technique on a lever-based machine, which directly applies to squat rack attachment use.
Starting Weight, Rep Ranges, and Progression
Begin with a conservative load to allow the attachment to settle and to establish your baseline range of motion before progressing.
- Beginner starting point: 3 sets of 10-15 reps at a load where the last 2-3 reps feel challenging but form stays clean. Begin well below your expected working weight and increase gradually.
- Progression model: Add 5-10 lbs per session when you can complete all sets at the top of the rep range with strict form. Rapid loading beyond 10 lbs per session increases the risk of overstressing the attachment's pivot point.
- Training frequency: 2-3 sessions per week is a practical and recoverable frequency for most home gym lifters using a rack attachment for lower-body pressing.
- Range of motion priority: Full range of motion with moderate load is more effective for quad development than partial reps with maximum load. Maintain lower-back contact throughout.
For detailed technique guidance, see our full how to do leg press article and our guide on how to use a leg press hack squat machine for hybrid training variations.
Common Mistakes to Avoid
Most injuries and equipment failures with squat rack leg press attachments trace back to a handful of preventable setup and execution errors.
- Skipping the compatibility check: Purchasing an attachment without verifying upright tube dimensions, hole size, and pin spacing is the leading cause of poor fit and unstable loading in home gyms.
- Loading before the dry-run: Every set-up session should begin with at least one unloaded pass through the full range of motion. Pins can shift between sessions, and a dry run catches this before it matters.
- Exceeding the lever arm's rated capacity: The rated capacity is a ceiling, not a target. Train well within the rated limit and factor in the mechanical ratio: many lever designs mean the resistance felt is less than the loaded plate weight, but the structural stress at the pivot point is real.
- Allowing the lower back to lift: When the lower back rounds and lifts off the support at the bottom of the movement, the lumbar spine bears compressive shear. Raise the footplate one hole if this happens consistently.
- Locking out aggressively: Slamming the knees into full extension at the top of each rep transfers impact into the attachment's pivot hardware and the knee joint. Stop just short of full extension and maintain tension.
- Neglecting the squat rack's lever arm manual: Many racks specify weight limits for their lever arms independently of any attachment. Always check the rack manufacturer's published specifications before loading heavy.
For additional context on proper squat rack setup, see our guide on how to use a squat rack.
Leg Press Attachment vs. Dedicated Leg Press Machine: Which Is Worth It?
A squat rack leg press attachment is worth it for home gym owners who want effective quad training at low cost with no additional footprint, but a dedicated leg press machine is the better long-term investment for lifters who prioritize a true sled-feel, higher loading consistency, or multiple exercise angles.
Space, Cost, and Versatility Comparison
One equipment guide notes that a standard 45-degree leg press sled requires roughly 6x8 feet of floor space, while a rack attachment adds virtually no footprint to an existing setup. That space difference is the most decisive factor for garage and basement gym owners working within a fixed footprint.
- Floor space: A lever-arm attachment occupies zero additional square footage beyond your existing rack's footprint. A standalone 45-degree sled typically needs a dedicated 6x8-foot zone.
- Cost: Quality lever-arm attachments cost a fraction of standalone machines, making them accessible for early-stage home gym builds.
- Versatility of the rack: Adding an attachment does not prevent the rack from being used for squats, bench press, or pull-ups, so the rack's full versatility is preserved.
- Exercise variety: Dedicated standalone leg press machines in RitFit's lineup often combine leg press with hack squat functionality, offering more exercise angles than a single-movement lever attachment.
Biomechanics: Lever Arm Feel vs. True Sled Press
The mechanical difference between a lever-arm attachment and a dedicated linear-bearing sled is most noticeable as loads increase and as lifters develop more refined sensitivity to resistance quality.
- Resistance consistency: A dedicated sled delivers the same resistance feel throughout the full range of motion. A lever arm produces a changing mechanical advantage as the arm rotates, so the effort required varies across the pressing arc.
- 2:1 mechanical ratio: One equipment guide explains that many rack-attached leg press levers use a 2:1 mechanical ratio, so loaded plate weight does not equal the actual resistance felt. Load calibration requires adjustment compared to a sled-based session.
- Quadriceps activation: A 2021 study found that quadriceps activation was similar in squat and leg press movements, while leg press allowed an 11-degree deeper knee-flexion angle, which may benefit quad development while reducing knee-joint loading.[2] These general biomechanical principles apply to both attachment and dedicated machine use, though individual results vary by equipment geometry.
- Smith machine comparison: Research also shows that leg press and Smith machine squats produce comparable quadriceps activation at matched perceived exertion, supporting the use of either pressing variation for home gym quad training.[3]
For a broader view of the leg press versus free-weight debate, see our article on the leg press vs. squat rack decision.
FAQs About Leg Press for Squat Rack
Can you do leg press on any squat rack?
No. Not every squat rack supports a leg press attachment. You need lever arm compatibility, meaning matched upright tube dimensions, typically 2x2 or 3x3 inch, correct hole size, 5/8 or 1 inch, and appropriate hole spacing. Always verify attachment specs against your specific rack model before purchasing.
What is the weight limit for a squat rack leg press attachment?
Weight limits vary by product, but quality lever-arm attachments built from 11-gauge steel are typically rated for up to 1,200 lbs on the footplate. Your rack's lever arm rating may be the binding constraint, so always check your rack's published specs and never exceed the lower of the two ratings.
How do you attach a leg press to a squat rack?
Most lever-arm leg press attachments slide onto your rack's existing lever arms and lock with two quick pins through the upright holes. Before loading weight, align the footplate to a comfortable height, verify full range of motion without frame contact, then perform several bodyweight-only dry runs to confirm the attachment is stable and centered.
Is a squat rack leg press attachment as effective as a dedicated machine?
For quad development, a well-designed lever-arm attachment is highly effective. Research confirms that quadriceps activation is comparable between leg press and squat variations, but a dedicated sled machine offers a truer 1:1 resistance feel, smoother linear bearing glide, and higher loading consistency, advantages that become more noticeable at heavier loads.
How do you target different muscles with leg press foot placement?
Placing feet higher on the footplate shifts emphasis toward glutes and hamstrings, while a lower foot position targets the quadriceps more directly via deeper knee flexion. A narrow stance emphasizes the outer quad sweep, while a wider stance recruits more inner thigh and glute. A 2020 systematic review confirmed that greater knee flexion increases quadriceps sEMG activity.
What are the most common mistakes when using a leg press rack attachment?
The three most common mistakes are loading weight before completing a dry-run safety test, exceeding the lever arm's rated capacity, and allowing the lower back to lift at the bottom of the movement. Many users also skip the compatibility check and purchase an attachment that does not match their rack's upright dimensions, resulting in poor fit and unstable loading.
Conclusion
A leg press attachment for your squat rack is a practical, space-efficient way to add dedicated lower-body pressing to your home gym without the footprint or cost of a standalone machine. Choose the right attachment by verifying upright dimensions and hole size first, complete a dry-run stress test every session, and train within the lever arm's rated capacity.
If you are ready to upgrade to a full standalone leg press experience, browse the full range of leg press machines to find the right fit for your training goals and available space.
Disclaimer
The information in this article is intended for healthy adults training in a home gym environment and does not constitute medical or professional fitness advice. Consult a qualified fitness professional or physician before beginning any new training program, especially if you have pre-existing injuries or health conditions.
Save on your next RitFit order
Tap the button to copy your code, then paste it at checkout.
References
1. Martín-Fuentes I, Oliva-Lozano JM, Muyor JM. Evaluation of the Lower Limb Muscles' Electromyographic Activity during the Leg Press Exercise and Its Variants: A Systematic Review. Int J Environ Res Public Health. 2020;17(13). doi:10.3390/ijerph17134626
2. Sjöberg M, Berg HE, Norrbrand L, et al. Comparison of Joint and Muscle Biomechanics in Maximal Flywheel Squat and Leg Press. Front Sports Act Living. 2021;3:686335. doi:10.3389/fspor.2021.686335
3. Migliaccio GM, Dello Iacono A, Ardigò LP, et al. Leg Press vs. Smith Machine: Quadriceps Activation and Overall Perceived Effort Profiles. Front Physiol. 2018;9:1481. doi:10.3389/fphys.2018.01481