Smith machine isolation training works best when you use the guided bar for a repeatable single-joint accessory, not when you assume every Smith movement isolates one muscle. This guide shows you how to classify the movement, set the machine, and add the work to a regular strength program.
Use these steps after deciding which muscle needs extra direct work. Machine designs differ, so check the owner's manual, set and test the safeties with the unloaded bar, and stop if the setup causes pain or prevents controlled movement.
Quick Answer: Smith machine isolation training means using a guided bar for an accessory movement led mainly by one joint, with a stable setup and controlled range. Start light, keep the target action consistent, and progress only when every planned repetition stays controlled.
Key Takeaways
- Classify by joint action: A guided bar does not make a squat, press, row, or hip thrust a single-joint exercise.
- Set up before loading: Check the manual, hooks, safety stops, bar path, and your working range with no added plates.
- Start with control: Use a light load that lets the target joint move through a repeatable, comfortable range.
- Progress one variable: Add repetitions within your range first, then make a small load increase when all sets stay consistent.
- Keep accessories in context: Place focused work around your main lifts and account for fatigue from overlapping exercises.
Identify True Isolation Work on a Smith Machine
Smith machine isolation training is a programming choice for accessory work, and the exercise counts as single-joint only when one primary joint action drives the repetition. A knee extension-style movement or standing calf raise may fit, while a squat, row, press, split squat, and hip thrust use multiple joints even on guided rails.
- Name the target action: Write down the joint action you want to train, such as knee extension or ankle plantar flexion.
- Check for meaningful extra motion: If the hips, shoulders, or trunk must move substantially to complete the rep, classify the exercise as a compound or hybrid.
- Use isolation as a role: The accessory adds focused practice or volume for a chosen muscle group. It does not need to replace your main multi-joint lifts.
The trial enrolled 29 previously untrained young men and compared the curl and pulldown programs twice weekly for 10 weeks. It reported P > 0.05 for between-group comparisons of measured elbow-flexor thickness and peak torque, but did not test Smith-machine isolation or trained lifters.[1]
For broader movement ideas, compare this method with a Smith machine workout routine and the Smith machine back workout options, which focus on compound patterns.
Set the Bar, Safeties, and Body Position
A useful Smith-machine setup lets you repeat the intended joint action without shifting your body to escape the rail path. Read your machine manual because hook operation, bar travel, counterbalance, and safety-stop design vary by model.
- Step 1: Inspect the bar, hooks, stops, and surrounding floor. Set the safety stops just below the lowest point of your planned range, then test them with the unloaded bar.
- Step 2: Choose a stable stance or bench position that keeps the target joint aligned with the movement. Do several unloaded repetitions and check that the bar travels freely without forcing your wrist, shoulder, knee, or ankle into an uncomfortable position.
- Step 3: Record the setup that works, including bar height, bench position if used, stance, grip, and stop height. Repeat those details next session before comparing performance.
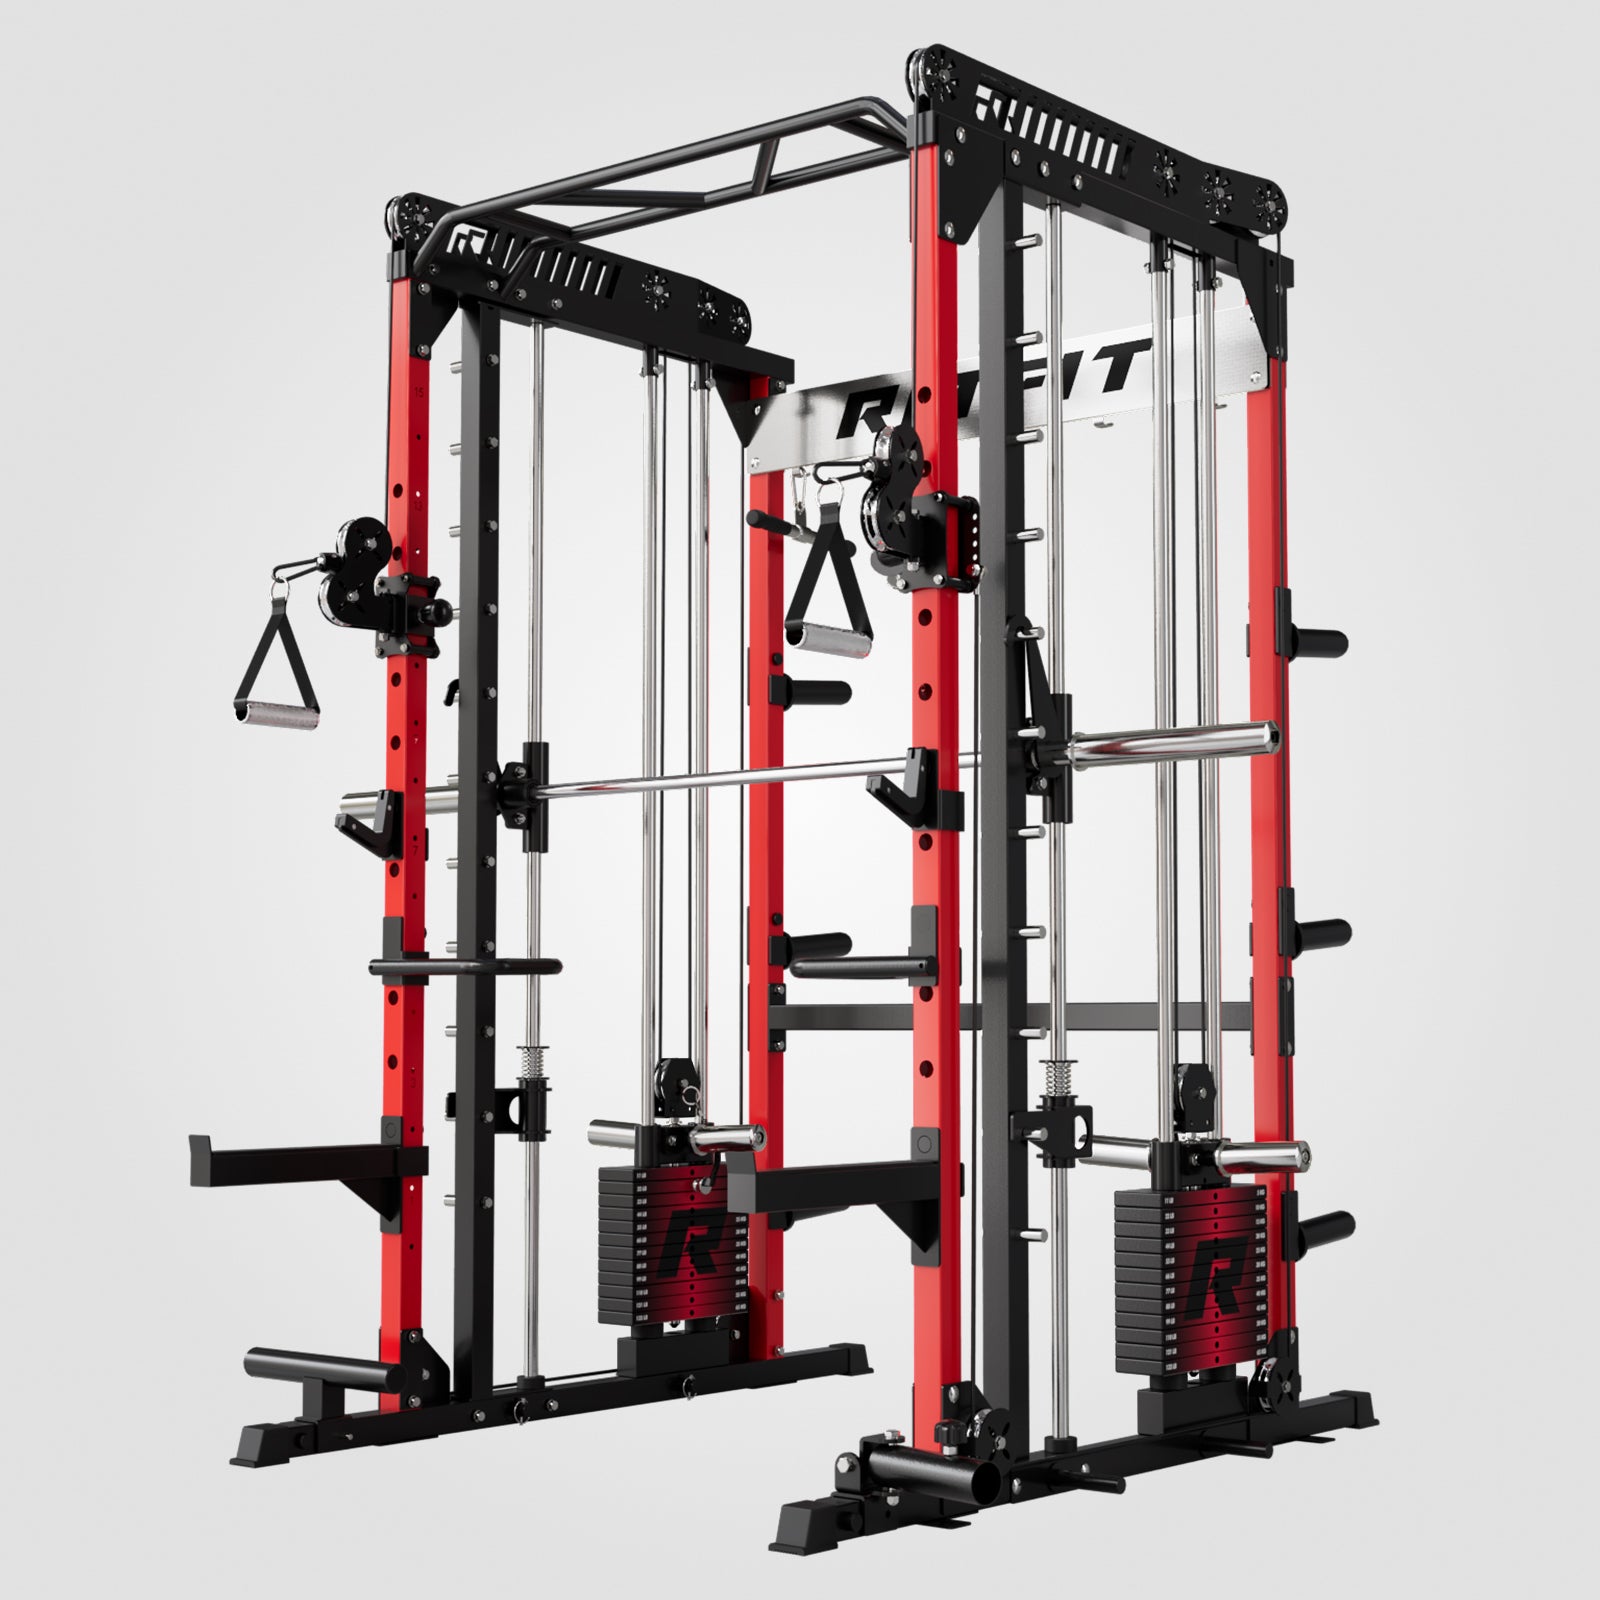
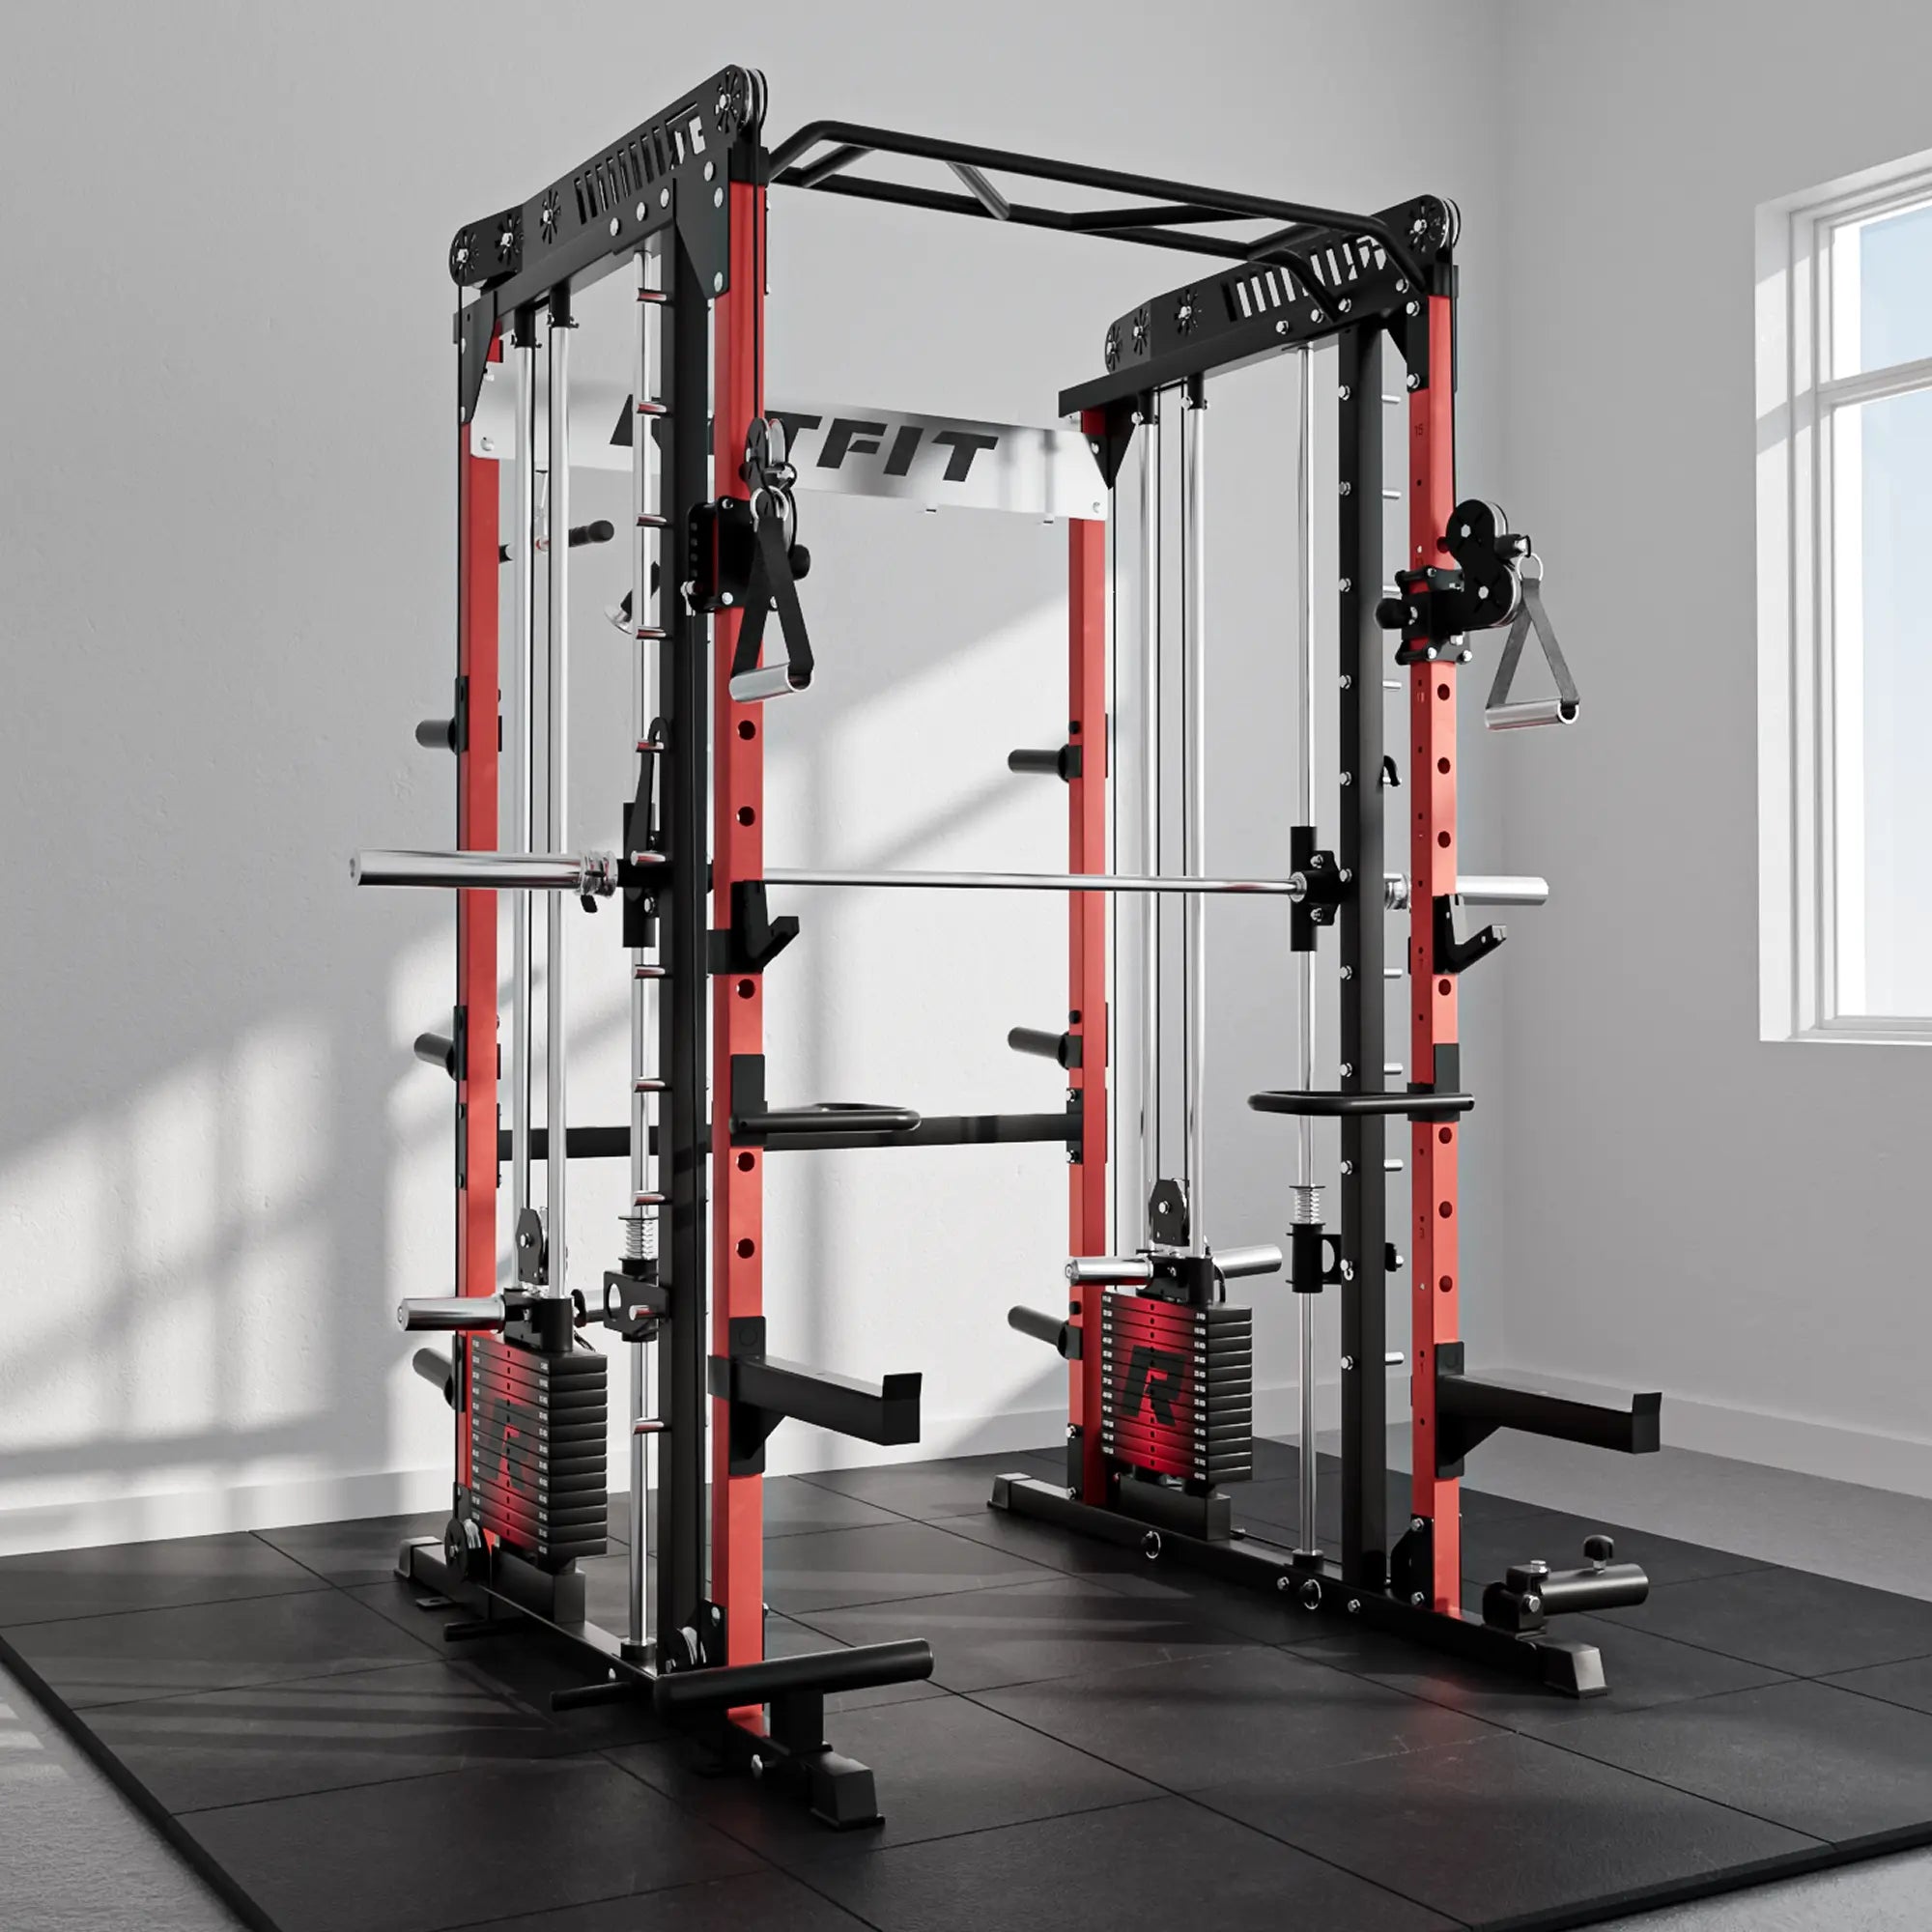
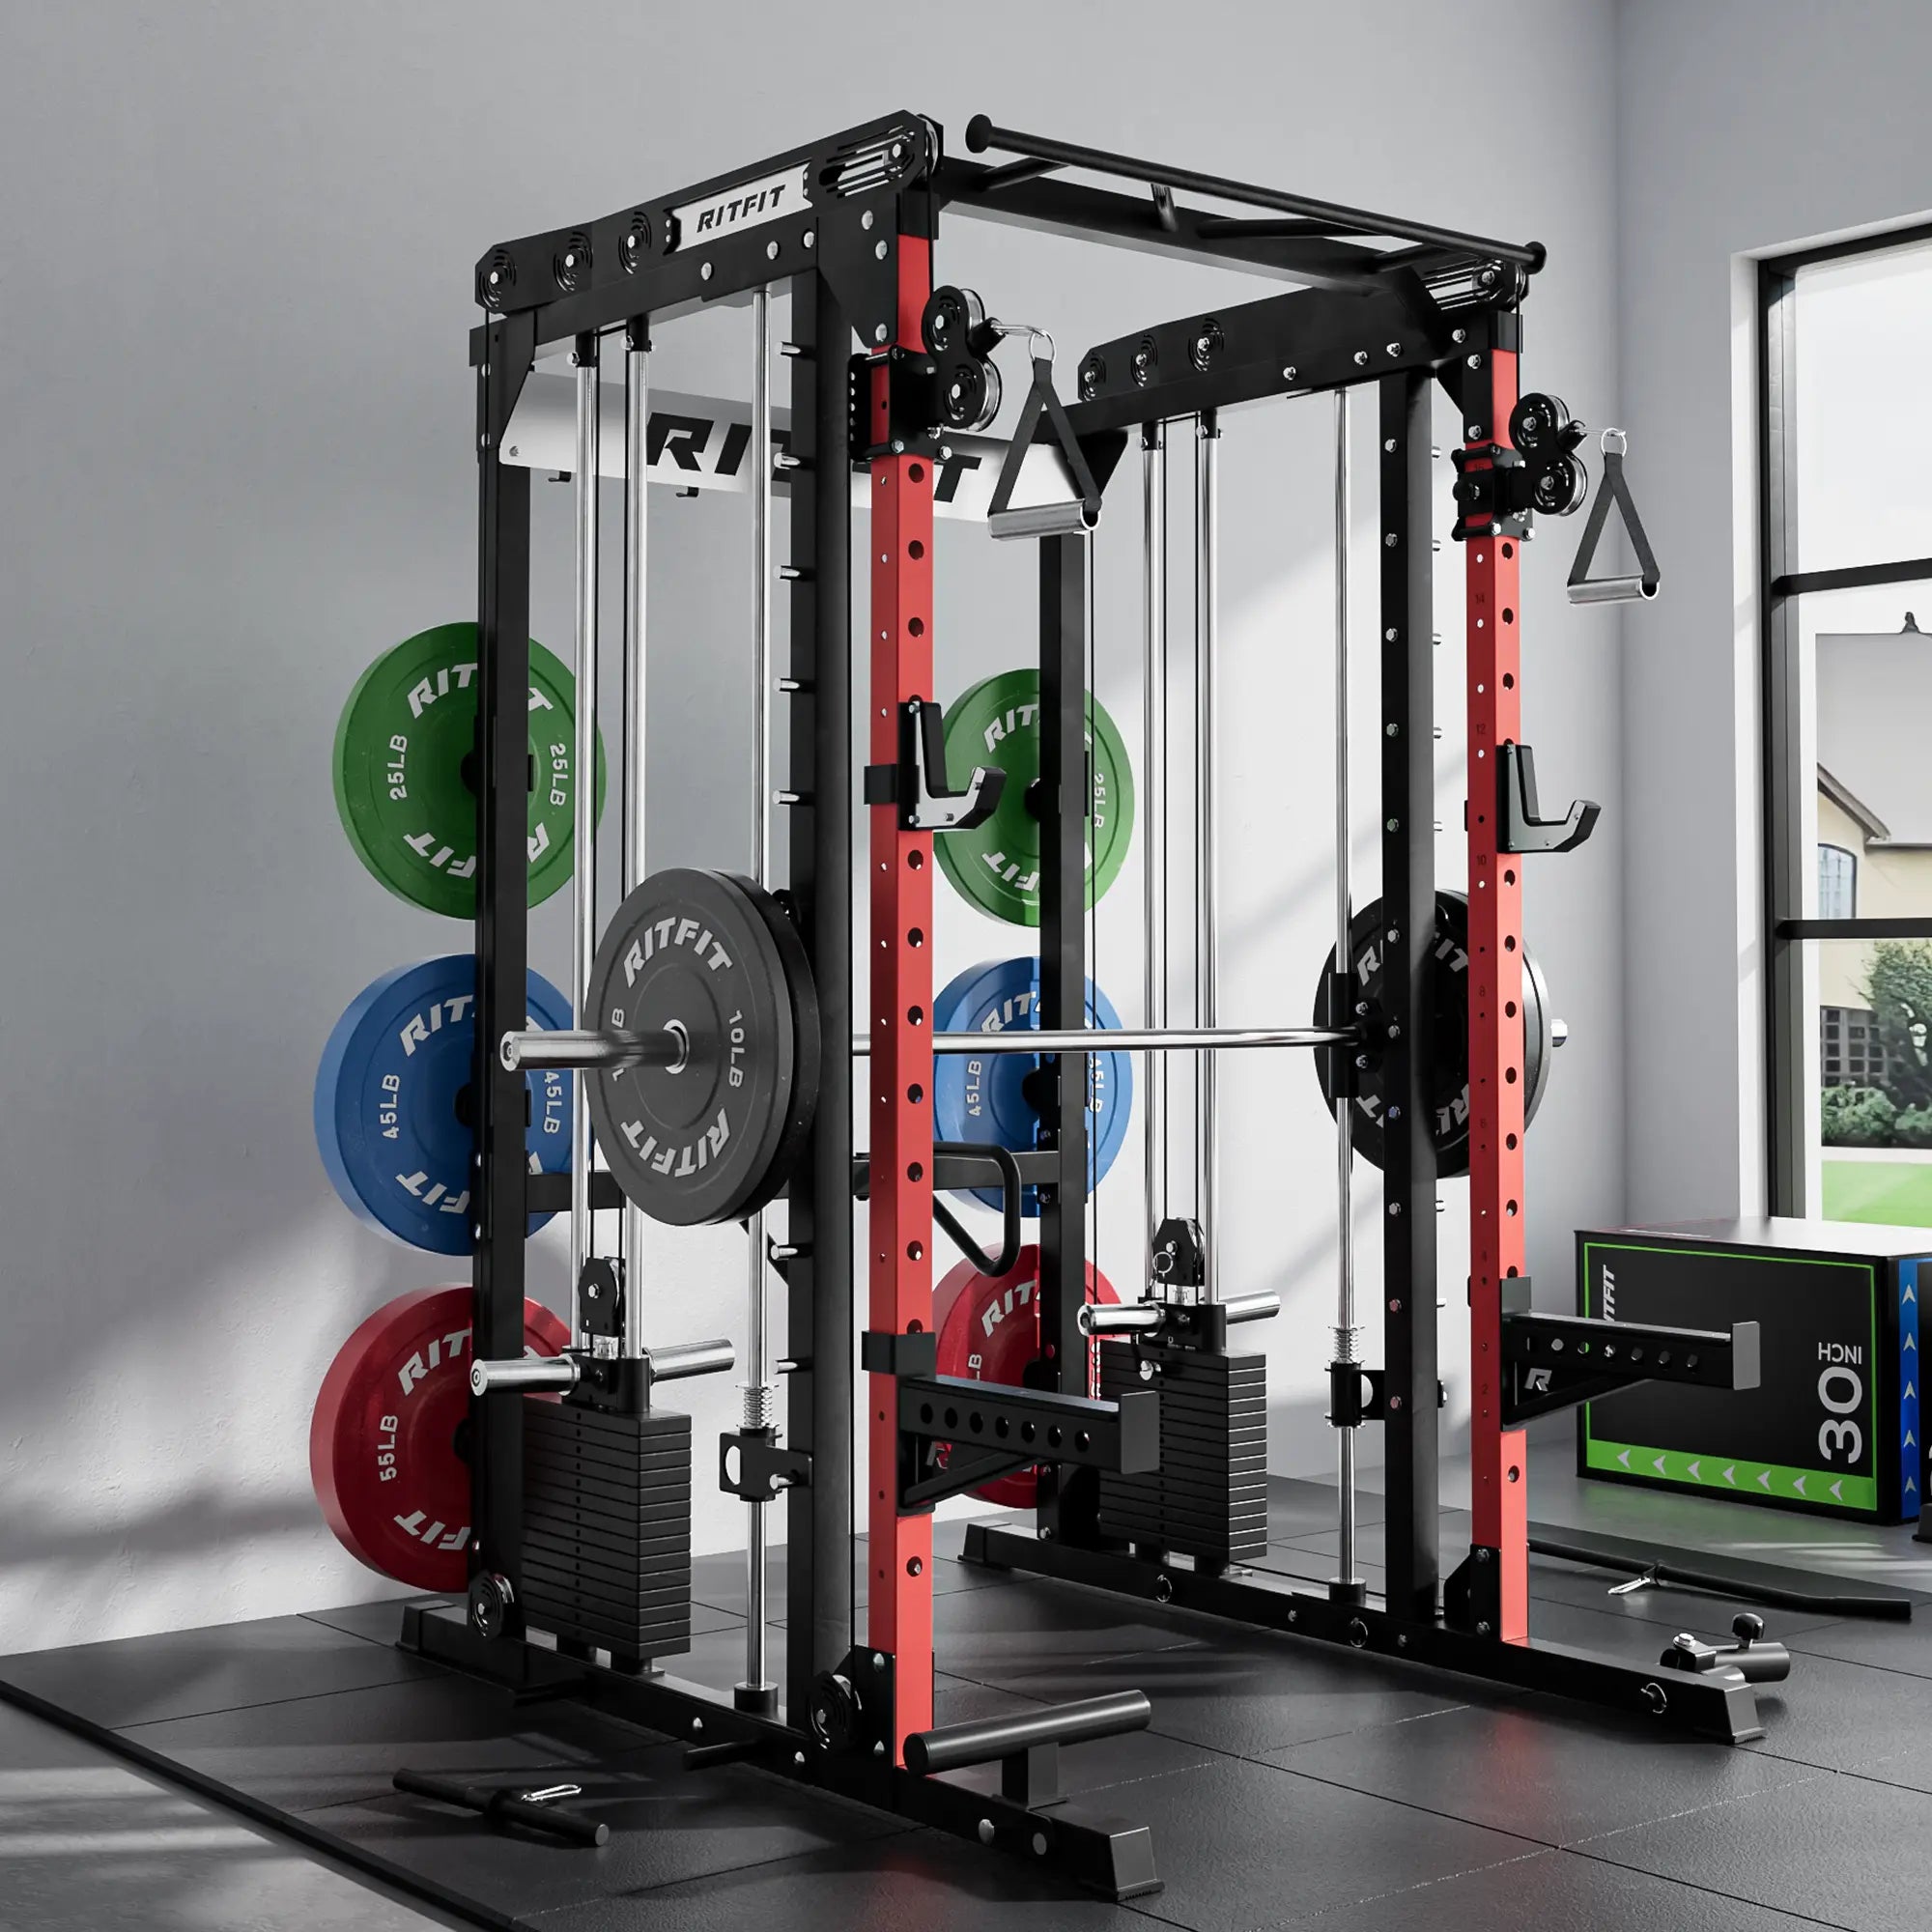
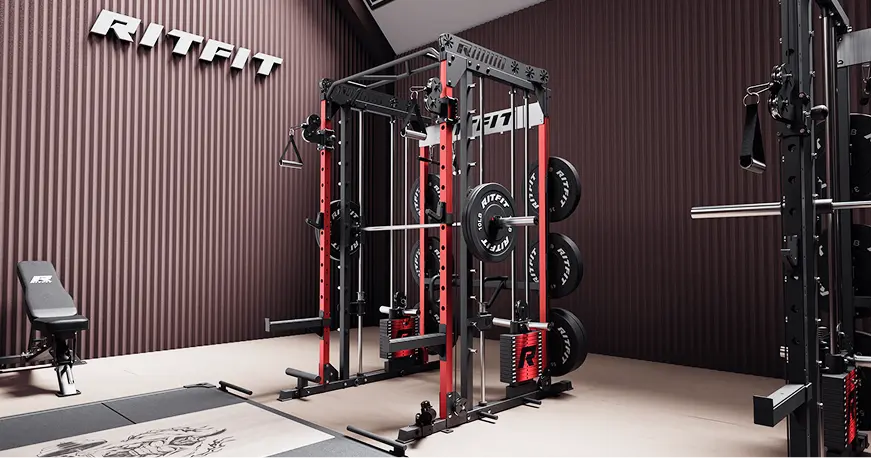
RitFit's official Buffalo Smith Machine home workout demonstration shows a machine-specific setup and full-body use. Treat it as a visual equipment reference and follow the instructions for the exact Smith machine in your gym.
For category and model details, see the Smith machine collection or the Multifunctional Smith Machine product page.
"The Smith machine is a great tool for hypertrophy training because it allows you to safely push to failure without a spotter. At medium intensities typically employed in hypertrophy training, the counterweighted Smith machine design offers the best choice in terms of high-force development and total external work performed."
Dr. Mike Israetel, PhD, Renaissance Periodization, Common Variants of the Resistance Mechanism in the Smith Machine: A Biomechanical Analysis
Choose a Starting Load and Repeatable Range
Choose a starting load that allows every repetition to use the same comfortable range and body position. The machine's bar may feel different from another model, so begin with the unloaded bar and add resistance only after you have tested the movement.
- Rehearse first: Perform a few easy repetitions without added plates and confirm the bar path and safety stops.
- Use a conservative first working set: Select a load you can move smoothly for the planned repetitions without bouncing, twisting, or shortening the range.
- Keep effort repeatable: Finish the set while you can still control the movement and reproduce the next repetition. You do not need to force a failed rep to make the session count.
- Log what matters: Note the load, repetitions, stop height, stance or bench position, and any change in comfort.
For new trainees, a simple accessory set in a moderate repetition range is easier to learn than a maximal attempt. If the target muscle is not the main limiter, reduce the load, adjust the position, or choose another exercise instead of adding momentum.
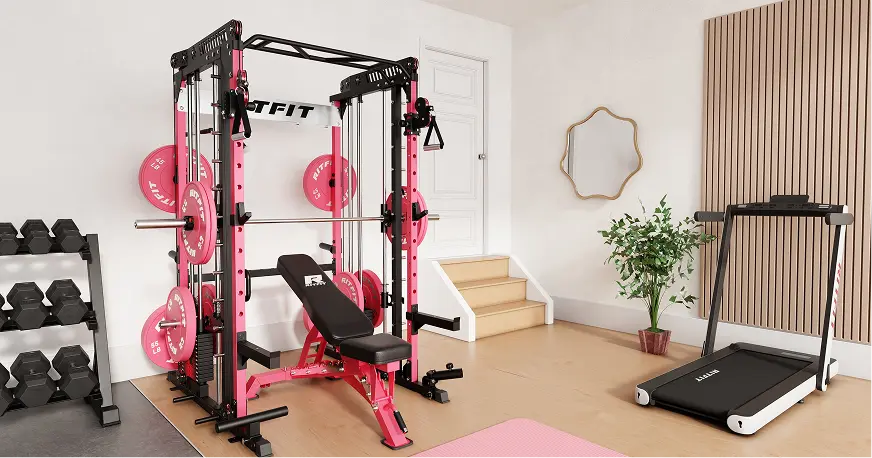
A third-party RitFit Buffalo Smith Machine product page shows one category configuration, while its specifications do not establish which accessory movements suit every lifter.
Program Sets, Reps, and Progression
Program Smith-machine single-joint work as a small, trackable addition to the rest of your training. If a compound lift is the session priority, place that lift before the accessory so fatigue from the isolation work does not interfere with your main task.
- Start with a manageable dose: Add one or two exercises for the muscle group you want to emphasize, using a few controlled working sets rather than filling the session with every possible variation.
- Choose a repeatable schedule: Begin with one or two weekly exposures for that accessory and leave enough time to see whether soreness or performance changes affect your next session.
- Progress repetitions first: Keep the load fixed while you gradually add repetitions within a chosen range. When all sets reach the top of that range with the same form, add a small amount of weight and build repetitions again.
- Track the whole week: Count pressing, squatting, and other compound work that already involves the target muscle. Add more accessory work only if your performance and recovery remain steady.
An umbrella review found no clear direct effect of exercise order on muscle-mass gains in the evidence it summarized.[2] Put the lift you most need to perform well earlier, then use isolation work where it fits your session.
For additional machine context, see the Smith machine muscle-building guide and this related Smith machine pull-up setup guide.
Fix Common Mistakes in Smith Machine Isolation Training
Most accessory problems start when the setup changes to accommodate too much weight or a movement that does not suit the guided path. Correct one variable at a time so you can identify whether the issue comes from the load, position, range, or exercise choice.
- Do not chase plates: If your hips, shoulders, or torso begin helping more on every repetition, reduce the load or accept that the movement is a hybrid rather than true isolation work.
- Do not force a machine-specific path: A vertical or angled rail may not match every person's preferred joint path. Adjust your position within the machine's intended use or choose another tool.
- Do not mistake the stops for a spotter: Safety catches are a backup. Set them correctly and end the set before you cannot control the bar.
- Do not take every set to failure: A 2022 systematic review and meta-analysis of 15 studies found no significant overall difference between failure and non-failure training for strength or hypertrophy.[3] Its result does not set one exact effort target for every lifter or exercise.
Keep the eccentric and concentric phases controlled, and use a repeatable range of motion on each rep. Build progressive overload by adding reps or load only when technique remains consistent.
Choose Substitutions and Stop Conditions
Choose another exercise when the Smith-machine rail path prevents a comfortable, repeatable version of the intended joint action. A cable, dumbbell, resistance band, or dedicated machine may fit better if it lets you stabilize the rest of your body and control the target movement.
- Swap for equipment fit: Use a cable or dedicated machine when the bar cannot be aligned with your setup without awkward joint positioning.
- Swap for a different training role: Use a compound movement when the goal is to train several joints and muscle groups together, rather than trying to label it isolation work.
- End the set for technique: Stop when you cannot keep the planned range, controlled tempo, or stable body position.
- Stop for concerning symptoms: Stop for sharp or increasing pain, numbness, tingling, or sudden weakness. Seek a qualified health professional for personal guidance rather than trying to train through symptoms.
Keep a substitute only if it serves the same training purpose and can be progressed consistently. Machine choice is secondary to a clear target, a setup you can reproduce, and a session plan that leaves room to recover.
FAQs About Smith Machine Isolation Training
Can a Smith machine exercise be true isolation work?
A Smith machine movement can serve as isolation work when one primary joint action drives the repetition and assistance from other joints stays limited. The rails guide the bar, but they do not automatically make a movement single joint. Classify the exercise by what your body does, not by the machine name.
How much weight should I use for Smith machine isolation training?
Choose a load that lets you complete the planned repetitions with a controlled range and stable body position. End the set while you can still repeat the same technique, then record the load and repetitions. If the target muscle stops controlling the movement, reduce the load or shorten the set.
Should I do Smith machine isolation exercises before compound lifts?
Place the compound lift first when strength or skill on that lift is the priority. Place a single joint accessory later when you want to add focused work without pre fatiguing muscles needed for the main lift. A review did not find a clear overall hypertrophy advantage to one exercise order, but individual performance goals still guide ordering.
How often can I train Smith machine isolation exercises?
Start by adding a small amount of accessory work to one or two weekly sessions and assess whether performance and recovery remain steady. Count overlapping work from presses, squats, and other compound lifts when judging total workload. Adjust the schedule if soreness or fatigue repeatedly interferes with the next planned session.
When should I stop a Smith machine isolation set?
Stop when you cannot maintain the planned range, body position, or controlled bar movement. Sharp or increasing pain, numbness, tingling, or sudden weakness is a reason to stop the exercise and seek appropriate professional guidance. Do not treat the safety catches as permission to keep forcing a painful repetition.
What can replace a Smith machine isolation movement?
Replace a movement when the rail path or available setup prevents a comfortable, repeatable single joint action. A cable, dumbbell, resistance band, or dedicated machine may provide a better fit for that target. Choose the option that lets you reproduce the intended joint action and progress without compensating.
Conclusion
Smith machine isolation training is most useful when you treat it as focused accessory work, classify movements by joint action, and keep every repetition repeatable. Start with a light load, test your setup, and add weight only after you own the planned range across all sets.
Choose one accessory to try in your next session, record the setup and performance, and review the RitFit discount guide if you are also comparing equipment.
Disclaimer
This article is for general fitness education and does not replace individualized medical or coaching advice. Stop for concerning symptoms and consult a qualified professional about personal exercise guidance.
References
1. Gentil P, Soares S, Bottaro M. Single vs. Multi-Joint Resistance Exercises: Effects on Muscle Strength and Hypertrophy. Asian J Sports Med. 2015;6(2):e24057. doi:10.5812/asjsm.24057. PMCID: PMC4592763
2. Bernárdez-Vázquez R, Raya-González J, Castillo D, Beato M. Resistance Training Variables for Optimization of Muscle Hypertrophy: An Umbrella Review. Front Sports Act Living. 2022;4:949021. doi:10.3389/fspor.2022.949021. PMCID: PMC9302196
3. Grgic J, Schoenfeld BJ, Orazem J, Sabol F. Effects of resistance training performed to repetition failure or non-failure on muscular strength and hypertrophy: A systematic review and meta-analysis. J Sport Health Sci. 2022;11(2):202-211. doi:10.1016/j.jshs.2021.01.007. PMCID: PMC9068575